My apologies to all my readers for recent radio silence. I tried to do something fancy with my site and screwed it up in the process. It took 10 days to get it running again, and the fix was to move to a linux server. What do I always tell you about Windows? Plus, I was picking blackberries in the woods and I fell off a log (which is easy to do), landed on my butt on top of my camera, and cracked it, so I’ve missed many photo ops.
But I’m back. Haleluja! Now where were we ??
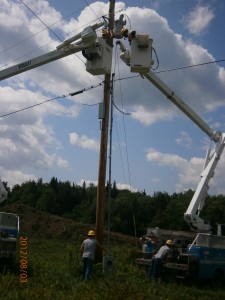
We waited 2 weeks for electricity and on fri 8/3, the electric company brought 2 trucks and put up the transformer. To me, it was all new and interesting, but they said they had 5 more jobs just like it lined up for that afternoon. They are very much set up to do exactly what they do, with exactly the right tools to do it, right down to pneumatic drills and the cherry pickers themselves, which are electrically isolated from the truck. They jockeyed their booms with 2 guys aloft, 2 guys on the ground, and a spare guy for no apparent reason. The guy on the pole works in thick rubber gloves, but seemed almost careless around the wire, and when he brushed up against it, I did a double-take. It makes sense now, but I didn’t realize that the lower of the 2 lines on the pole is just a common, which is grounded at every pole. After doing all the prep work, the very last task was to connect the transformer’s primary to the top wire, and everyone was suddenly very diligent about standing back. There were no sparks, and nobody died. When they left, there was a box on the pole, but not a meter.
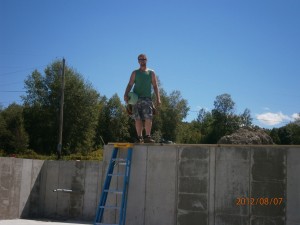
 Mary wanted to seal the slab with Tung oil before work got started in earnest, so the first nice day after the slabs were cured, she grabbed an old bucket of oil, thinned it down, and we spread it thin with squeegees.
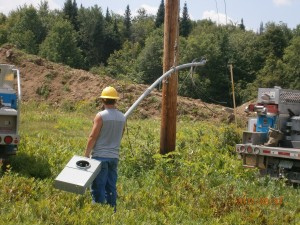
The electrician showed up on tuesday to put a panel in the basement and wire it out to the pole. He brought in a small backhoe to re-align the buried pipes with the housing mounted on the pole. Two days later, another VEC truck showed up, inspected the setup, and installed the meter. We have power !! 200 amp, single phase.
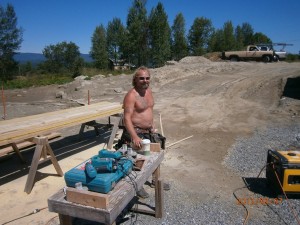
Two of Bernie’s crew, Shawn and Darren, had shown up on tuesday to put in the sill plates, working off of a generator. On wednesday, they framed most of the basement. They were happy to finally have power.
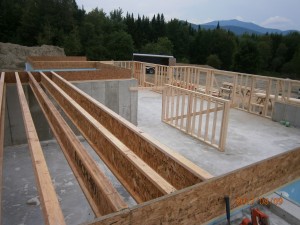
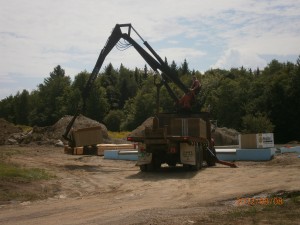 Meanwhile, the floor system had begun to arrive. I could just say ‘a pile of joists,’ but this is one of those things that’s changed since the last time I built a house. You don’t just buy 2x’s any more: you put in a floor system. Since I really don’t know how I’m eventually going to configure the basement, we’re trying to minimize number of structural supports. I’d be OK with an extra support or 2, but Bernie wants to span the whole place with no posts or beams at all because, as he says, wherever we put them now, they’ll be in the wrong place later on. I was pretty sure it couldn’t be done, and the solution they came up with involved an 18″ deep microlam right down the middle. This would give a clearance of about 6′-2″, and I’d be bumping my head on it for the rest of my life, so I told him to use steel. I was still getting the feel of my new smartPhone, but I got the whole beam deflection calculation done in the barn the next day, downloading the equations and coefficients, and guestimating the loads. We picked the next-bigger beam size to be safe, and had it fabricated in town. This way, the beam is no lower than a doorway, and my head is safe. We ended up using 16″ deep engineered lumber joists, spanning 28′ near the physical plant, with the steel beam going E-W to support the rest of the floor. While all the joists are 16″ deep, not all joists are created equal. The 28-footers are wooden I-beams in which the ‘flange’ is effectively a long 1 1/2 x 3 1/2 piece of plywood with about 20 plys. The shorter spans are built with ‘flanges’ which are solid 2x’s, finger-joined at random lengths. In a couple of spots near the stairs, they used ‘microlams,’ which are long 16″ x 1.5″ 14-ply plywood, and they are doubled, side-by-side, for strength. We are talking brick shit house here.
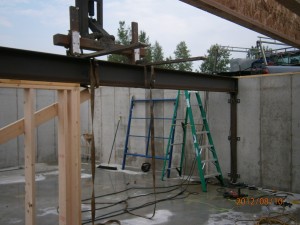
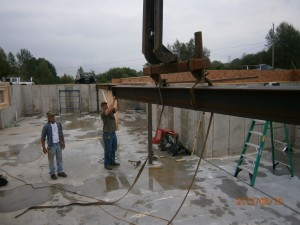
 So they got most of the heftiest joists in place on thursday, plus a little subflooring, and the steel arrived on friday. When I think about moving a steel beam, I envision bulging veins and loud grunts. Not Bernie. When the steel came, it came with a telescoping crane from Morrisville lumber to lift it into place. The right tool for the job. The fabricator had built some posts and welded flanges onto the ends of the beam segments so it went together easily, bolted it to the concrete and, after aligning the assembly, he welded the whole thing in place. Rock solid.
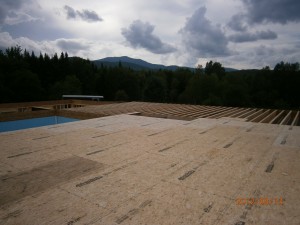 By tuesday the 14th, the whole pile of joists had been installed, but it turned out that the master BR joists had not been part of the pile, so the floor system ground to a halt.
At this point, I broke my camera.
They started to frame out the exterior walls near the mud+bed rooms, which had already been floored, and we had our first look at what a 9′ ceiling will look like. I like it.
On thursday the 16th, the rest of the joists were delivered, and they put them in, only to find that the master bedroom foundation is about 1″ out-of-square. I had been taking as-built measurements for the roof truss design, and the north and south measurements never quite added up to the same numbers, so at least I wasn’t crazy. This is no big deal.
On friday, 8/17, they finished the subflooring, and for the first time, we could walk all over the footprint. On the North, where the basement is at-grade, the floor is almost 10′ above the ground, and the view is superb. We jumped up and down in the middle of the spans and there was no detectable spring in the floor. Very solid.
Monday the 21st, they continued framing the exterior walls, going counter-clockwise, and got as far as the master bedroom. On tuesday, they finished the perimeter. All this time, I’d been eyeballing the work, and found 2 glaring but minor problems with the window placements, which were easy to fix. That evening, though, I was wandering around, inspecting the progress after finishing up my work in the basement, and I happened to measure one of the rough openings, which turned out to be about an inch too small. I measured more, and they were all wrong. On the drawings, along with the RO widths, I’d listed the descriptions of the windows, as listed on the Pella order. For e.g, the mud room window was called “mud room 35×41,” which is the Pella model number. The rough opening for this window, though, is 36×42, and I think Shawn and Darren built all the RO’s based on the model numbers. This is a big fuckup, and I suppose I’m part of it, for putting too much information in the drawings. It took about a whole day to fix it. “Little’ problems like this keep the project interesting. It’s really going well.

