
Or, should I say, the Dreaded master shower.
I don’t think there is any place in the whole house that’s been the subject of so much discussion. Mary has had ‘a vision’ of what she wants the master bathroom to look like, but has had a hard time expressing exactly what that vision is. For my part, I know that, if you let them, bathrooms will suck the bucks right out of your wallet, and a shower that starts with a custom base would end with a 5-figure price tag.
Back in the ’80’s, I built a cedar strip canoe (in my living room!) and waterproofed the cedar with fiberglass cloth and resin. The canoe never leaked until, one spring day, Faye and I took it down a fast river. She steered left of a rock while I steered right, and suddenly we were bailing out of a cedar strip submarine. So when I built the master shower in Westford, I made the pan out of plywood and coated it with fiberglass. It, too, never leaked, but they just don’t build showers like that nowadays, and since I didn’t know how they DO do it, it looked like I was going to have to hire a tile guy.
Not a chance. After a little surfing, I felt like I could do it myself, and all we needed was to agree on a design. I proposed to start with a pre-formed shower pan and save $1000 right off the bat. No good: Even the biggest one was “too small.” I proposed your basic valve and a shower head. No good: A “body bar” was apparently a must. At times, the debate became surreal. Dueling body bars on opposite walls? How about a head spraying toward the door? Or a wall of glass bricks so she could see into the closet while showering? At one point, Mary wanted to up the size to a 5×5 space, so Bernie and I were standing in the already-framed 4×5 space, discussing it. Two grown men in a shower-sized space, bending over, pointing, measuring, and never in one another’s space. It’s plenty big as-is, we decided.
 So Mary picked out a green tile she liked, and I set to work.
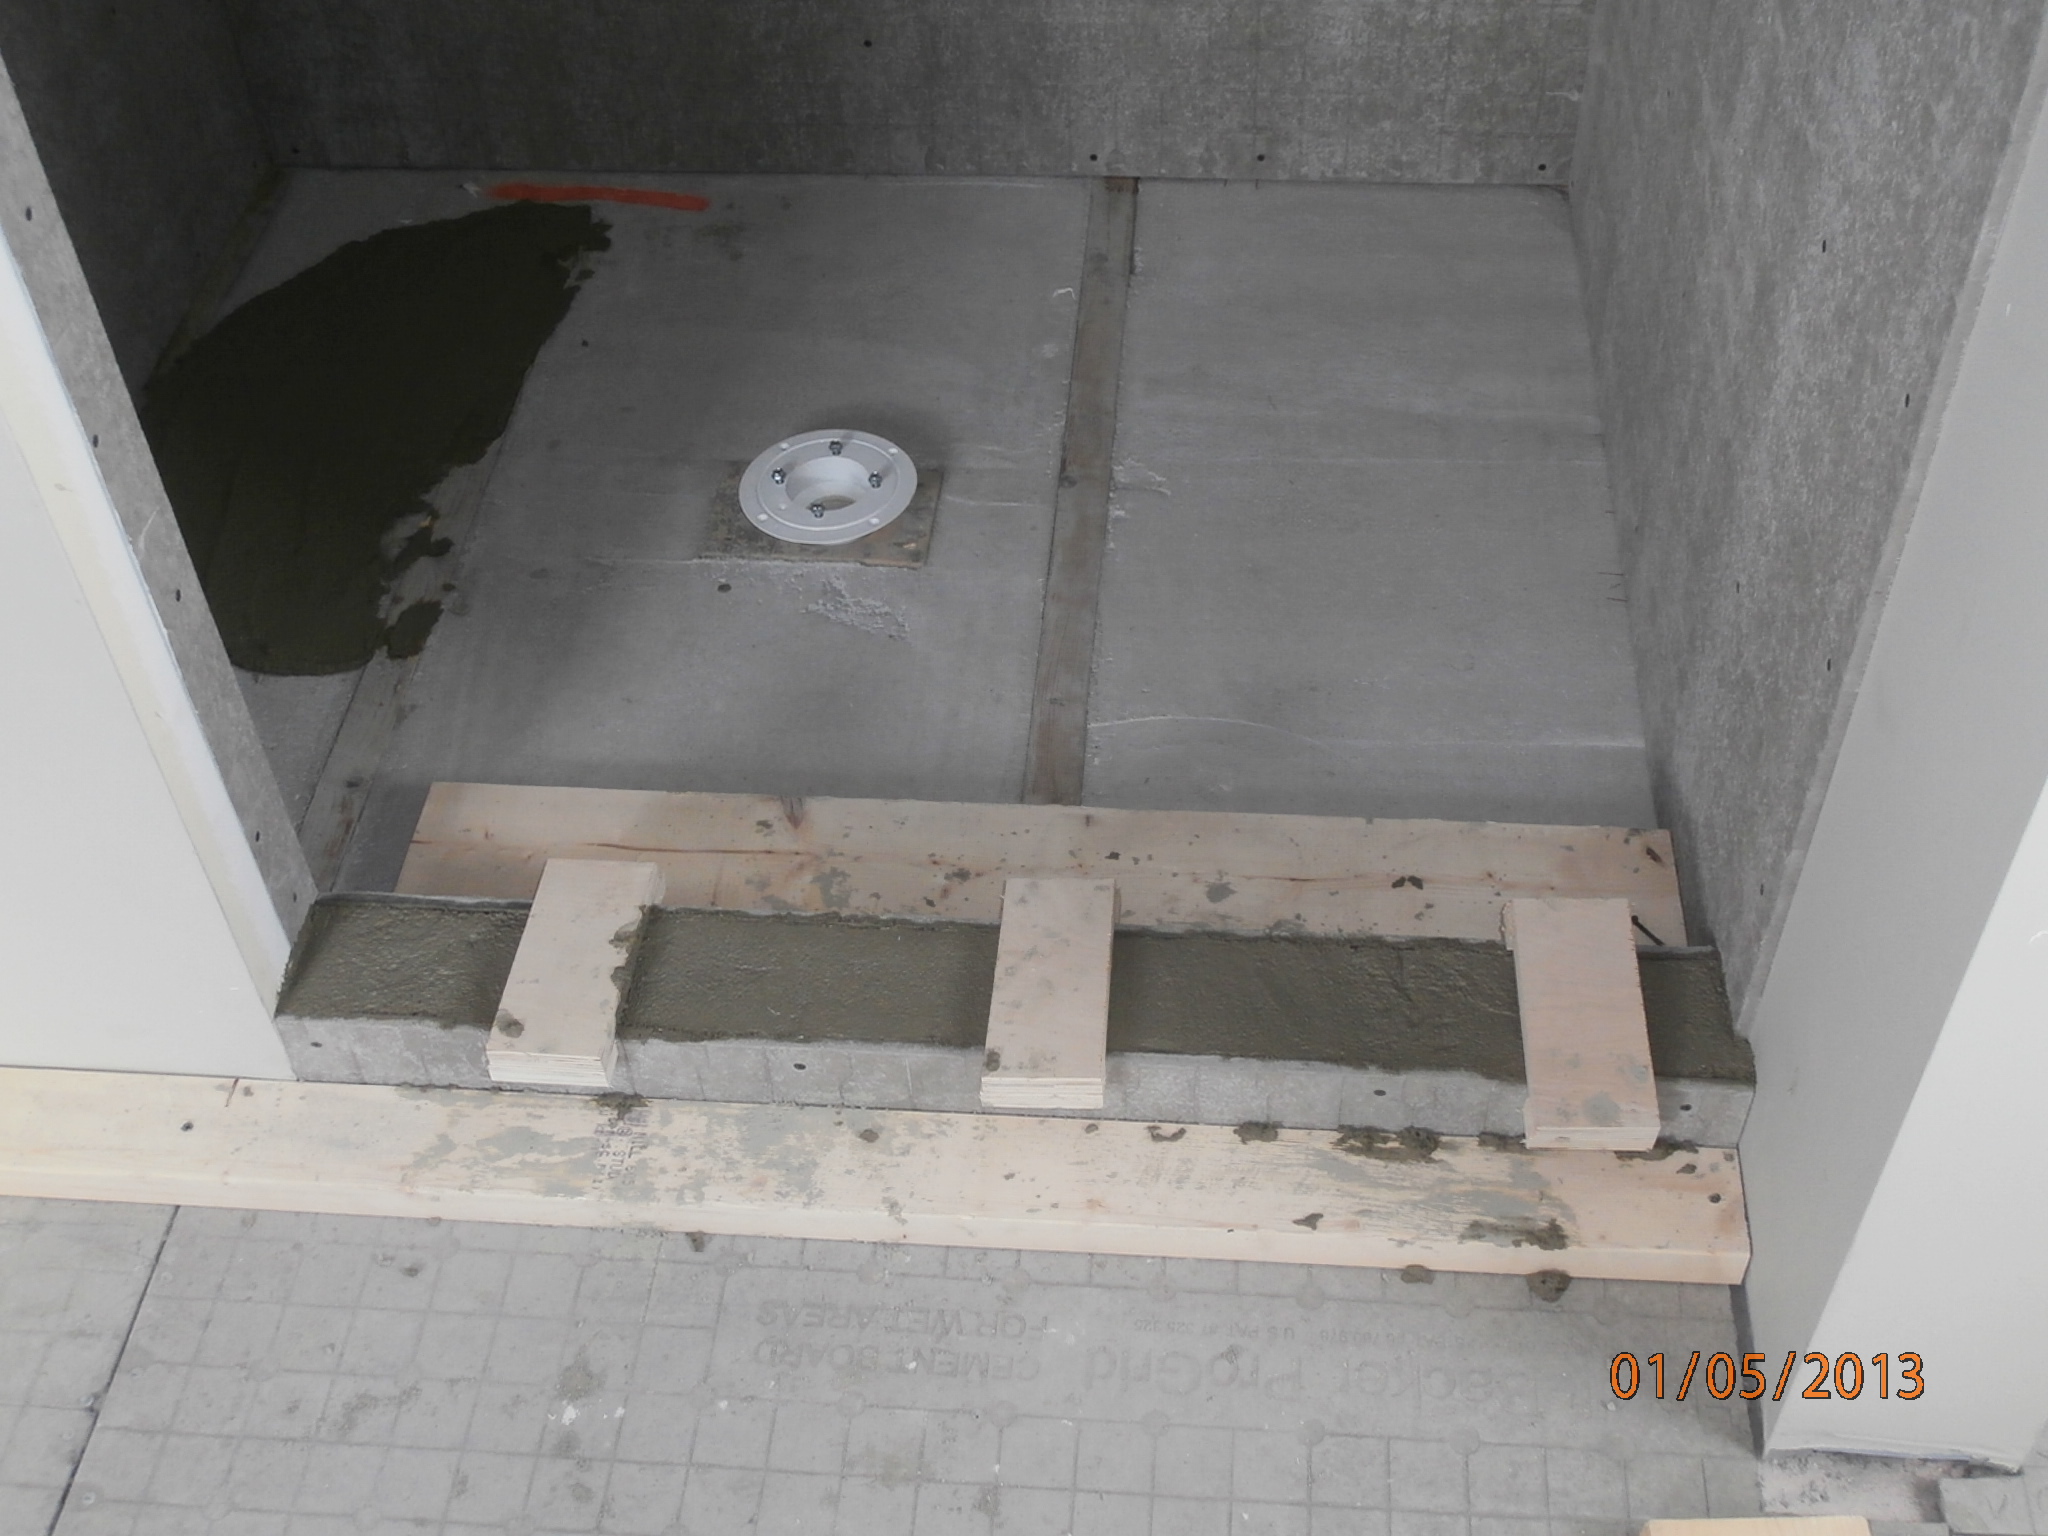
I rough-plumbed it, put plywood on the walls, cement board on the plywood, and put in a threshold.
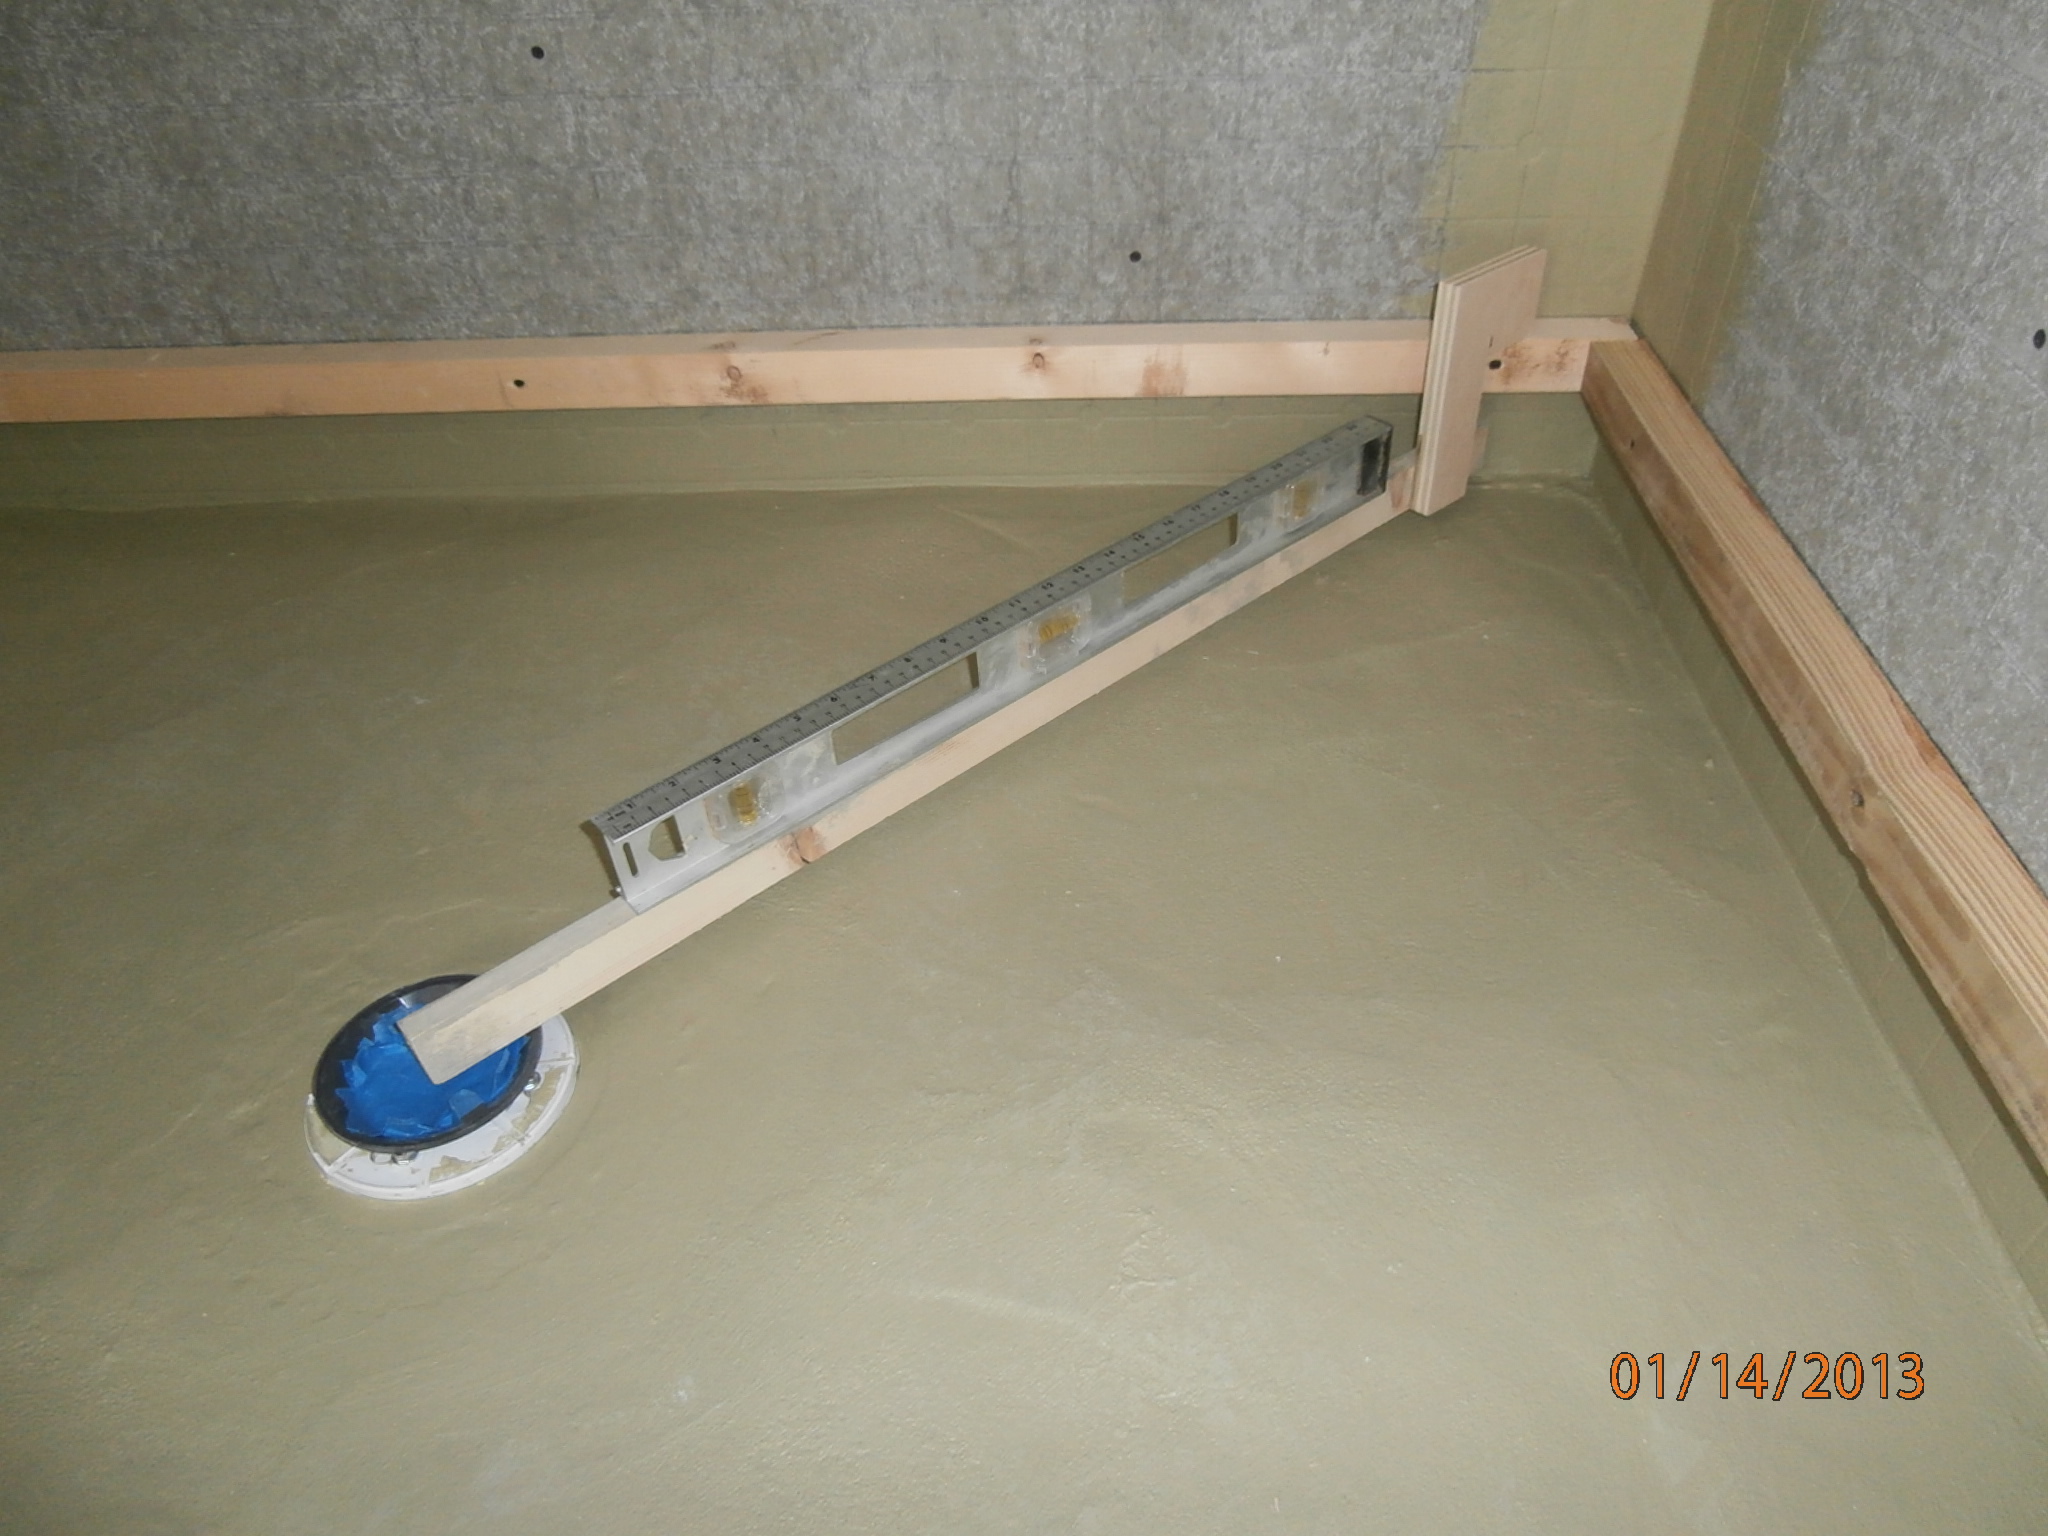 I poured the first layer of mortar for the floor and rubberized it, but I put the ‘weeper gasket’ on upside-down and had to replace it. Trowelling the surface, I saw that the concrete crews make it look easy, and mine was anything but flat, so for the final mortar bed, I built a jig to maintain the smooth slope. I poured it and we rubberized the whole thing.
I knew I was in over my head with this project, and if I tried tiling it, I’d screw it up. Which is why I spent parts of the next 2 months practicing on the mudroom floor and the slate hallway before circling back to the shower. And it’s a good thing, too, because the bar got raised when Mary decided she wanted a ‘basket weave’ accent strip on the walls and the floor.
Make that a basket case. I don’t want to give the impression that I cater to Mary’s every whim, but anything that breaks the monotony of the green tile she picked has got to be a good thing. Besides, this mosaic comes pre-mounted on a flexible backing. What can go wrong?
For one thing, it’s a million little pieces, and the edges of the mosaic sheets are irregular so they can interlock. This means a hundred or so edge pieces had to be cut and fit. And then there’s the flexible backing, which is made of paper which clogs the shop-vac when it’s dry, and turns to gluey mush when it gets wet.

If you look closely, you’ll see spaces where 5 tiles fell out while scraping
So I did all the prep work and, early one afternoon, started hanging the mosaic ‘belt.’ Well let me tell you: spreading thin-set on a wall is not like spreading it on a floor. The floor got ‘sprinkled,’ and I tracked it everywhere. But the real problem is that the tiles don’t stay where you put them: they slide downward under their own weight, and I only started to notice this after a couple of sheets had been hung. With 1/8″ spacing, it doesn’t take much movement to ruin the alignment, but with pressure and frequent adjustment, I got this under control and, by early evening, I’d hung the whole mosaic belt.
If I’d learned anything from the slate in the hallway, it was that you gotta clear the thin-set out of the grout lines before it sets up. So after Mary went to bed that night, I went back to the house to scrape.
First off, there’s a lot more grout lines in a square foot of 1″ and 2″ tiles than there are in a square foot of big tiles.
Secondly, all the pressure and frequent adjustments I’d applied to keep the tiles from sliding down the wall had forced just about every single grout line to be chuck full of thin-set.
Third, it was already pretty close to set up, and the scraping wasn’t easy.
Finally, that damned paper backing reduces the surface area available for the thin-set to adhere to, especially on the backs of the 1″ tiles. And with all the vigorous scraping I was having to do, some 20-odd small tiles fell out.
It was an ugly job and a rough night, but if I didn’t get it done NOW, the hardened thin-set would be impossible the next day. It took me until 3:46 a.m. to get it done.
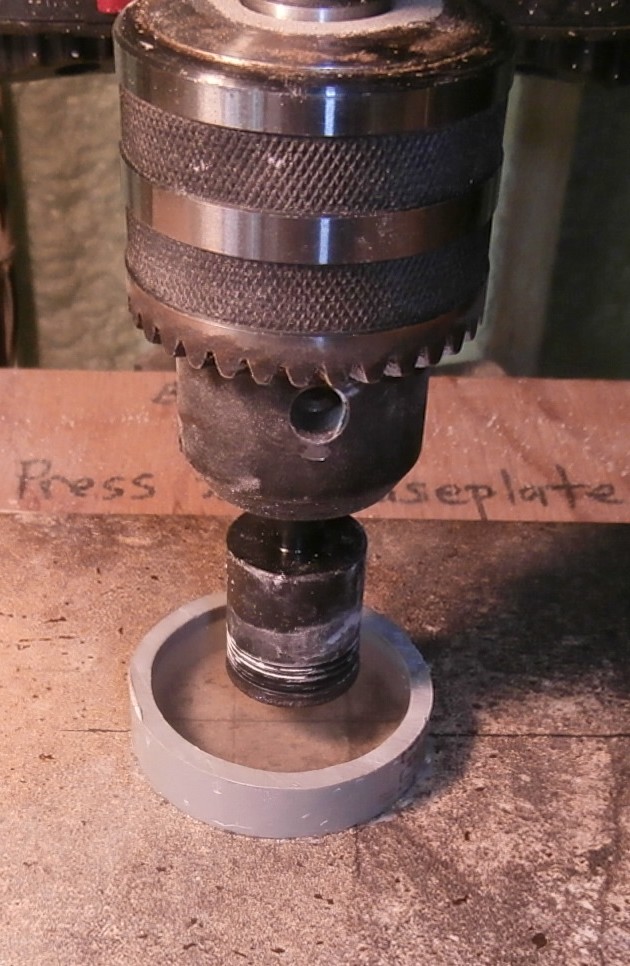 Compared to the mosaic, the big green tiles went on easy. There are several places where a pipe pokes through the tiles, and I found out the hard way that cheap diamond hole saws need to be water-cooled. I used a jig to contain the water cooling my second such bit.
 The holes are big enough for the pipes, but only if you take off the end caps. I drained the system, but the valves and some trapped air kept pressure in the shower system itself and I got wet.
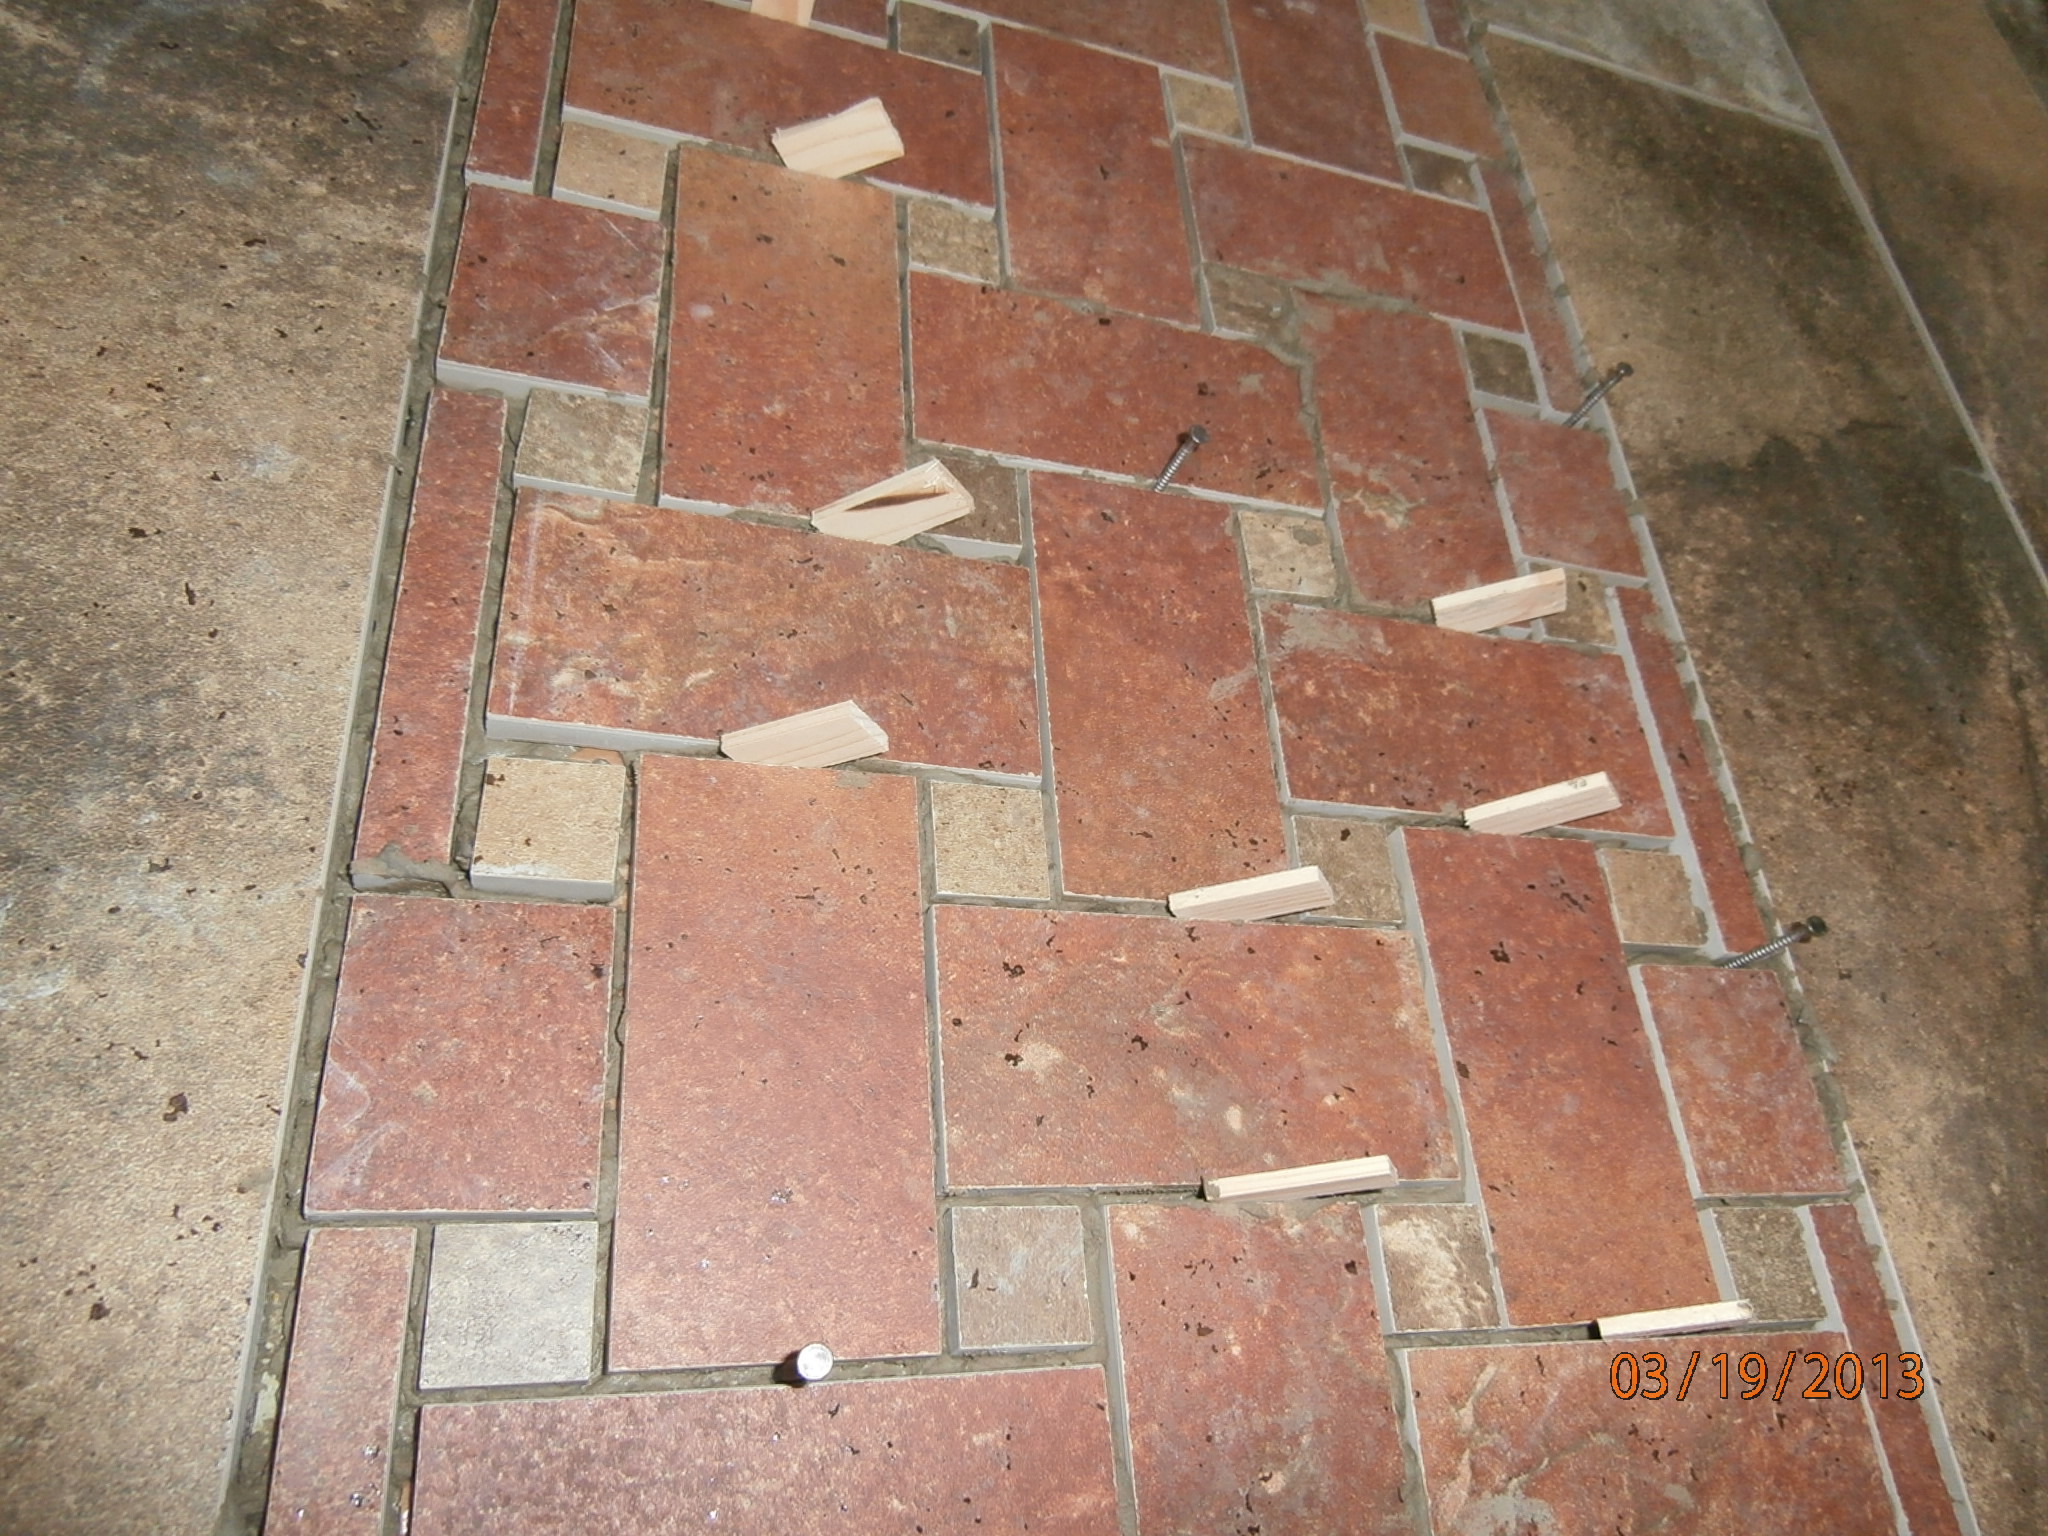 The recessed shelf played havoc with the green tiling pattern, and we decided a vertical strip of red mosaic was a good solution, but I didn’t want a repeat of the ‘belt’ fiasco, with the tiles sliding slowly down the wall. Using nails and spacers, I managed to get the whole column to support its own weight, and the shelf looks like it was meant to be there.
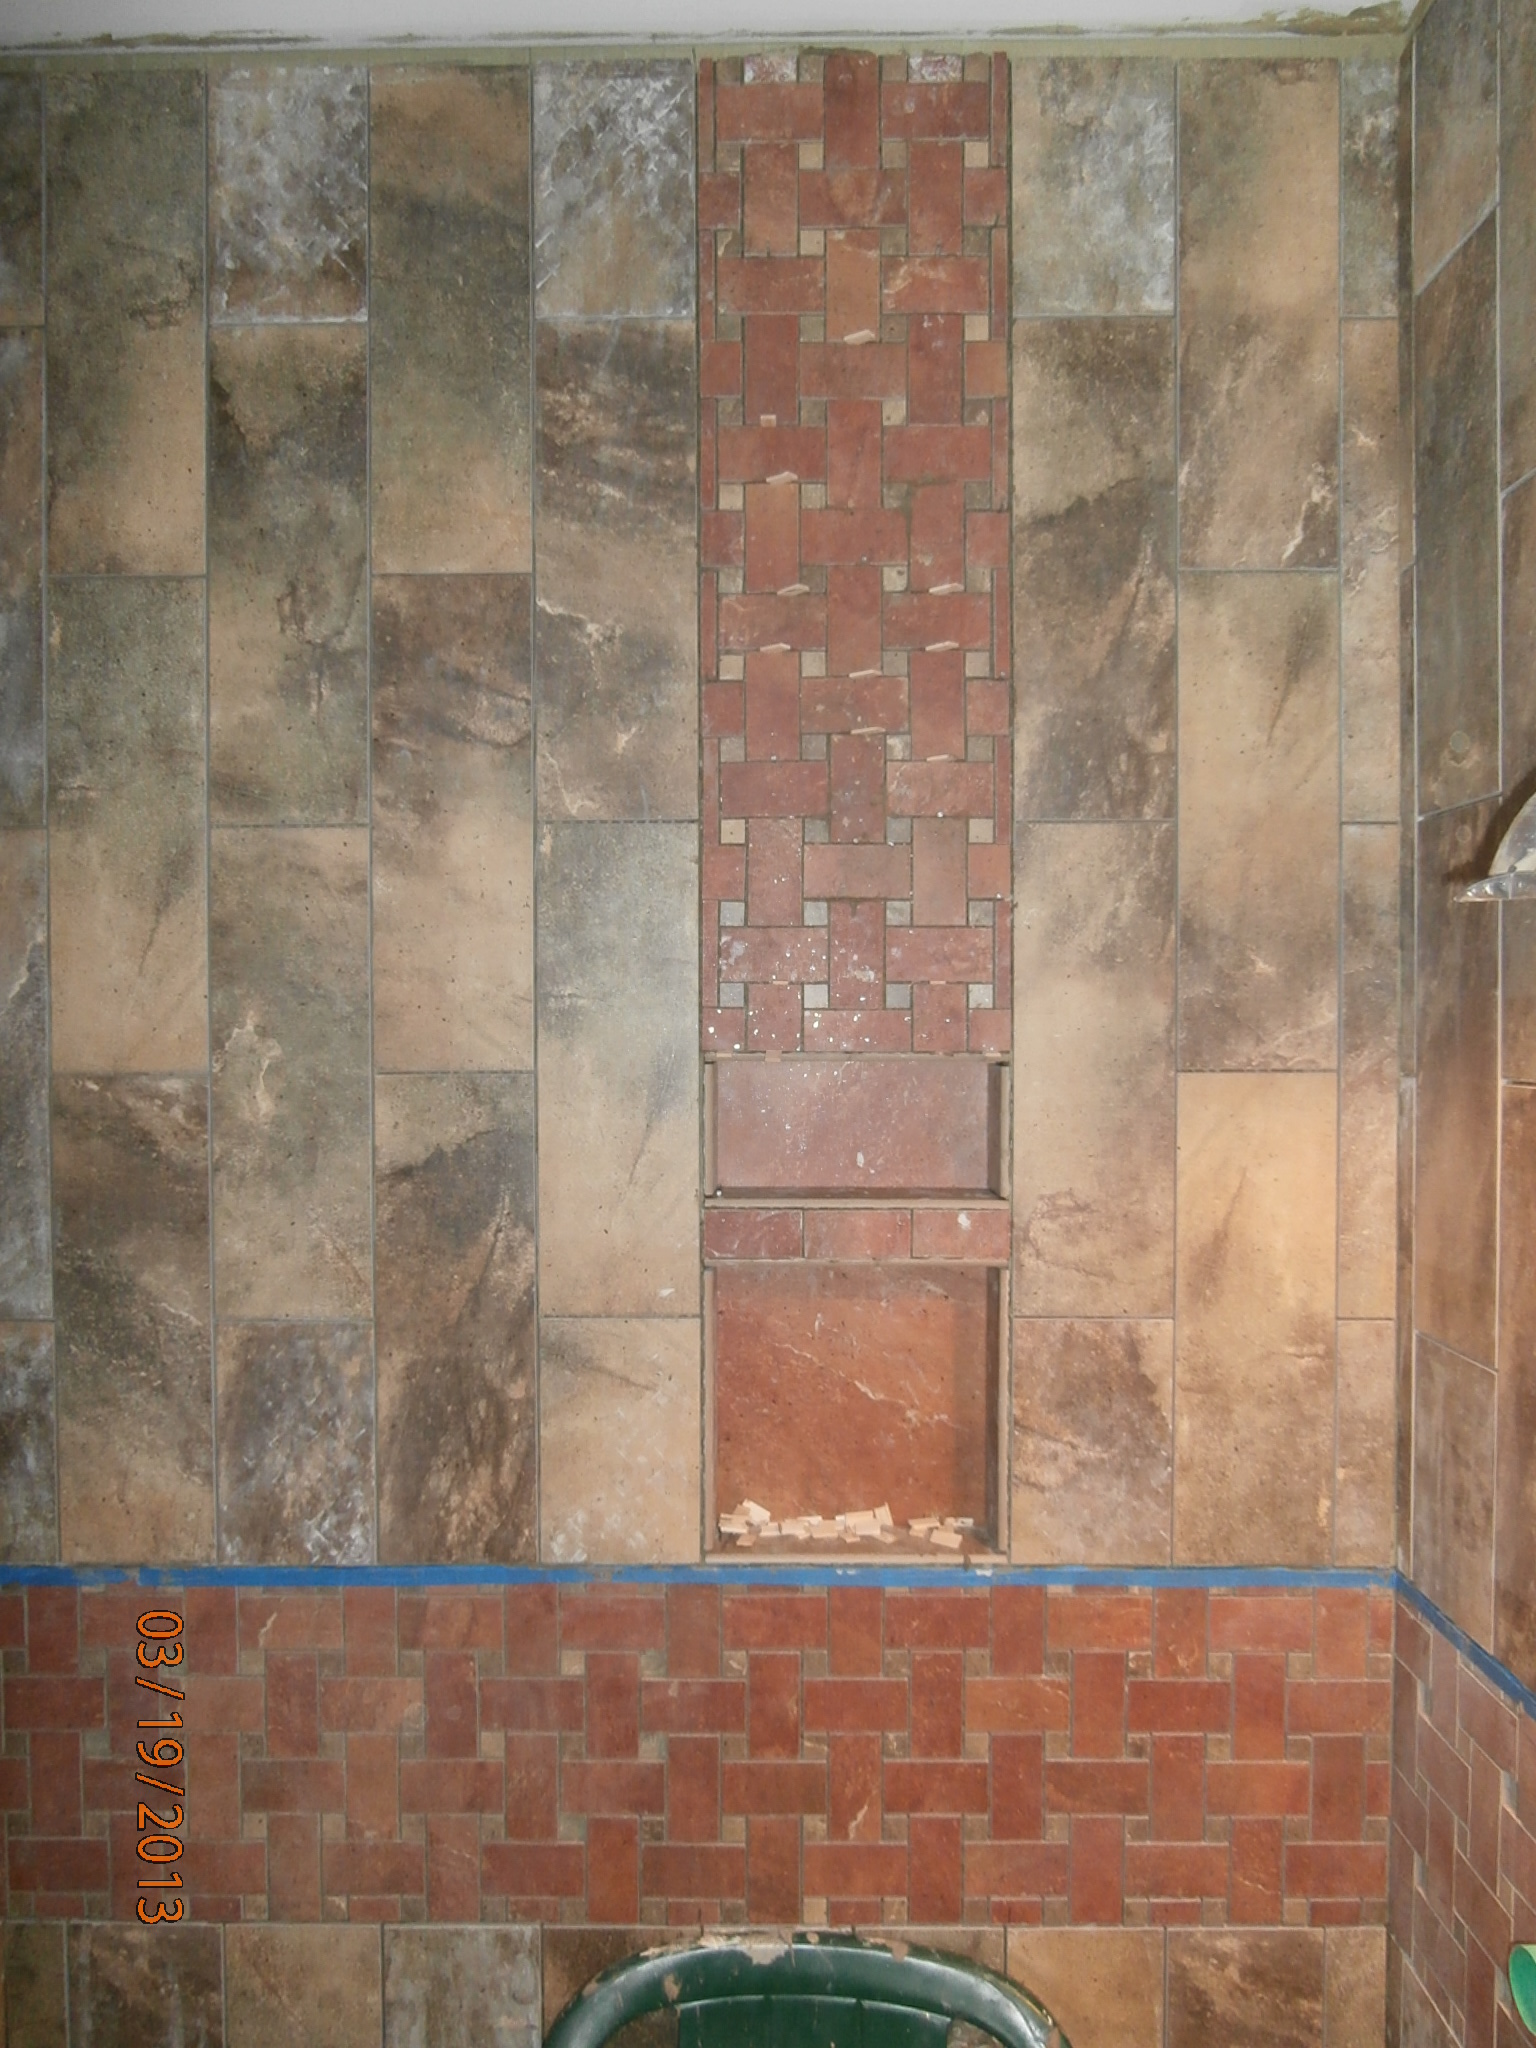
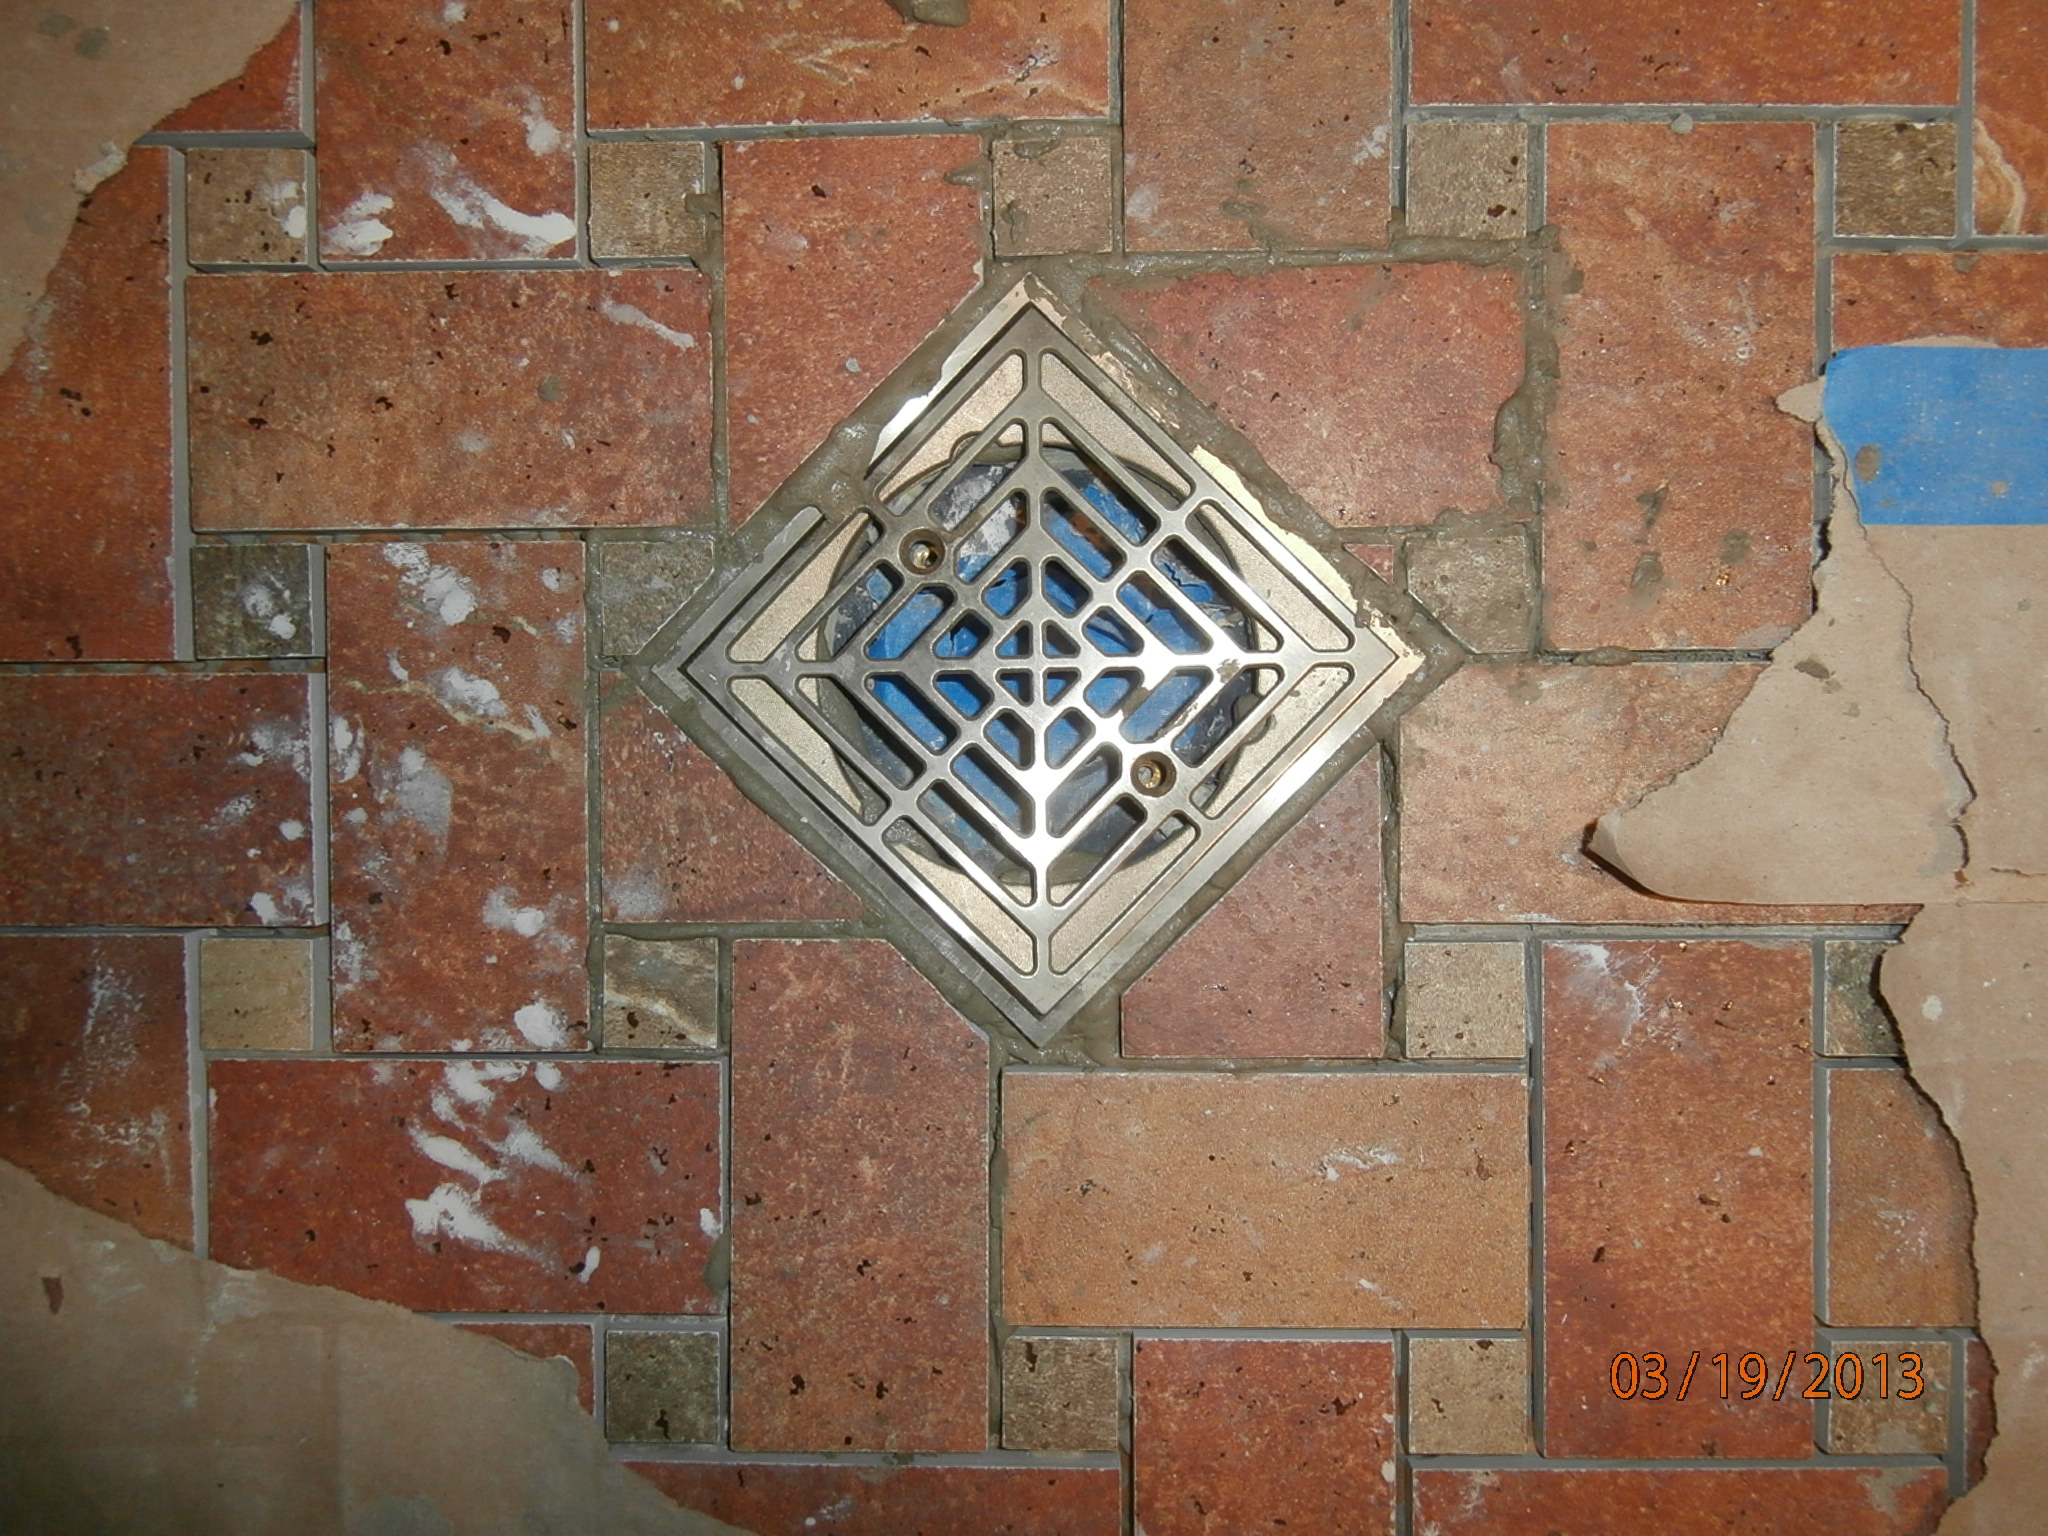 Compared to the walls, the floor went on easy. The drain was a pain, but by this time, I was feeling like I could handle anything.
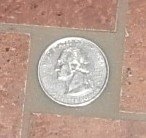 They say that, if you want to keep a kid occupied, you should just glue a quarter to the floor. So when the grandkids come over, we’ll just lock ’em in the shower.