
I’ve tiled before, but I’d forgotten everything I ever learned by doing it.
I didn’t remember, for example, how hard it is on your knees, but it all came back to me after the first day. Since I’ve got a lot of tiling ahead of me, I bought the best kneepads money can buy, and wore them the next time I had to work on the floor. They have lots of padding, so my skin and pants are safe, but they raise me off the floor almost 2″, and shuffling around on the ground became the moral equivalent of dancing in 4″ heels — I kept falling over. So I went to Home Depot and knelt down in the kneepad aisle, trying on every style in their selection and bought a pair that cost half as much as my ‘good’ ones, and they work really well.
Lesson learned.
 So with a lot of tiling ahead of me, I realized I’d be needing a tile saw, and I bought the cheapest tile saw money can buy. (It ain’t over yet, but there may be another lesson here.) This saw cost me $80, complete with a diamond blade, and it has all the features you’d expect in a cheap saw. A fence that sticks, no slurry pan, a weak motor, and much more. But it works and, like the Everready bunny, works and works.
So I went to work.

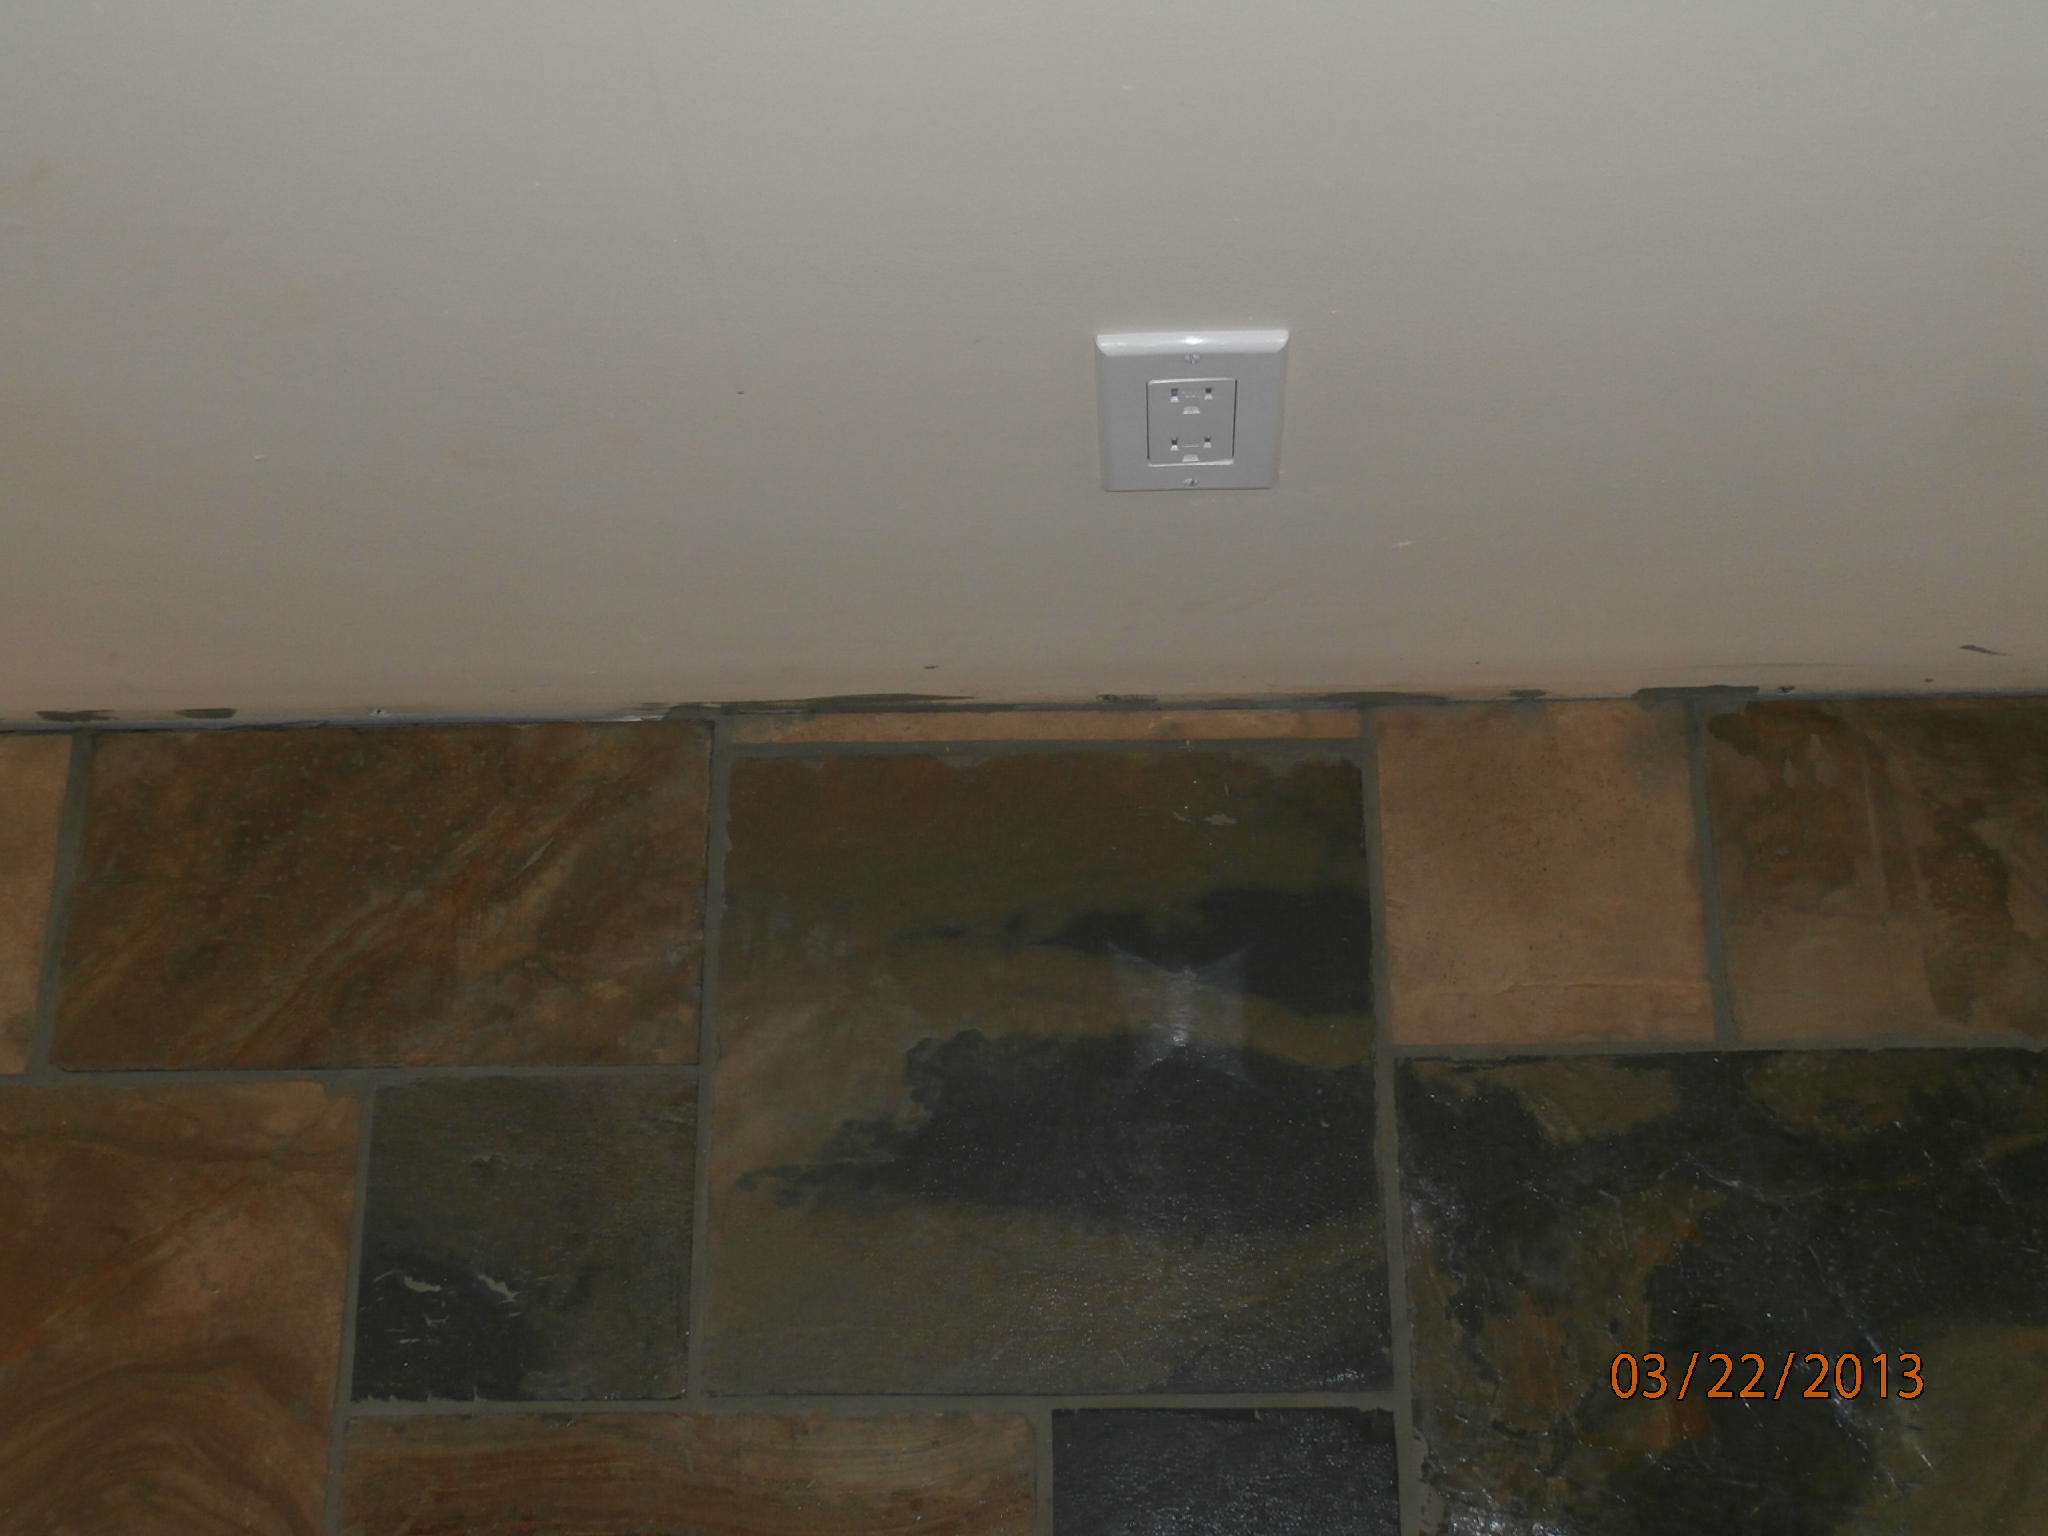
Next time, I’ll mask the wall before I grout the floor
I started out in the mud room. It’s 10×13, and a perfect rectangle: it doesn’t get simpler than this. It took me a couple days, but I got the tiles all cut, set, grouted, and cleaned in a couple of days. Piece of cake! Gimme something hard!
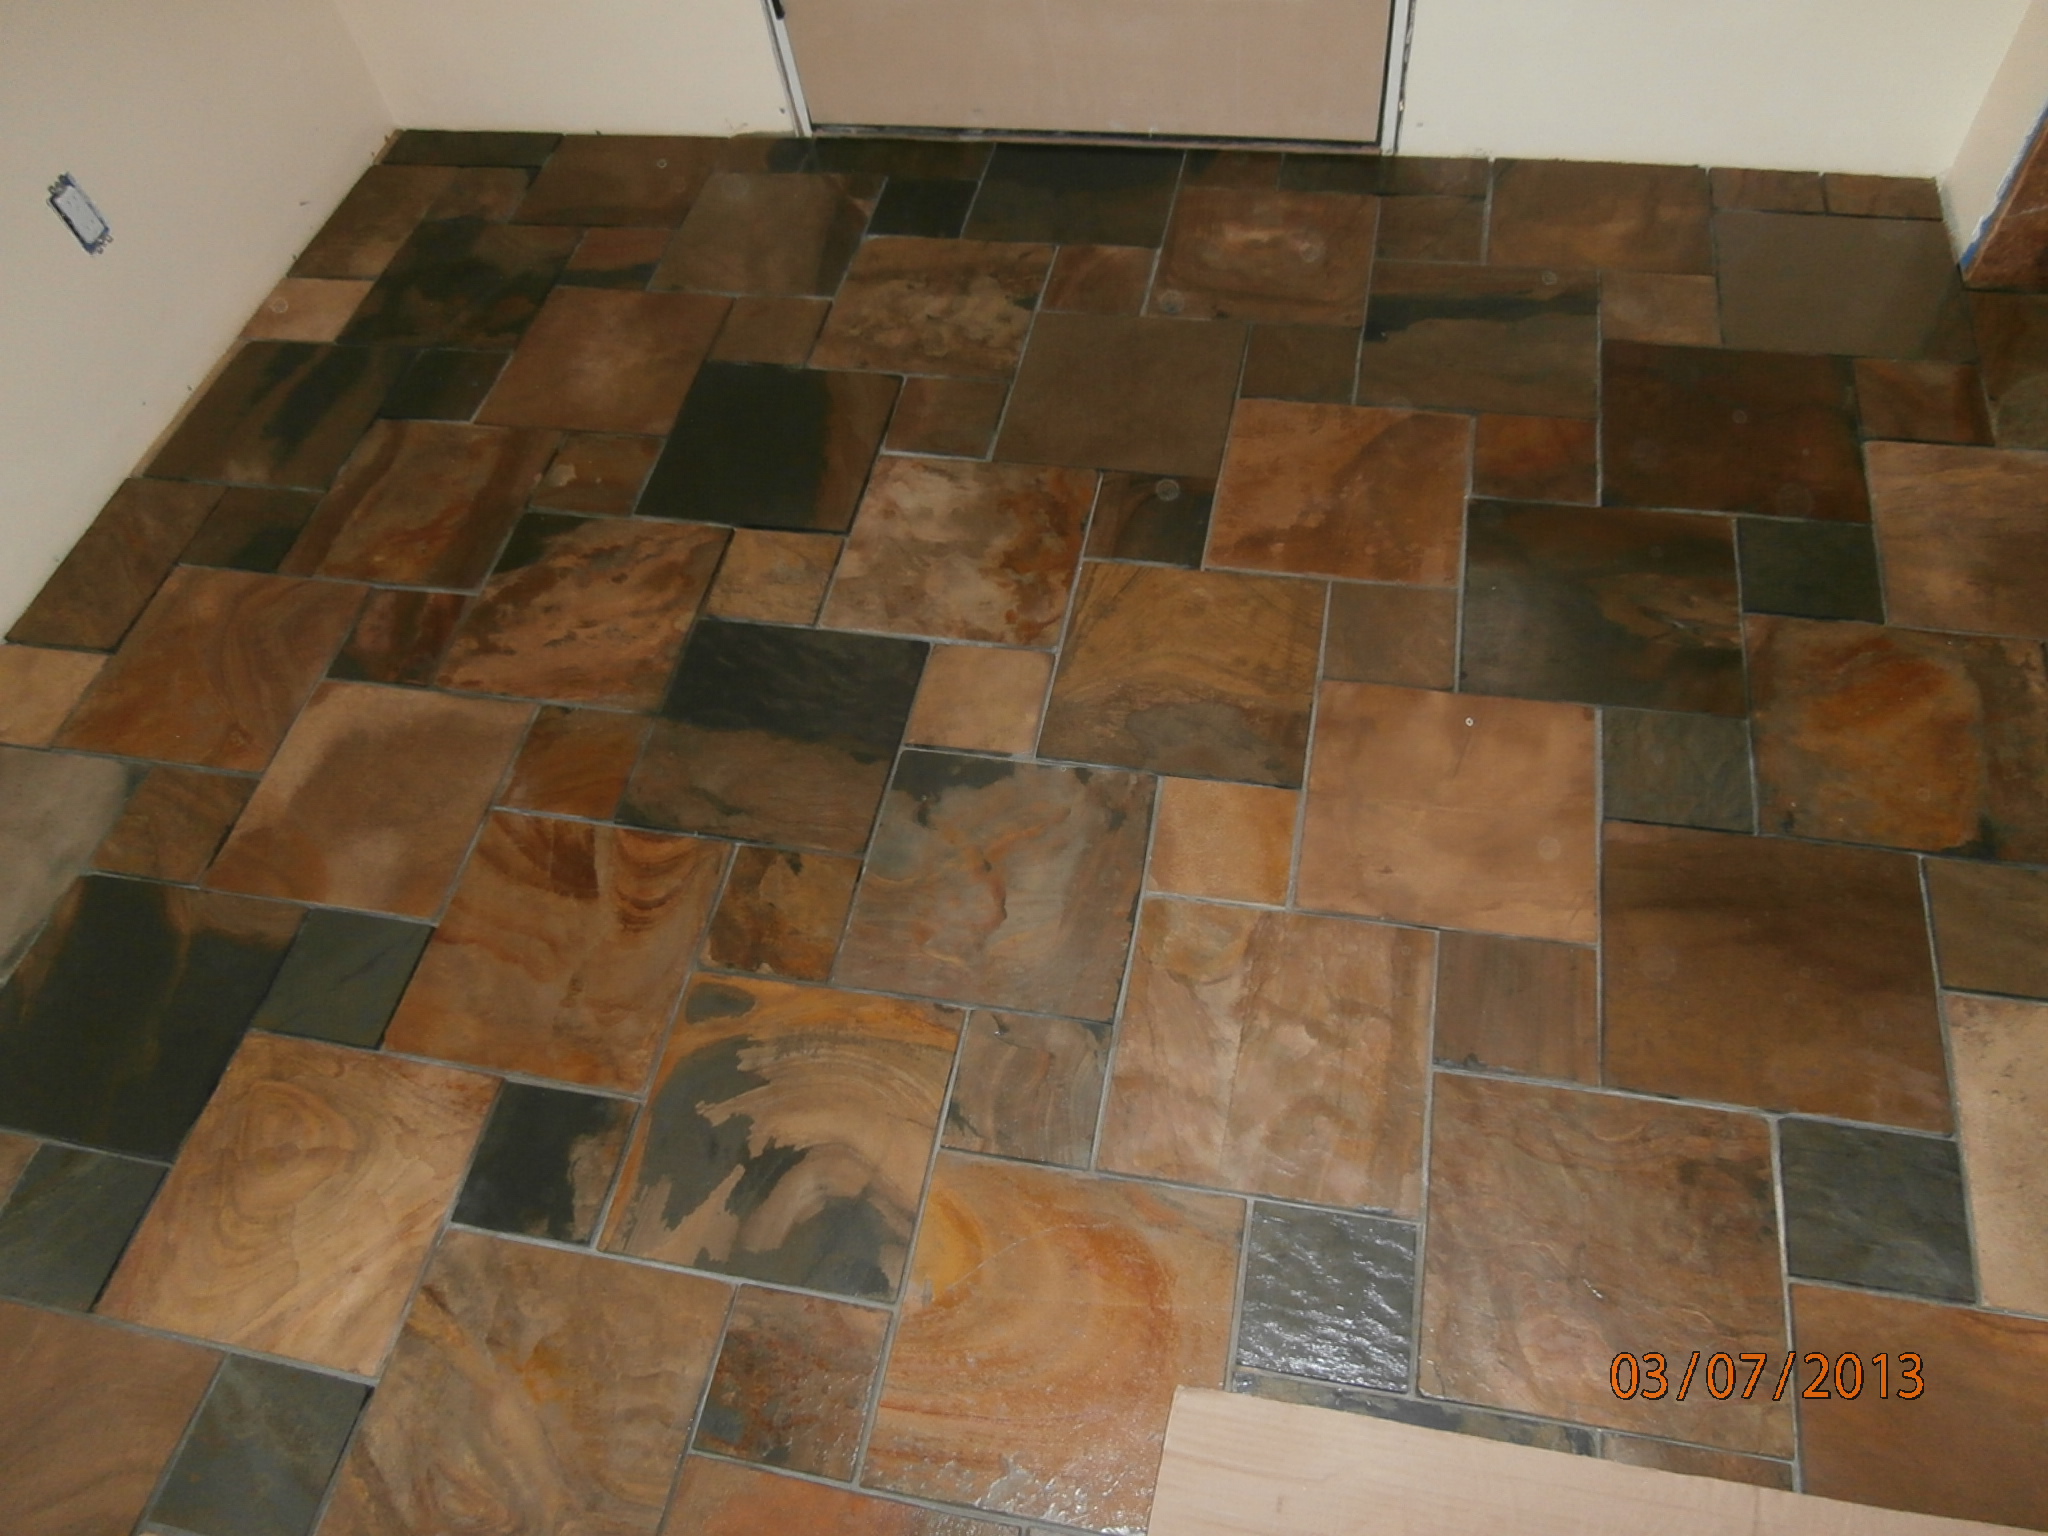
We’d been browsing at Best Tile every couple weeks for a couple months, hoping inspiration would strike. This time, we decided we wouldn’t leave without picking out something for the hall. Mary wanted red. Terra cotta. And they didn’t have any red tiles we liked. So we looked … and looked and looked. And finally agreed on some greenish orangish greyish slate they had in stock, and drove off with 2000# of tiles in the back of the tahoe.
Well let me tell you: working with slate is waaay different from working with tile.
It’s irregular: Not always square. Not always straight. Never the same thickness. And with lots of chips. cracks, blemishes, and structural defects to be aware of.
In the mud room, the waste consisted of 20 of these:

In the hall, I had this much waste:

Hallway: About 2+ boxes worth of offcuts and rejects.
 Where the mud room has 4 corners, the hall has nearly 40, including 3 closets, 8 doorways, and a diagonal edge. The area-to-perimeter ratio is really low.
While the mud room has a ‘regular’ tile pattern, the hall is a mosaic of 2 stone sizes, so even away from the perimeter, ‘every other tile’ had to be cut twice.
In short, I couldn’t possibly have made it harder on myself if I’d tried.
They tell you to start in the middle of the room and work out, but it’s a good thing I started in a closet, because it took me awhile to learn that, to make tiles of different thicknesses line up on top, you have to start with a thick bed of thin-set. Which is why I ran out of thin-set. More than once.
Nothing slows you down like running out.
It’s not so bad when you can run down to the hardware store for something you need, but I ran out of slate 4 tiles from the end and had to make a trip to burlington to get more. And then, while putting in these last few, I ran out of thin-set 2 tiles from done. I felt really stupid.
 With manufactured tile, you just glue it down and then grout it. With a porous stone like slate, you have to seal it before grouting, lest the whole surface take on the color of the grout. This gave Mary a chance to get involved, and she cleaned it and put on 2 coats of tung oil. By this time, it was really shiny, and I was worried about scratching the surface.
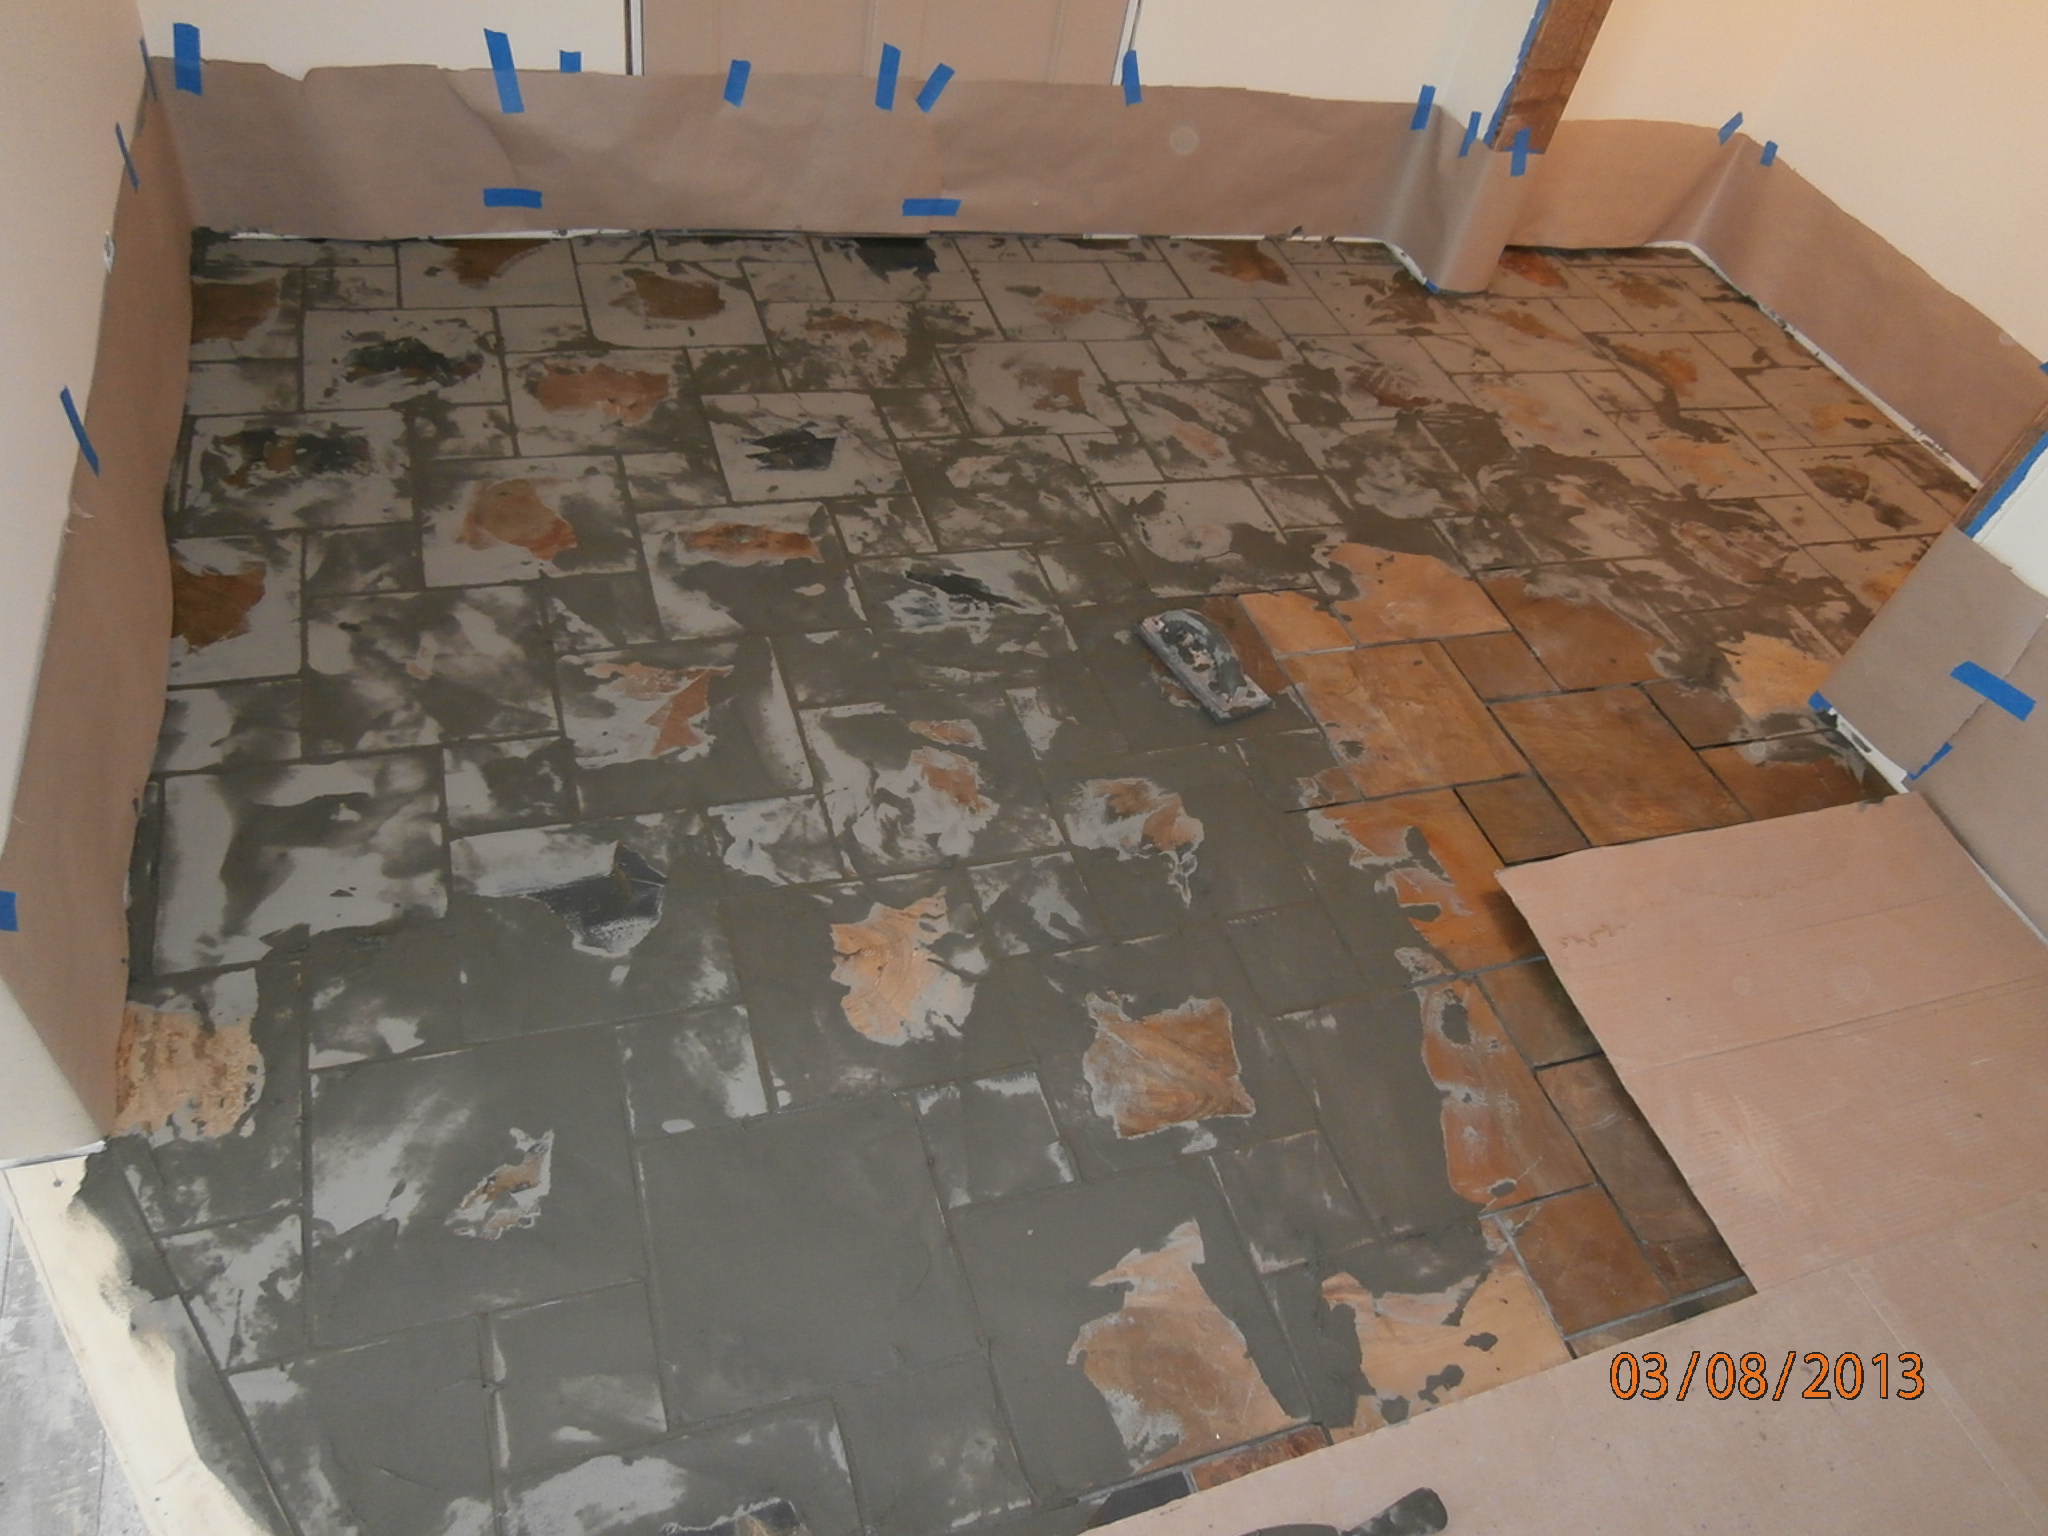 Slate is surprisingly soft, and I was starting to have misgivings about our choice. While installing it, I was careful about tracking grit onto it, spreading cardboard over it for protection.Then I started grouting, and the folly of all my precautions became apparent: Here I’d been taking my shoes off to walk on it, and now I was spreading a sandy, abrasive mush into all the cracks, leaning hard into the applicator. Based on the experience of grouting the mud room floor, I just went ahead and grouted the whole hallway before going back to start sponging off the excess. Big mistake, as the oldest areas had started to set up pretty hard. After almost 6 hours of elbow grease, though, all the big chunks were finally gone, and the second sponging went quickly. With all that rubbing, the sand in the grout had abraded the shiny surface very nicely, and it’s a good looking floor.
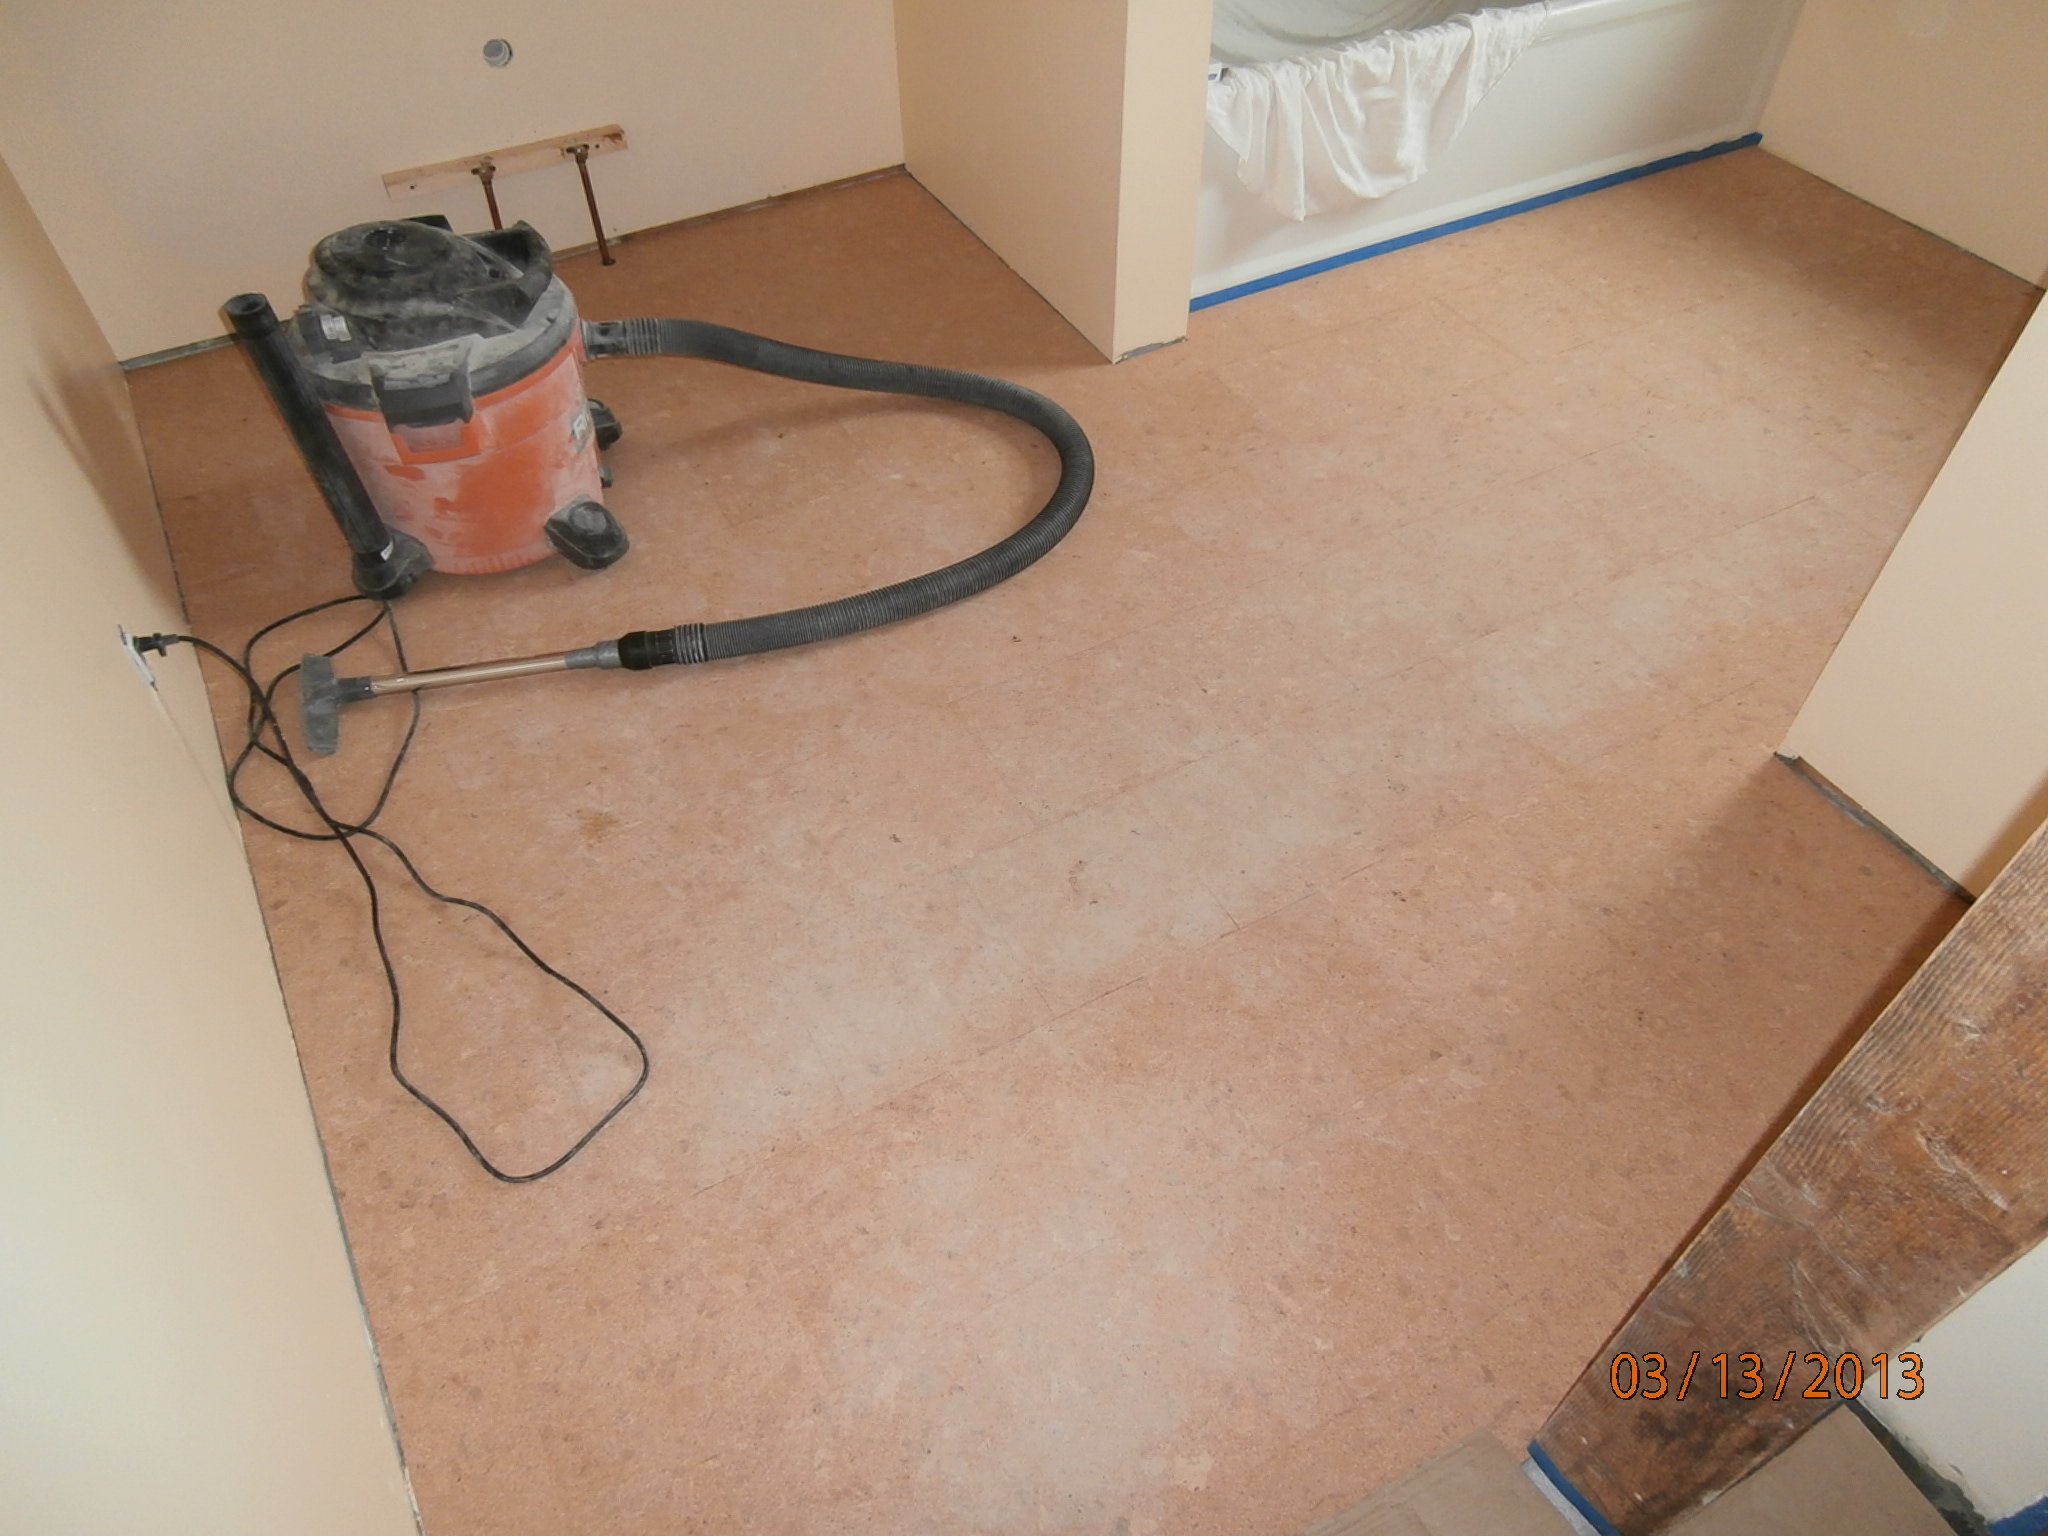
While the mudroom floor took me about 2 days, the hallway took me 3 whole weeks. Whatever I bit off next had better get done faster than that! So the next project was the family bathroom floor. This would be done with cork tiles, because Mary likes cork, and also because Mary bought ‘a little extra’ when we did the kitchen floor in the Green house a few years ago. Enough extra, in fact, that we corked the floor in the Westford master bath with what we had on-hand, and STILL had enough left over to do the bathroom in the new house.
The cork is thin, and the cement-board underlayment was full of embossments. Plus, the thinset I’d used to tape the joints had left a low, but noticeable ‘wave’ on the surface. The last thing I wanted was to walk into the bathroom and see, in the glancing light, the “Hardie-Backer” trademark telescoping through the cork. So I decided a coat of floor leveller was in order.
What can go wrong? Well, had I read the directions, I’d have known that hard water, especially water with iron in it, messes up the setting time. And our well water is hard, with lots of irony So when the floor leveller started setting up just minutes after mixing, I knew something was wrong, but I worked fast and brute-forced it into place. Hey, compared to thin-set and half-cured grout, this was easy.
 I spent a long time deciding where, exactly , to put the first tile. In the hallway, I wish I’d started the pattern about 1″ further south, because there are 3 very narrow pieces near the wall by the front door. In the bathroom, I did the math and, for once, got it right.
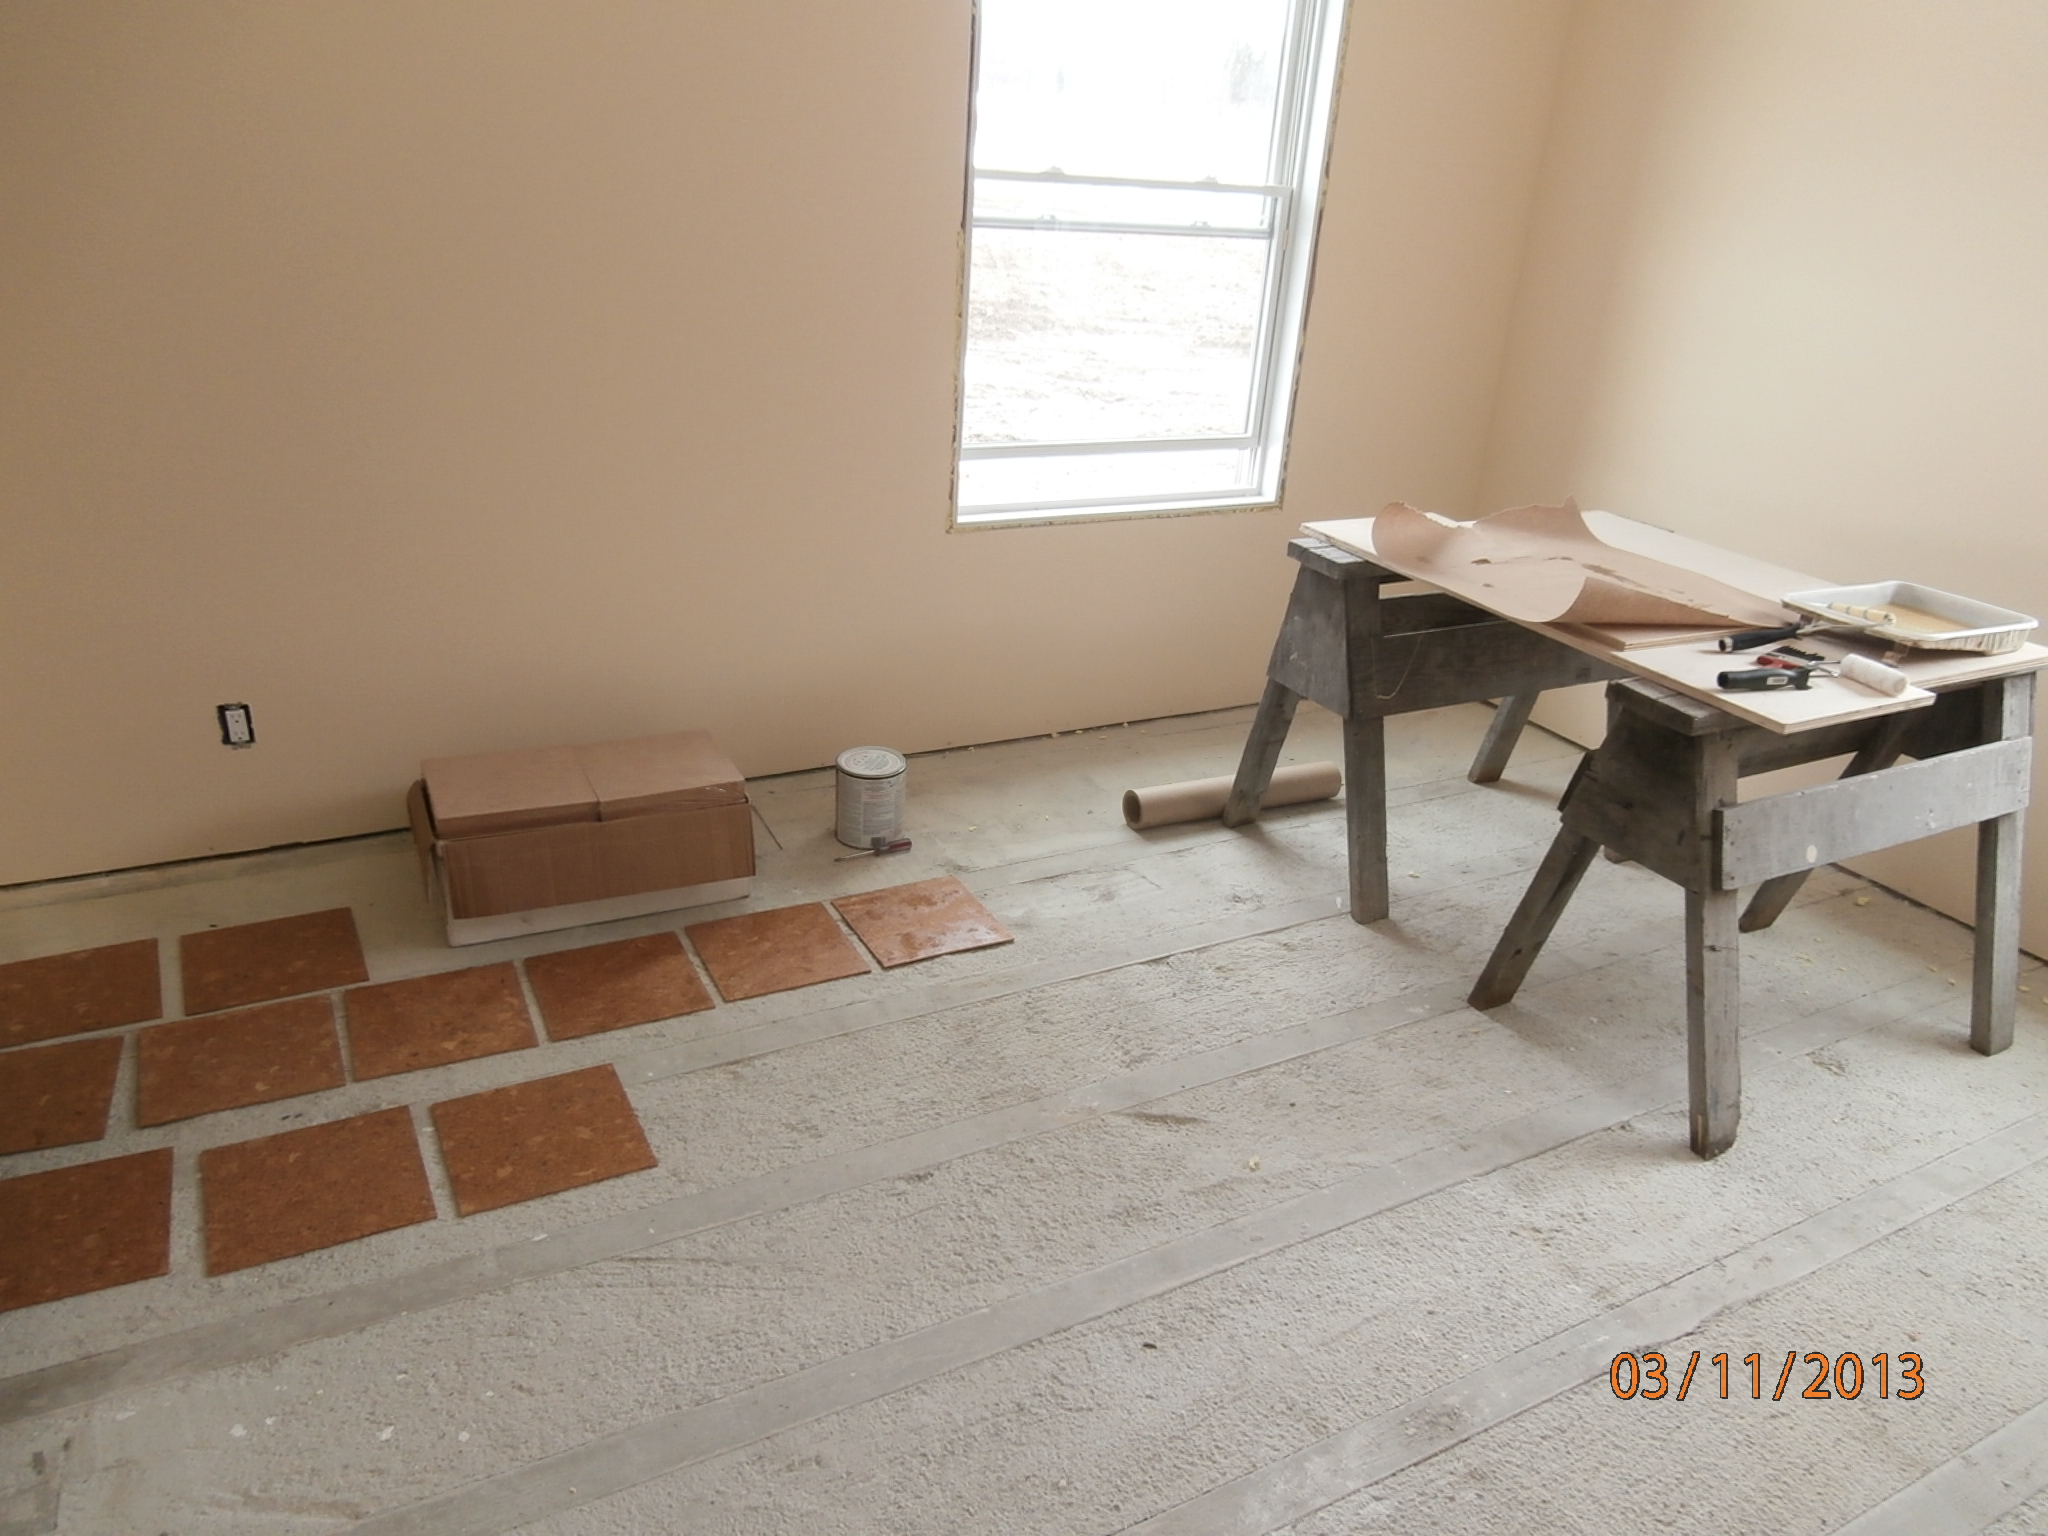 Cork goes on with contact cement, so I moved my tile saw benchtop into the Corner Office, and configured it for rolling out glue. Two coats per tile, plus 2 coats on the floor, and then – carefully – press it into position. It only took about a day to do the entire room, and it turned out fine.
Sorry I’ve got to cut this post short, as I’m having a lot of trouble with the web site response….