Since I’m hopelessly behind blogging on specific topics, here is a taste for what I do every day.
Unfortunately, I seem to have lost a slew of photos.
April 2013
Mon 4/1
dry-laid hickory in CO, LL, west side of LR, ordered adhesive
Tue 4/2
dry-laid more hickory
Wed 4/3
paperwork in AM, cut MBath countertop, moved hickory, cut thresholds
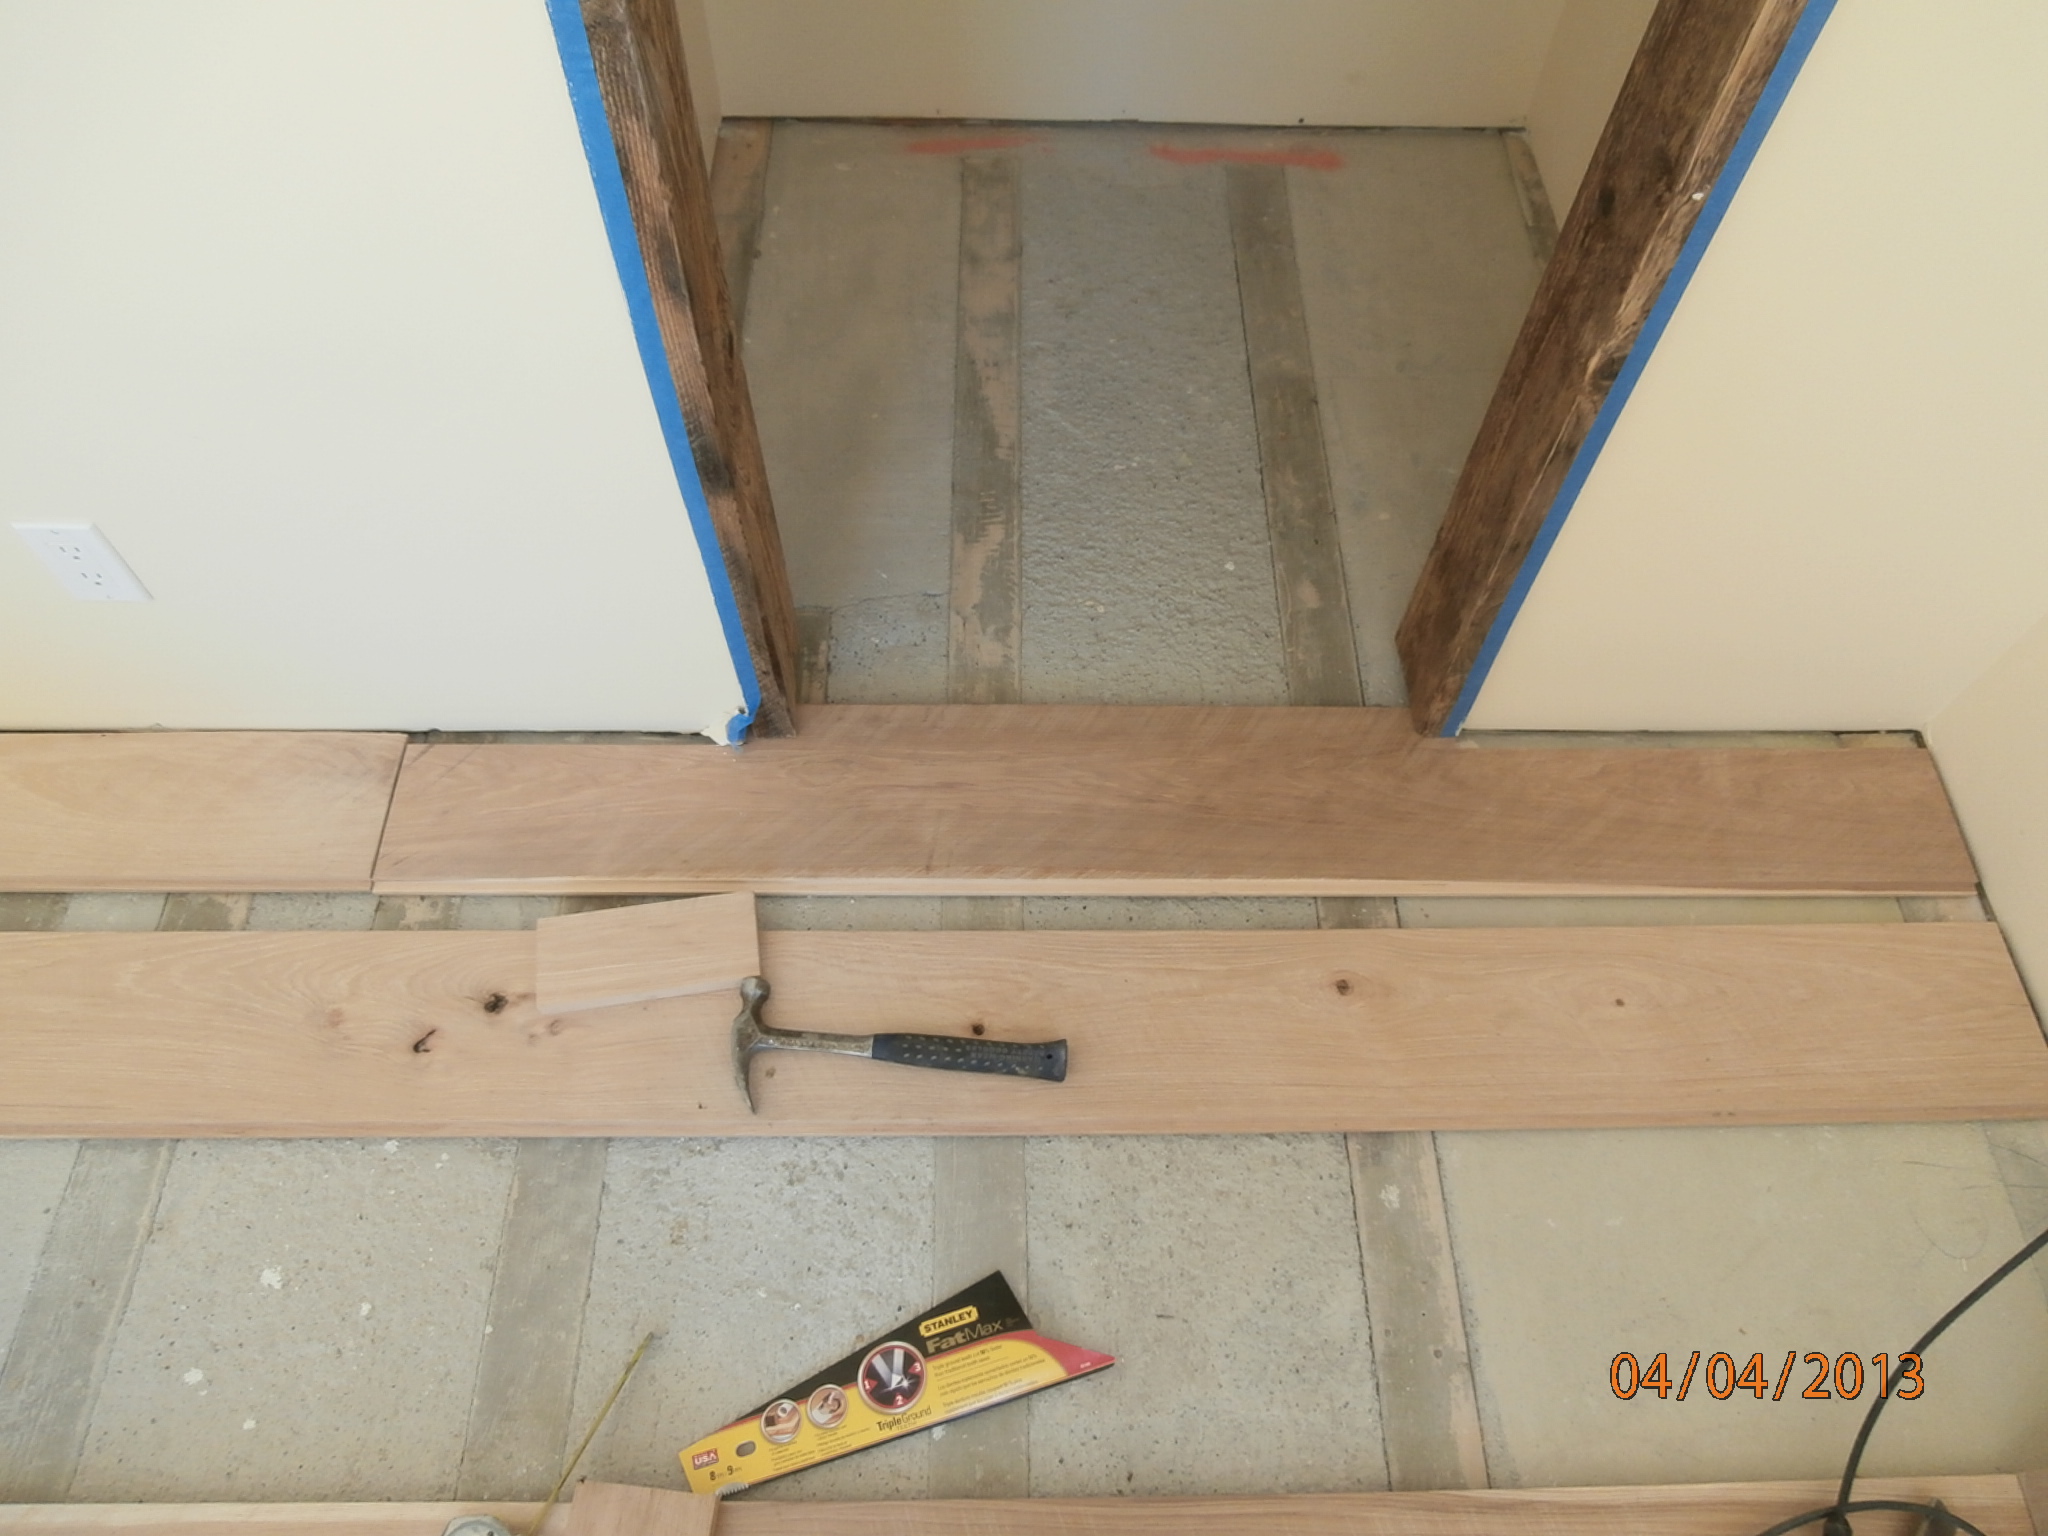
Thu 4/4
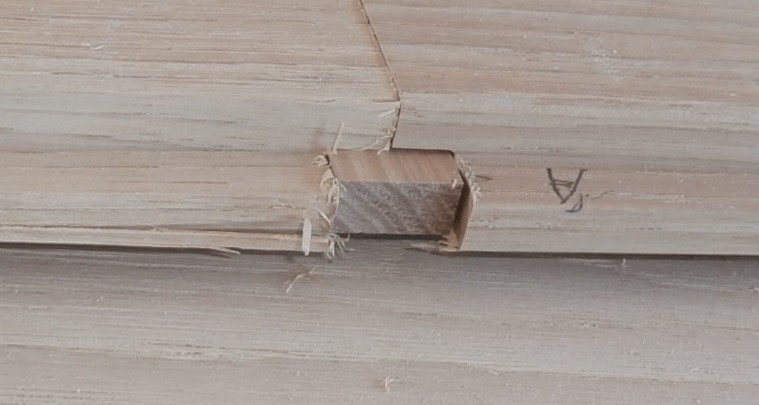
fitted floor in CO clos. taxes & shopping mid-day, milled butt tenons

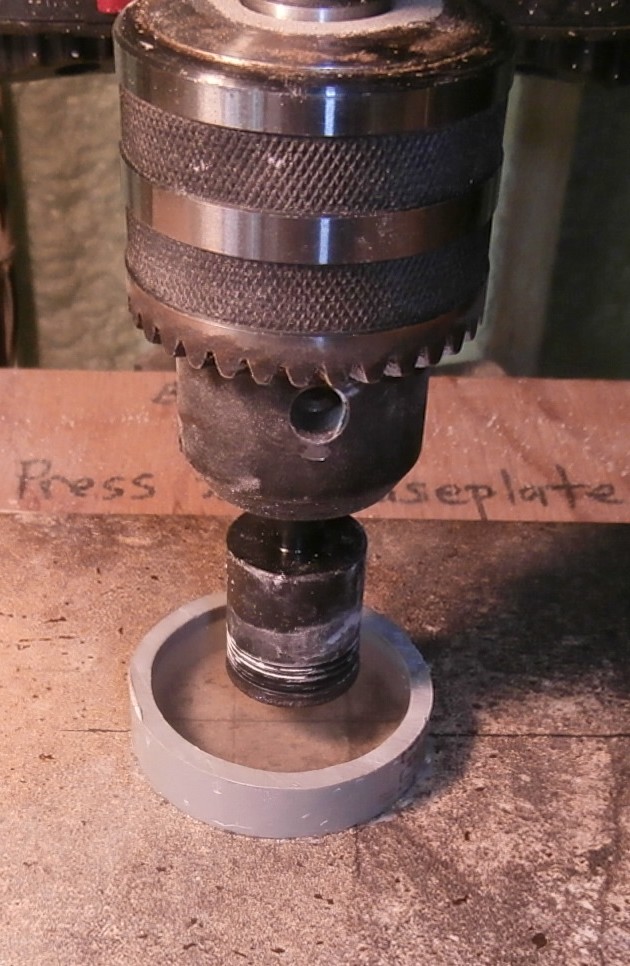
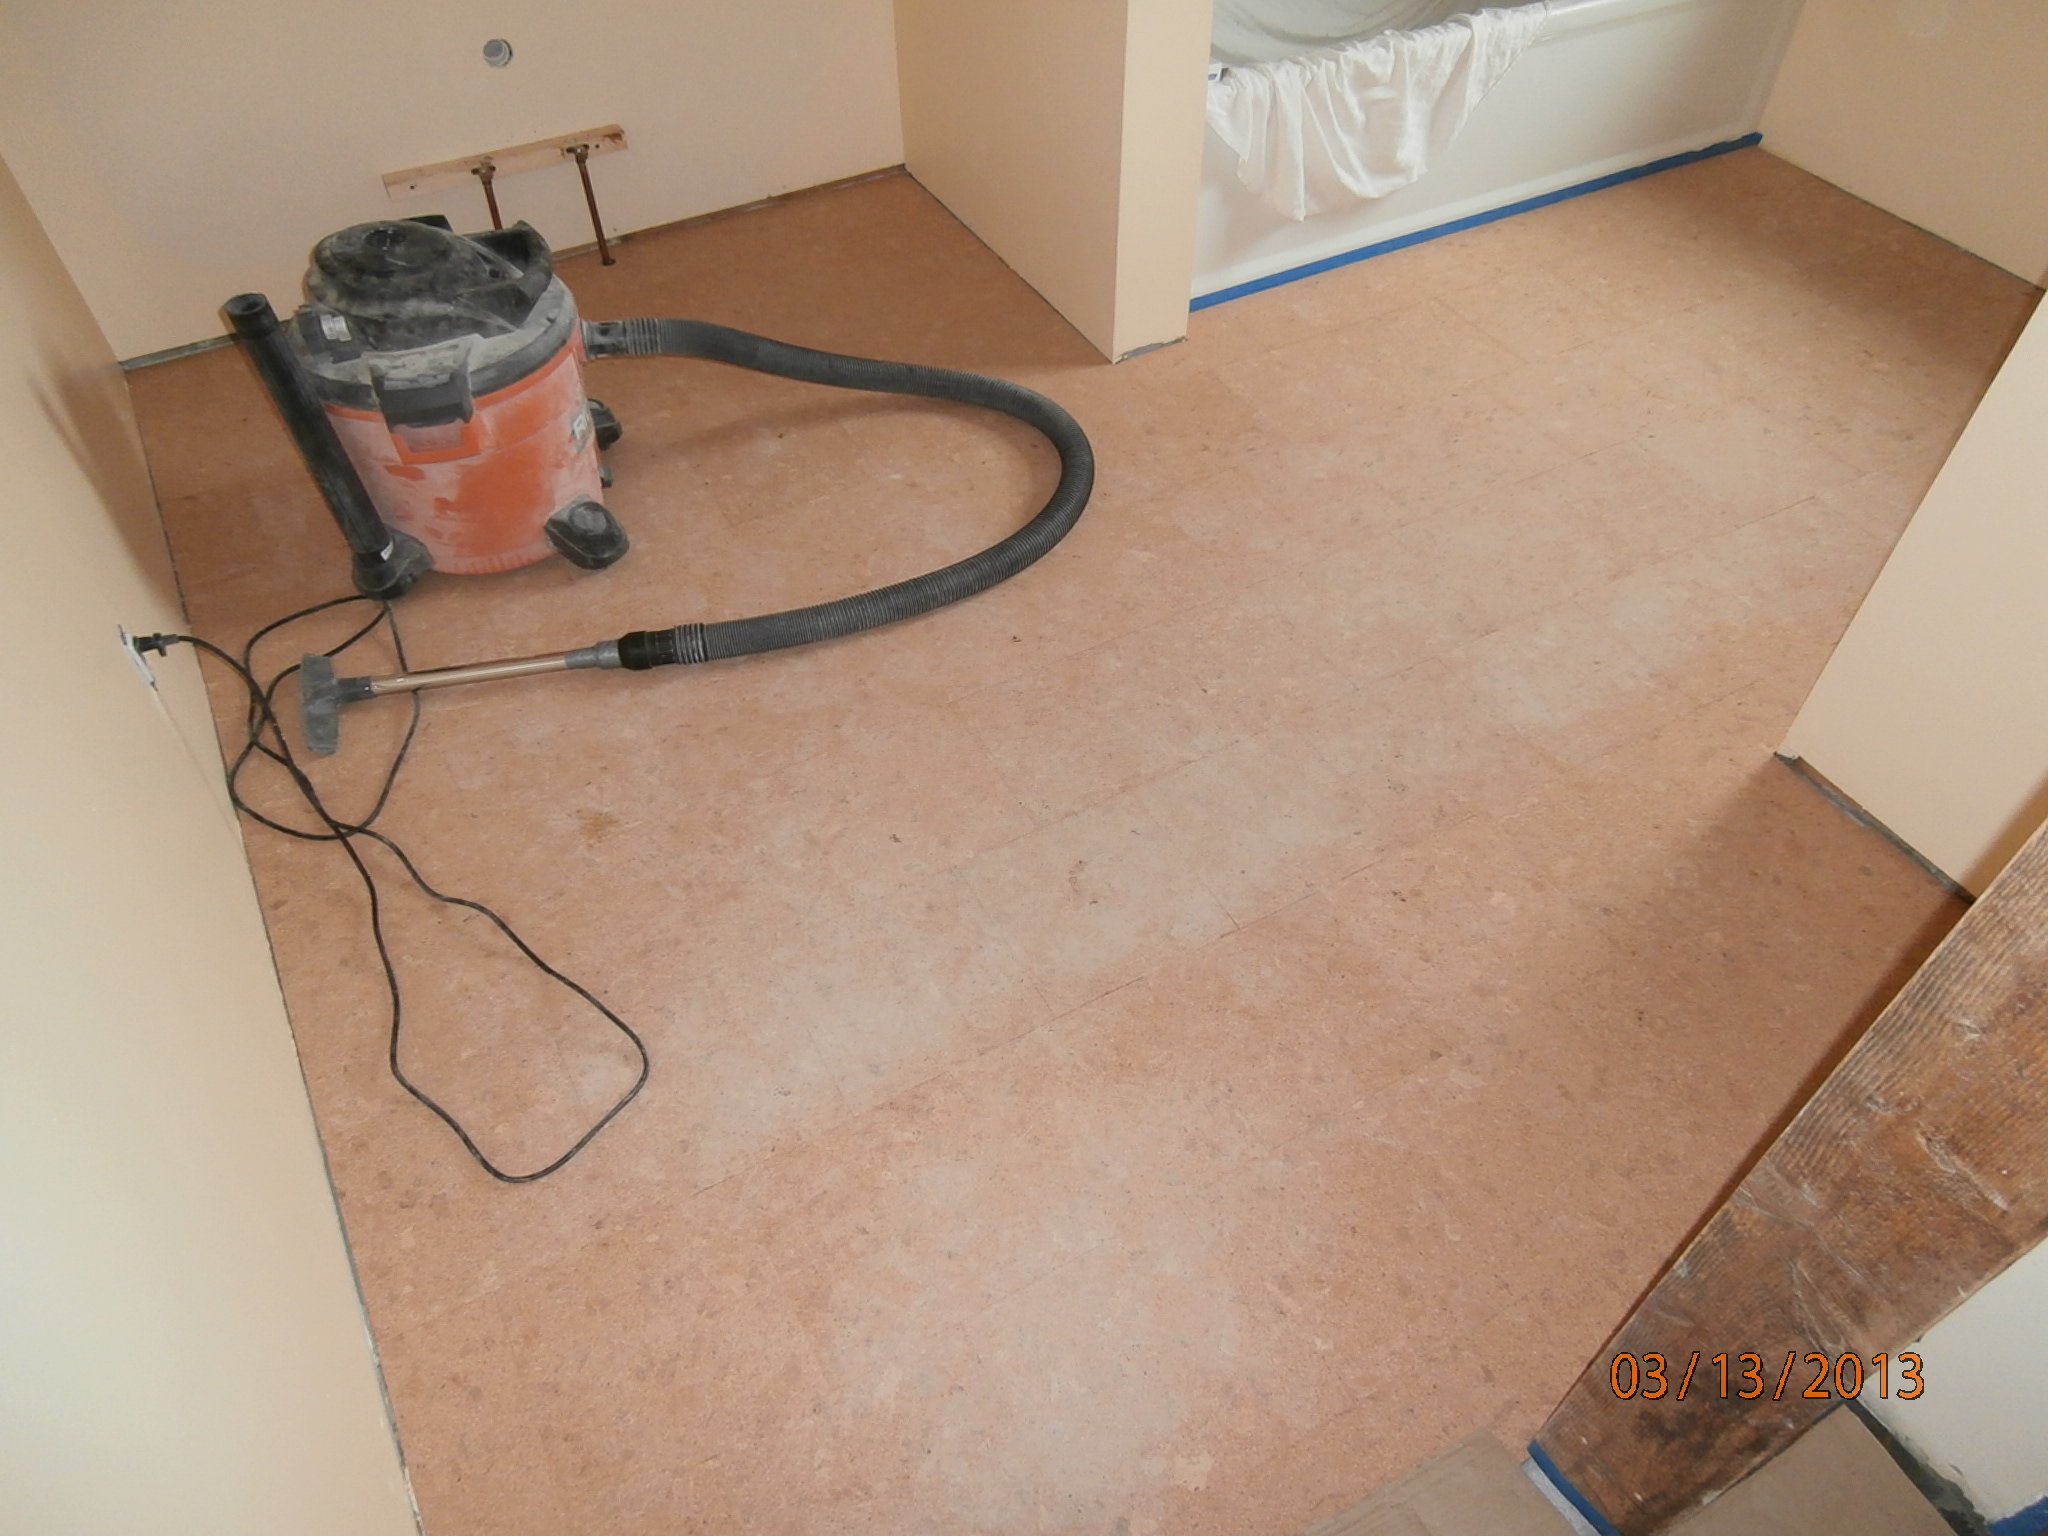
fitting a threshold
Fri 4/5
fitted floor pieces at MBR door, slate angle. Finished shower door install. Taxes.
Sat 4/6
re-wired 240V plugs for planer, took out planer blades, scraped/cleaned floor periphery & foamed
Sun 4/7
emptied office at IBM, power failure, Picked up woodpiles in the yard, Trombley walk with Mary
Mon 4/8
set up air compressor, started staking back yard, met with ashton, mill butt ends
Tue 4/9
run into town, install mudroom sink & bathroom valving, taxes, mill butt ends
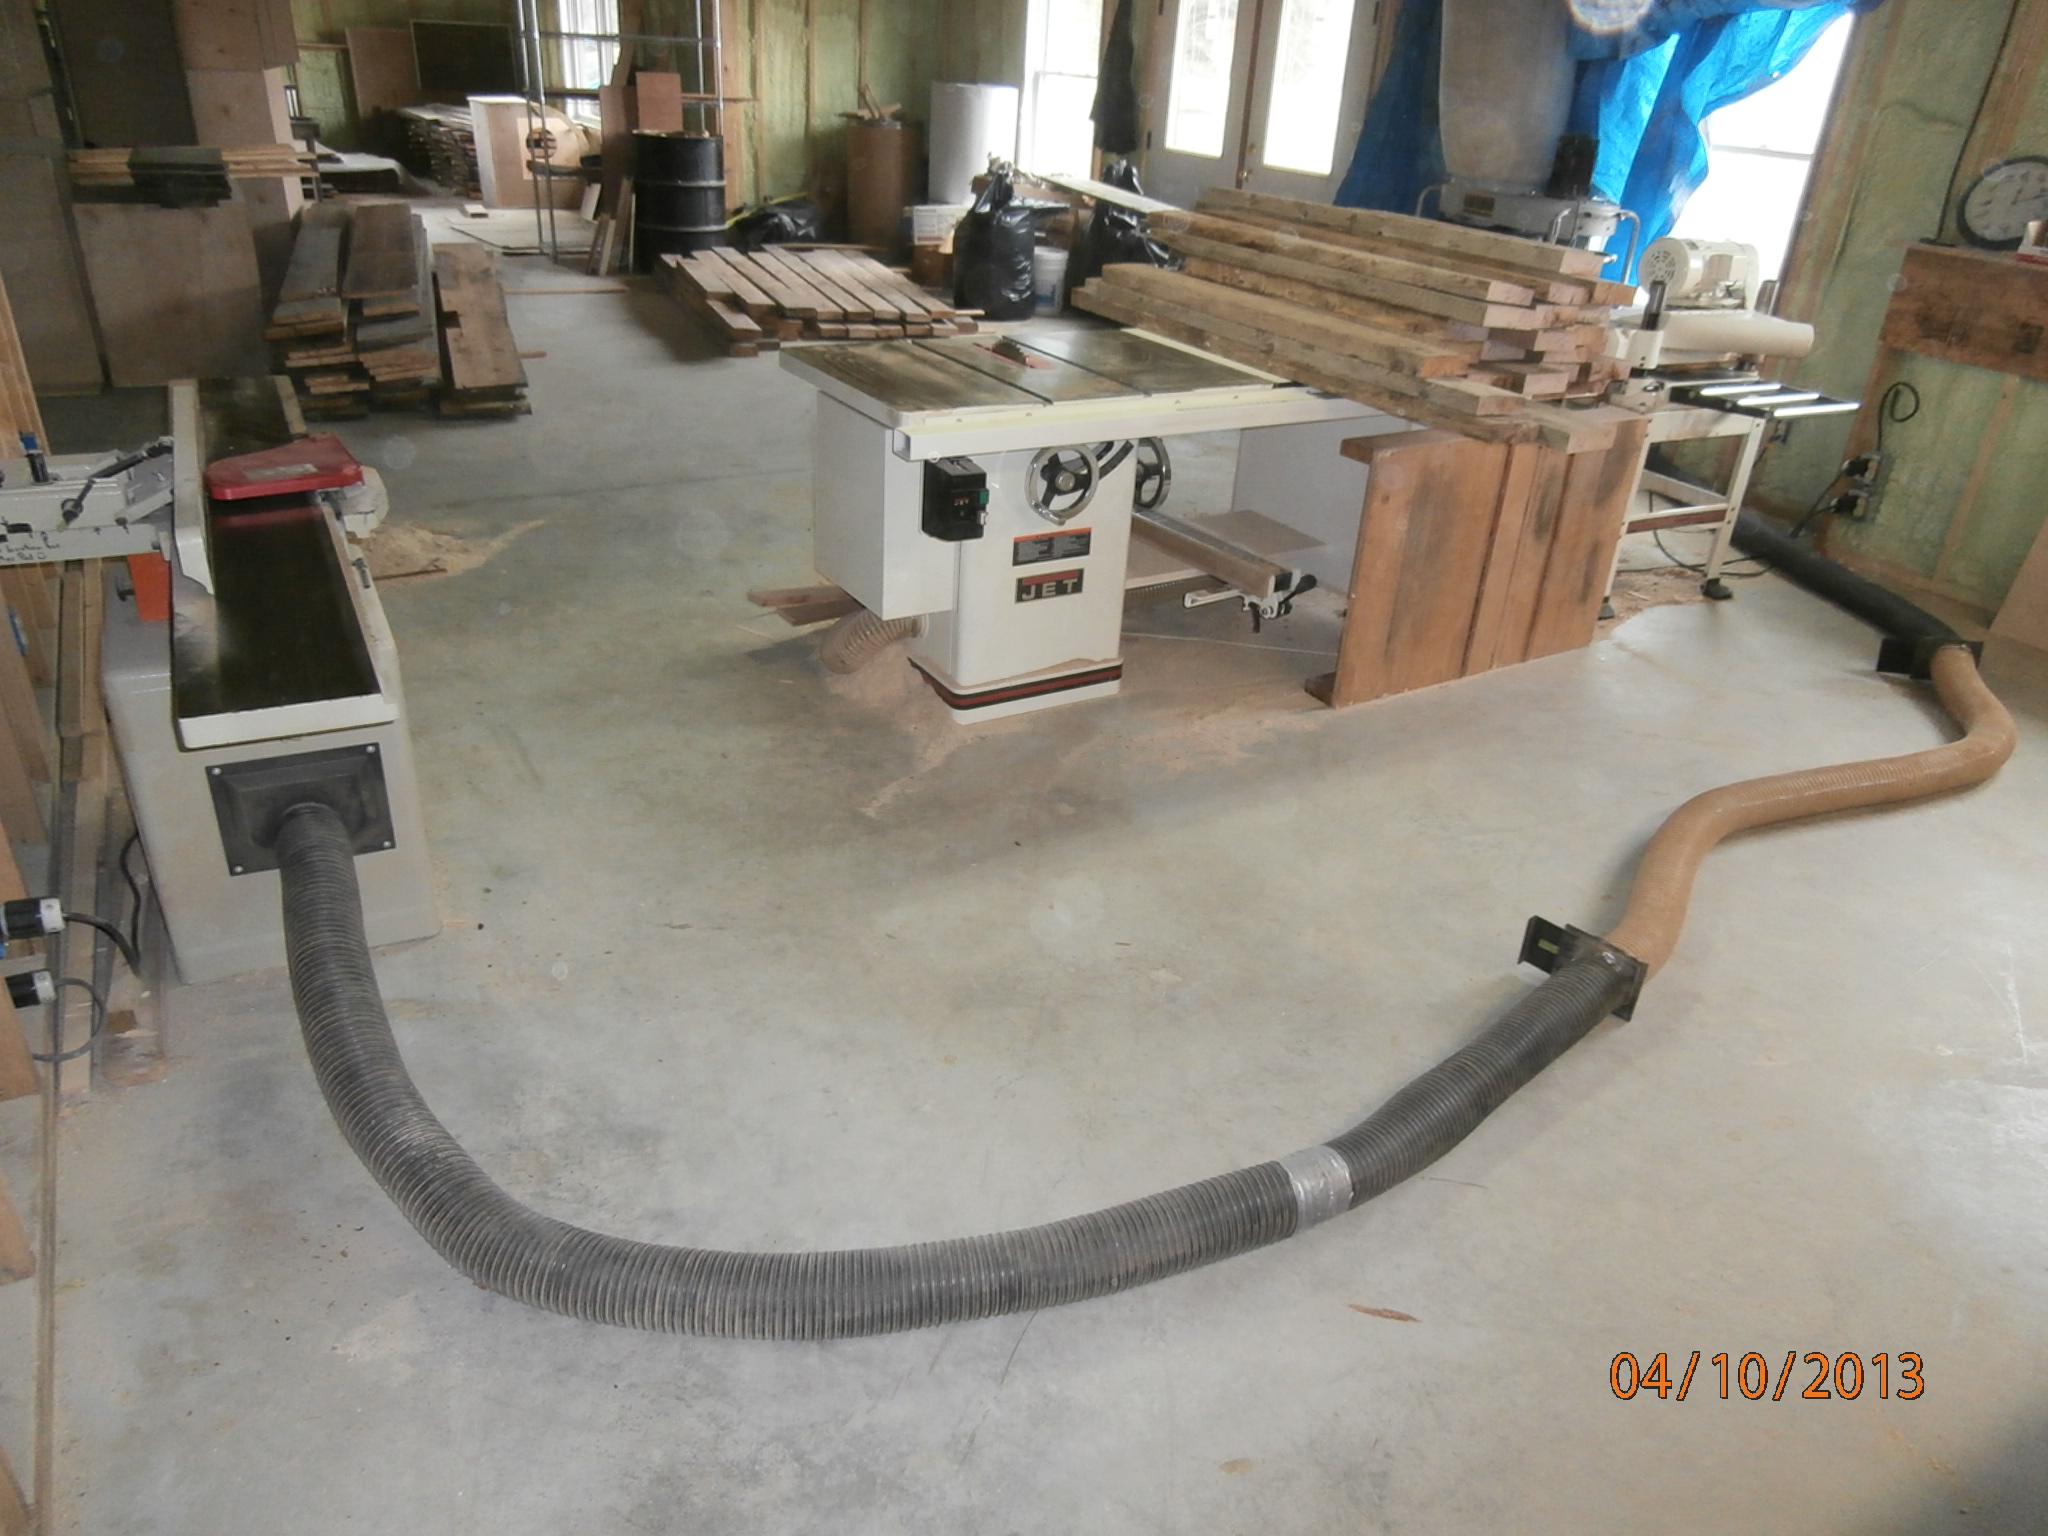
Wed 4/10
planed MBR flooring until motor overheated. hooked jointer up to dust collector. milled most ‘A’ and ‘B’ trim pieces Taxes
Thu 4/11
Milled more trim pieces, discussion with Bernie
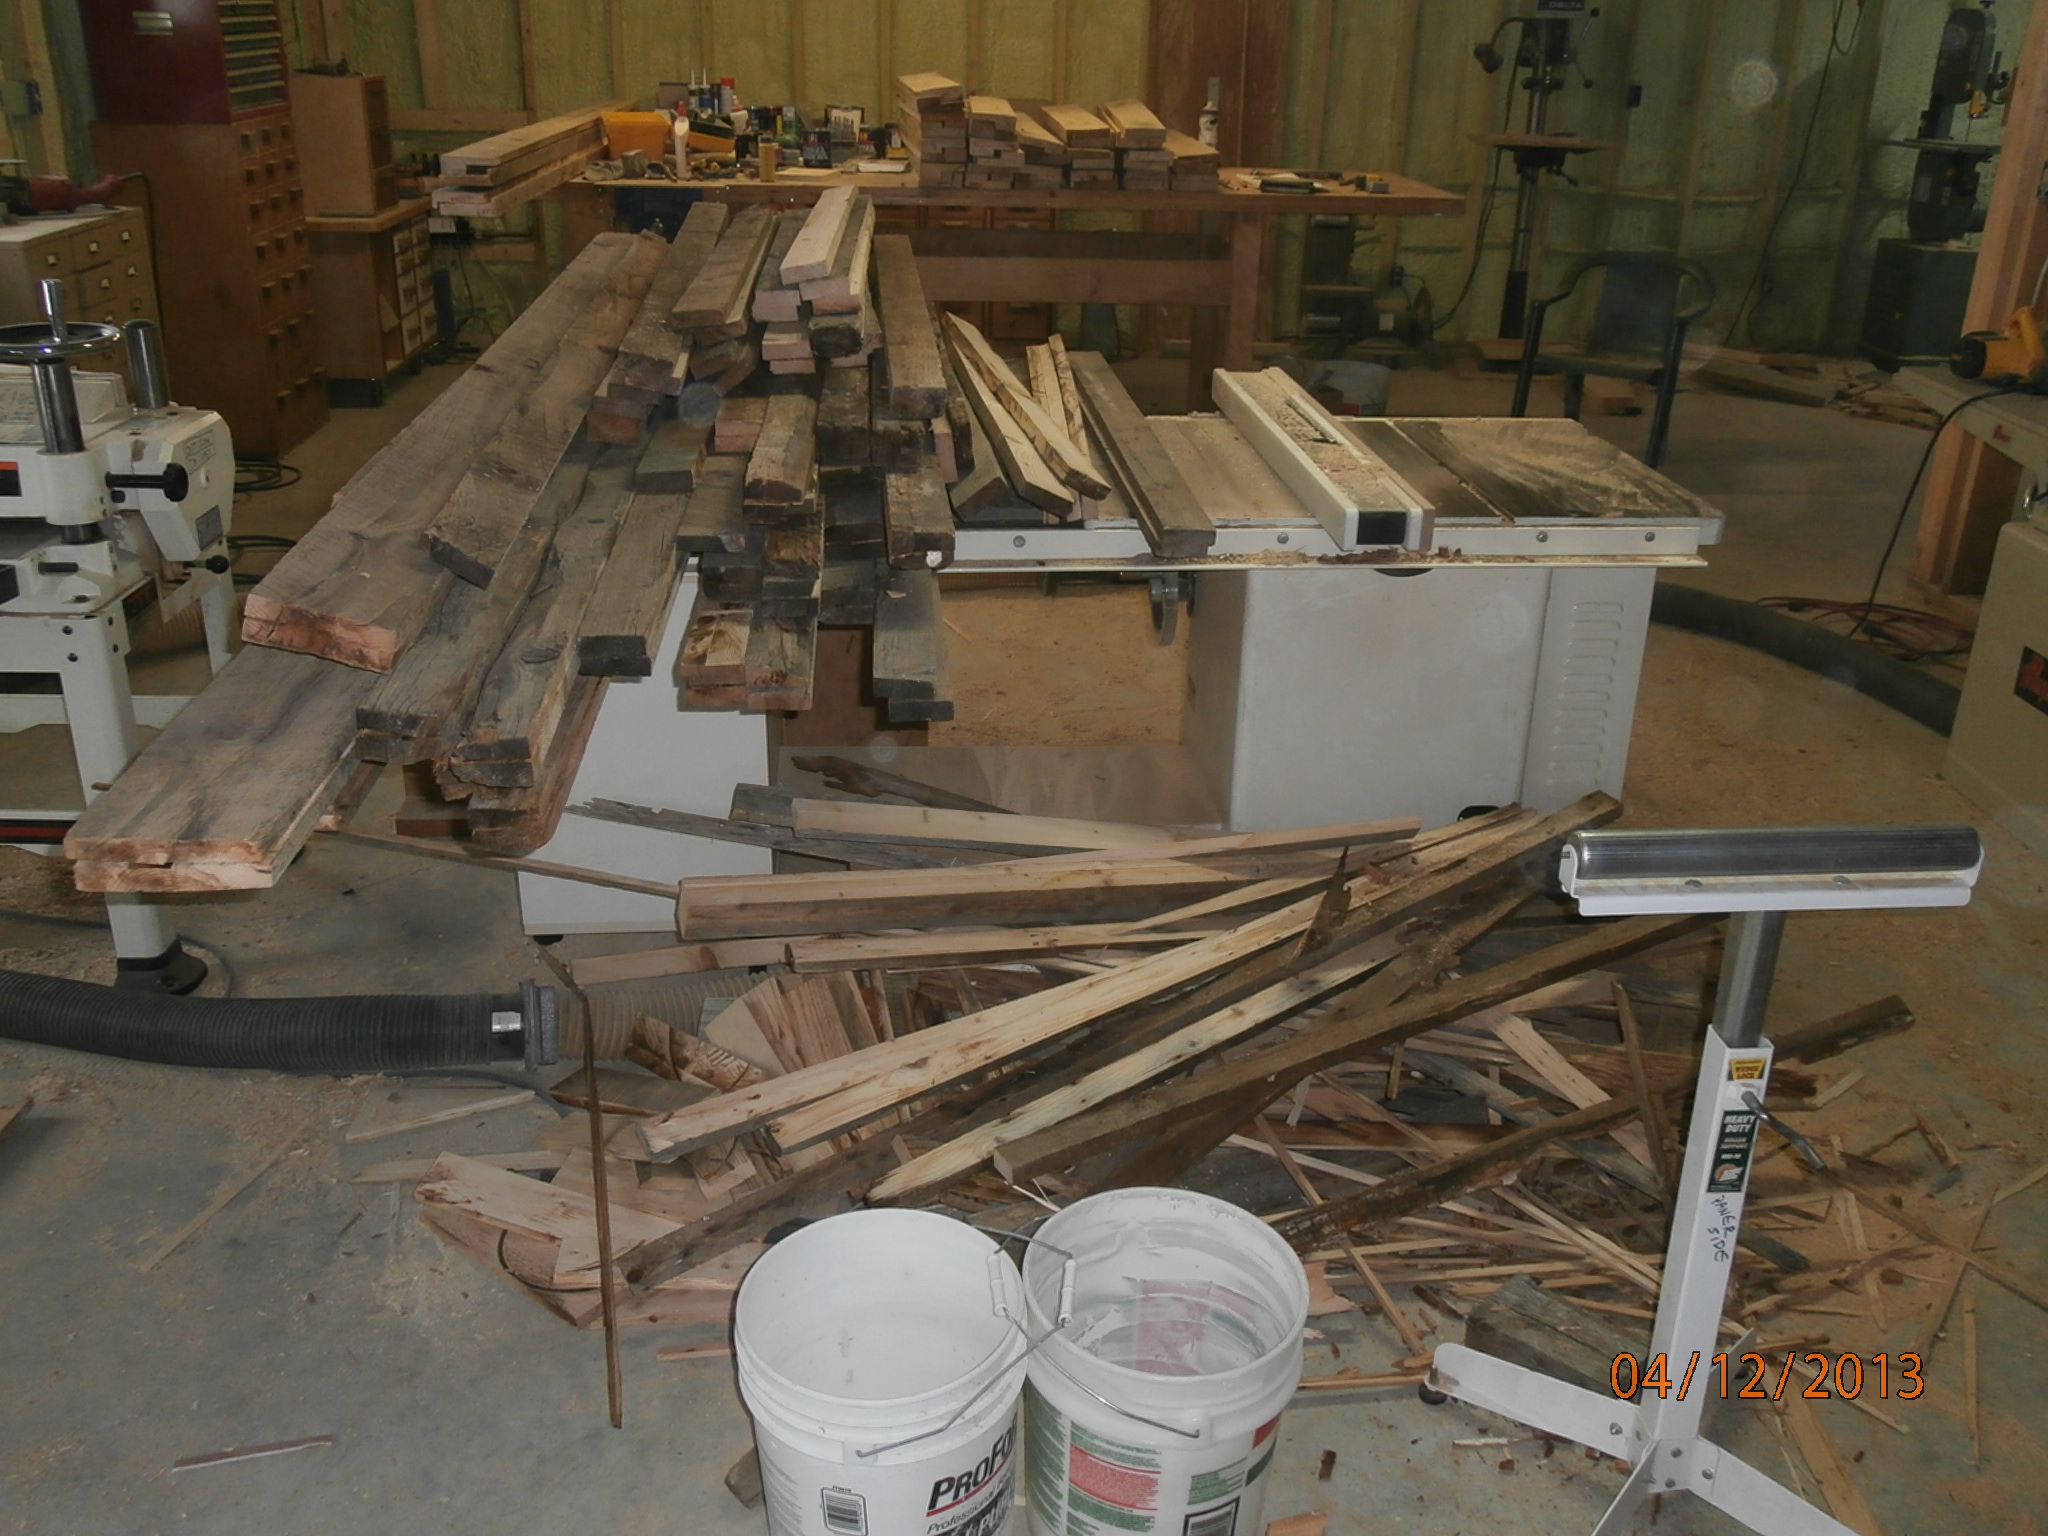
Fri 4/12
Milled ‘the rest of’ the type C trim. sorted thru house receipts, library, dropped in on Craig at MWL, hardware & grocery stores, installed trim on trial window, Date night at Piecasso. Floor glue did not arrive.
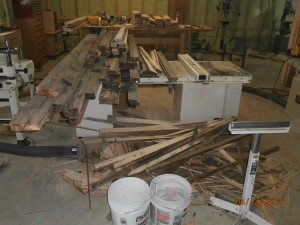
The aftermath of forming type-C trim pieces
Sat 4/13
milled rest of butt grooves, put up ‘A’ and ‘B’ trim pcs
Sun 4/14
got hot water going, cleaned up, sharpened/changed planer blades
Mon 4/15
planed MBR flooring till blades died, assembled stairway doors

One stairway door panel ready for grooving
Tue 4/16
sharpened blades, planed MBR flooring, cost spreadsheet, hardware run, got milling machine working, worked on hinge prototype (bad), received 40 gal glue for floor.
Wed 4/17
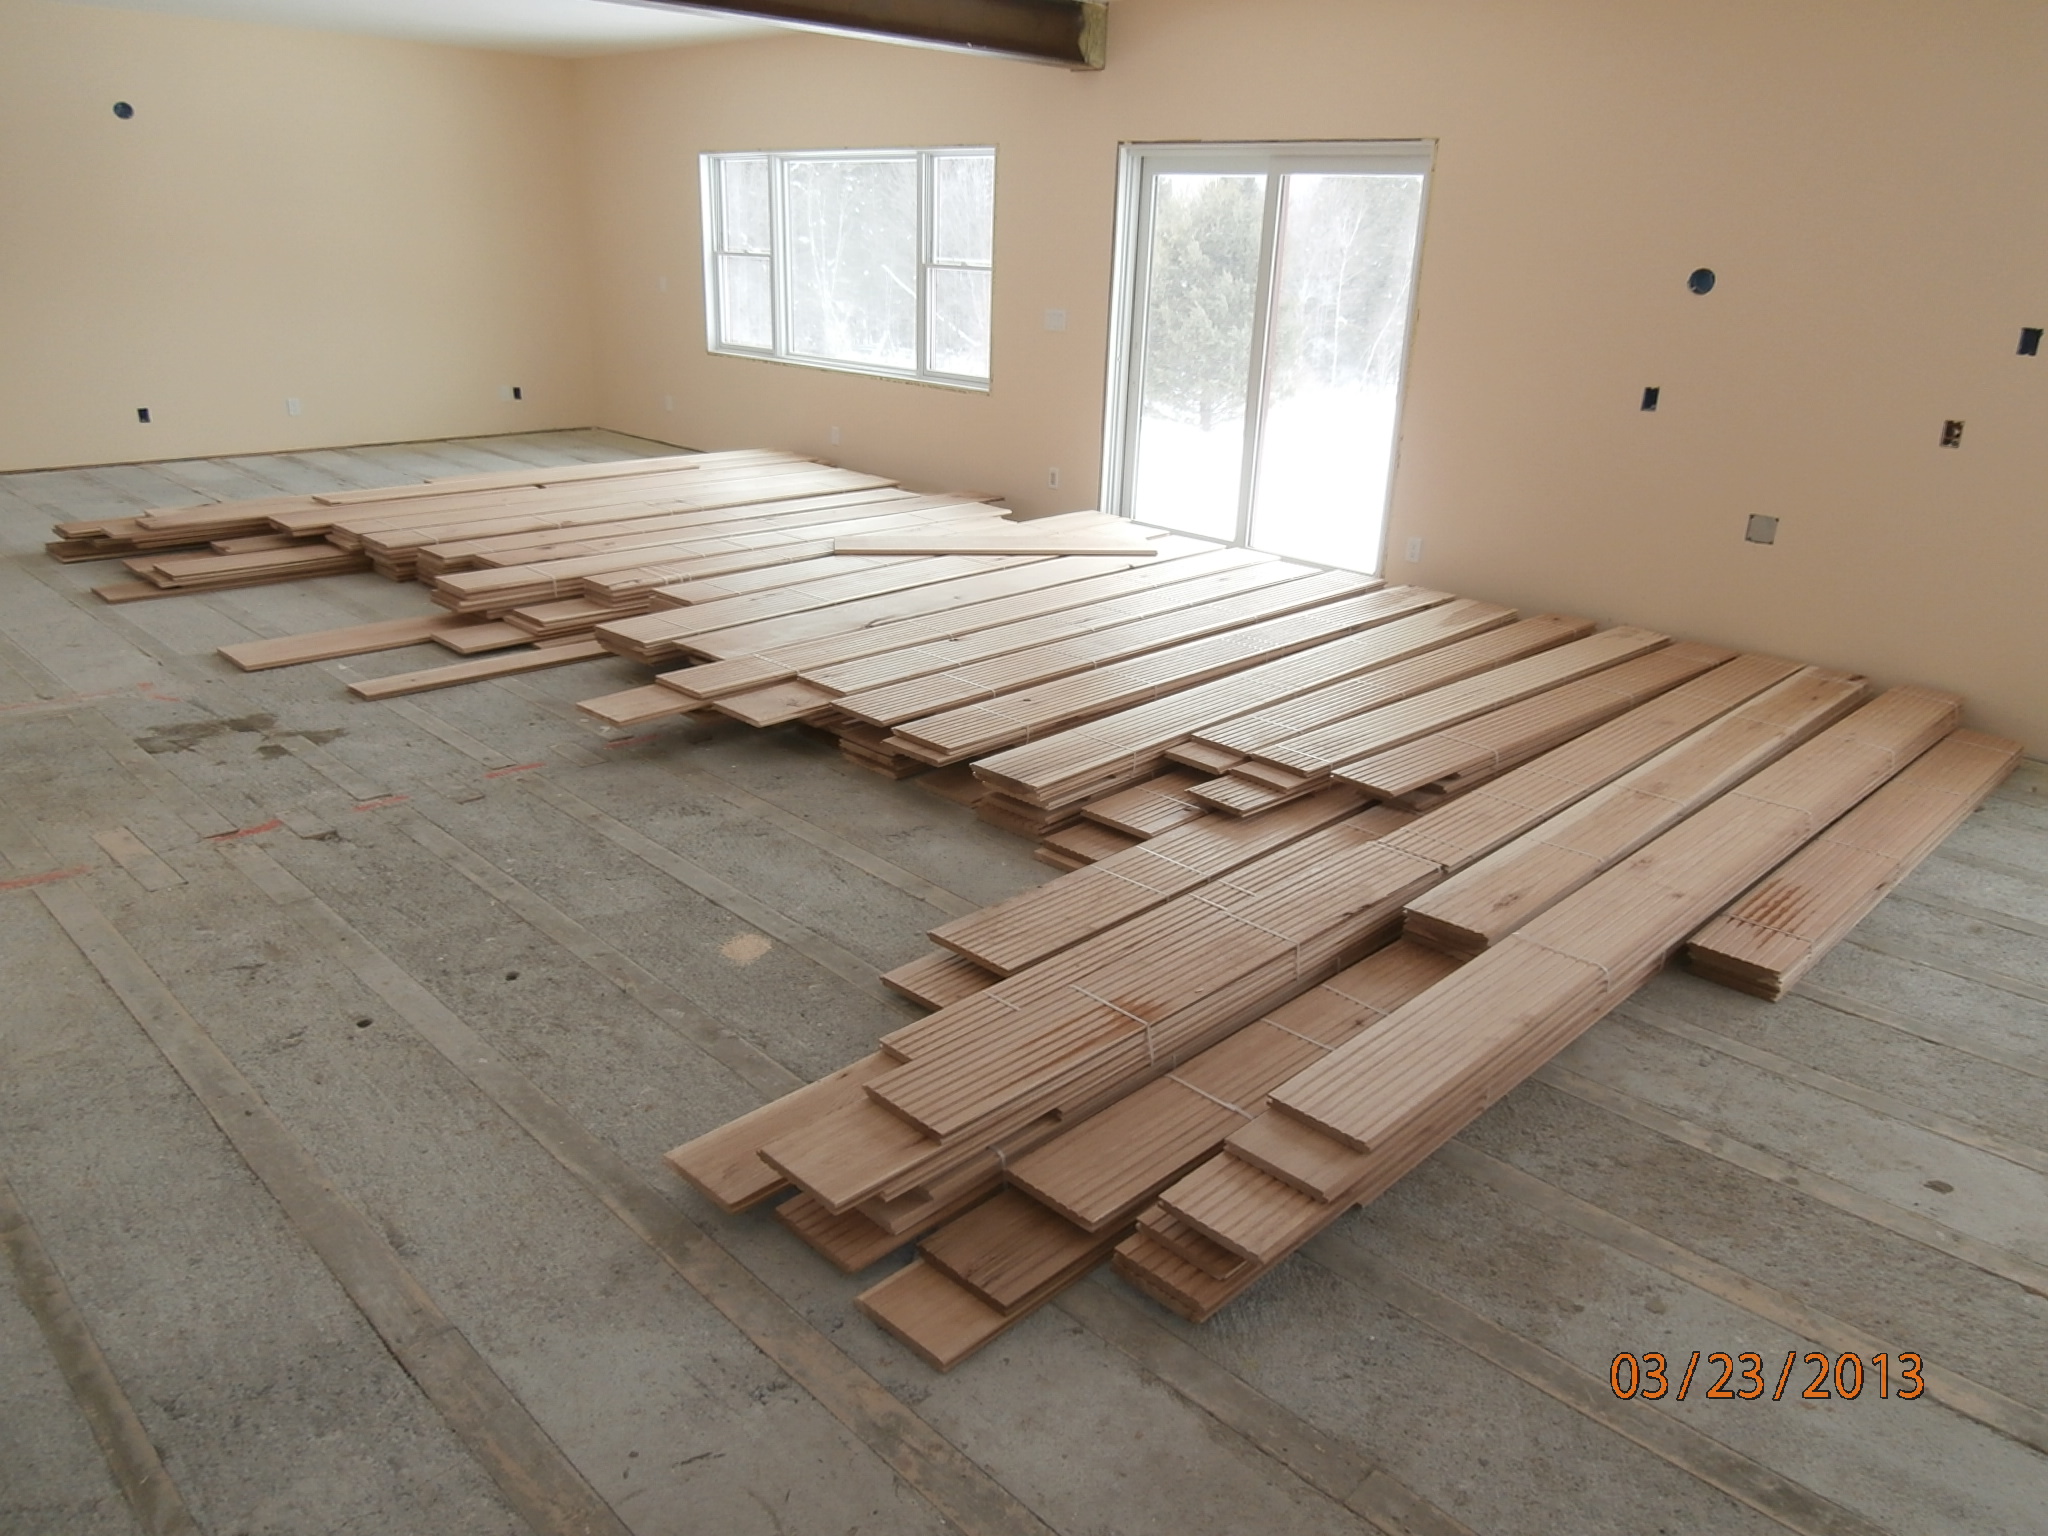
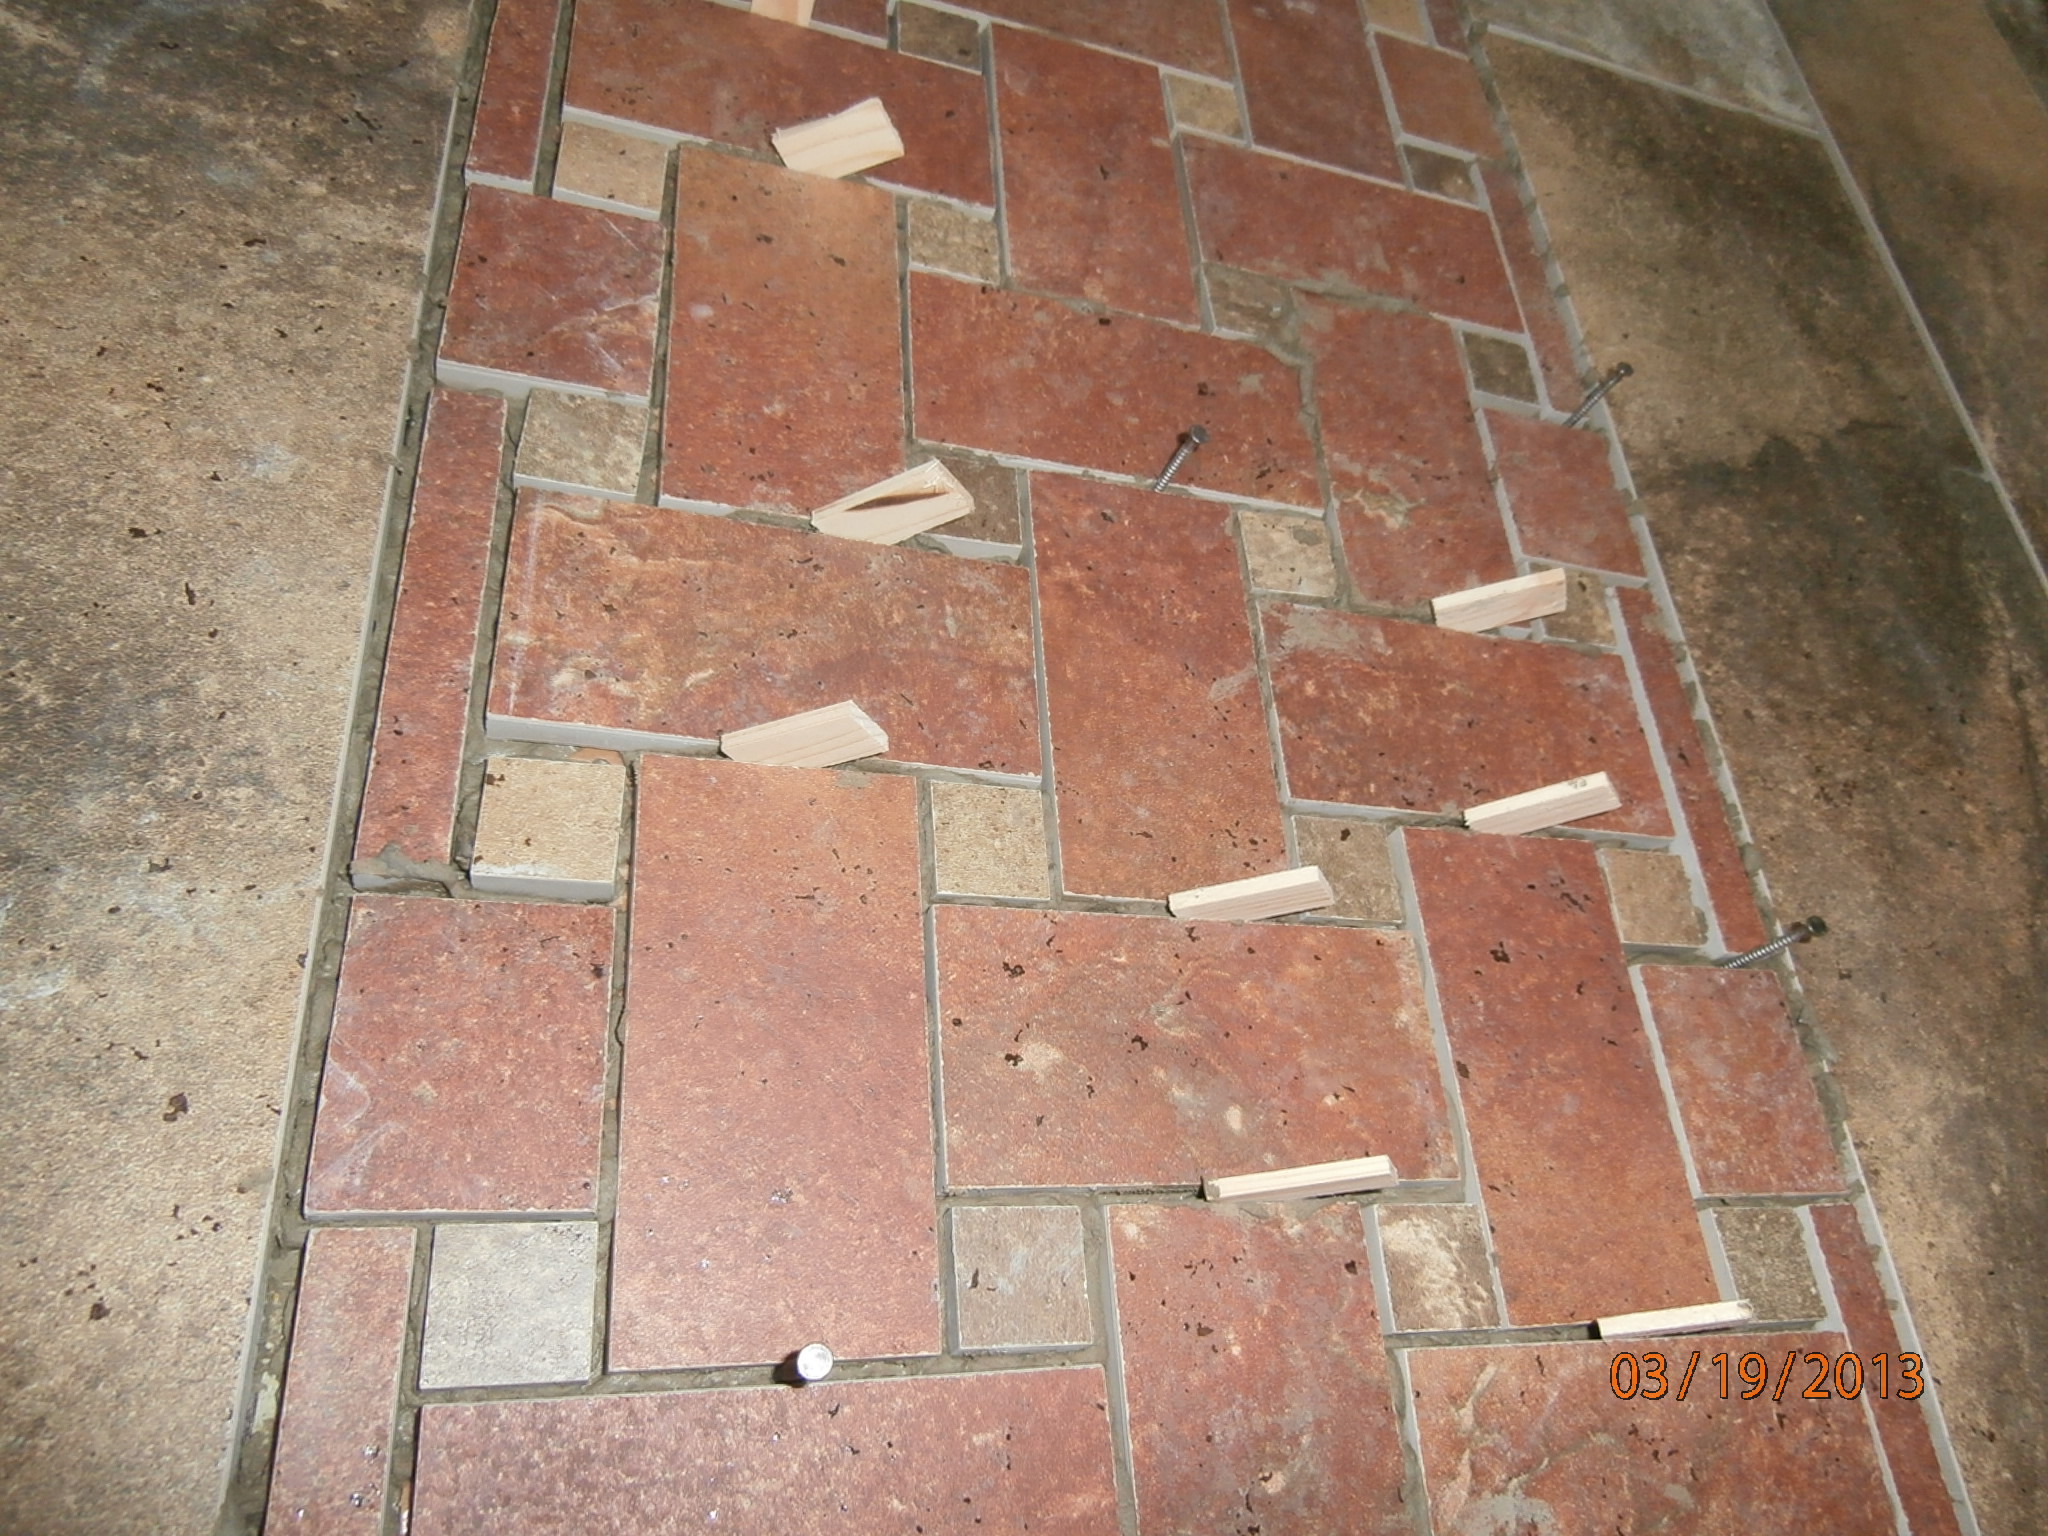
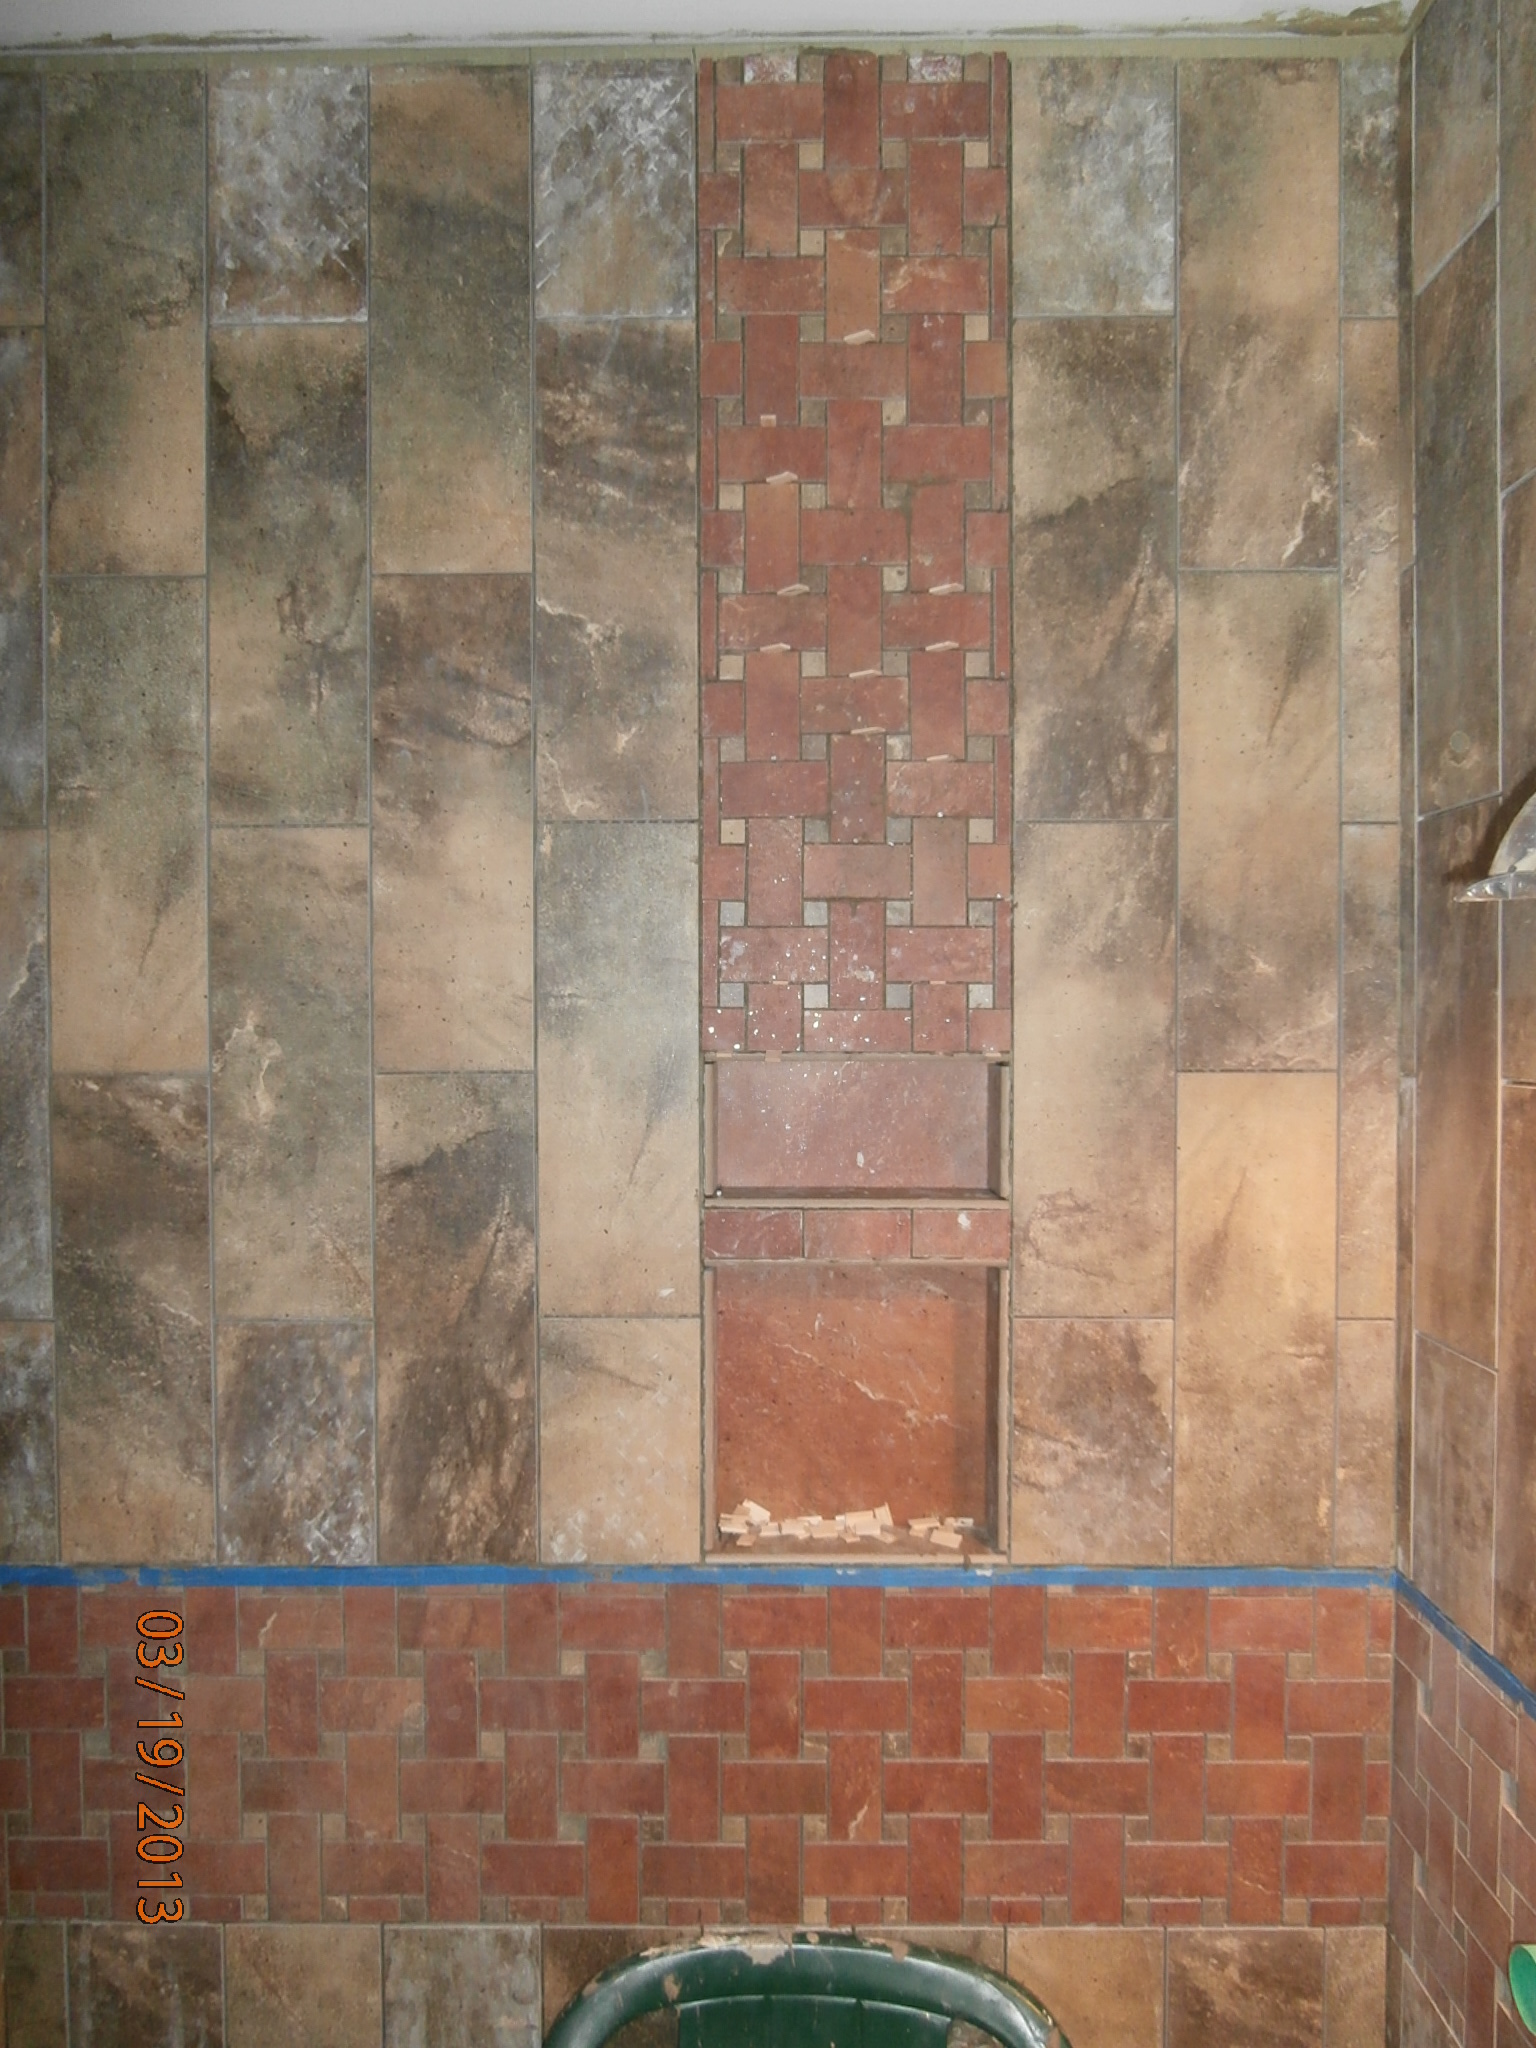
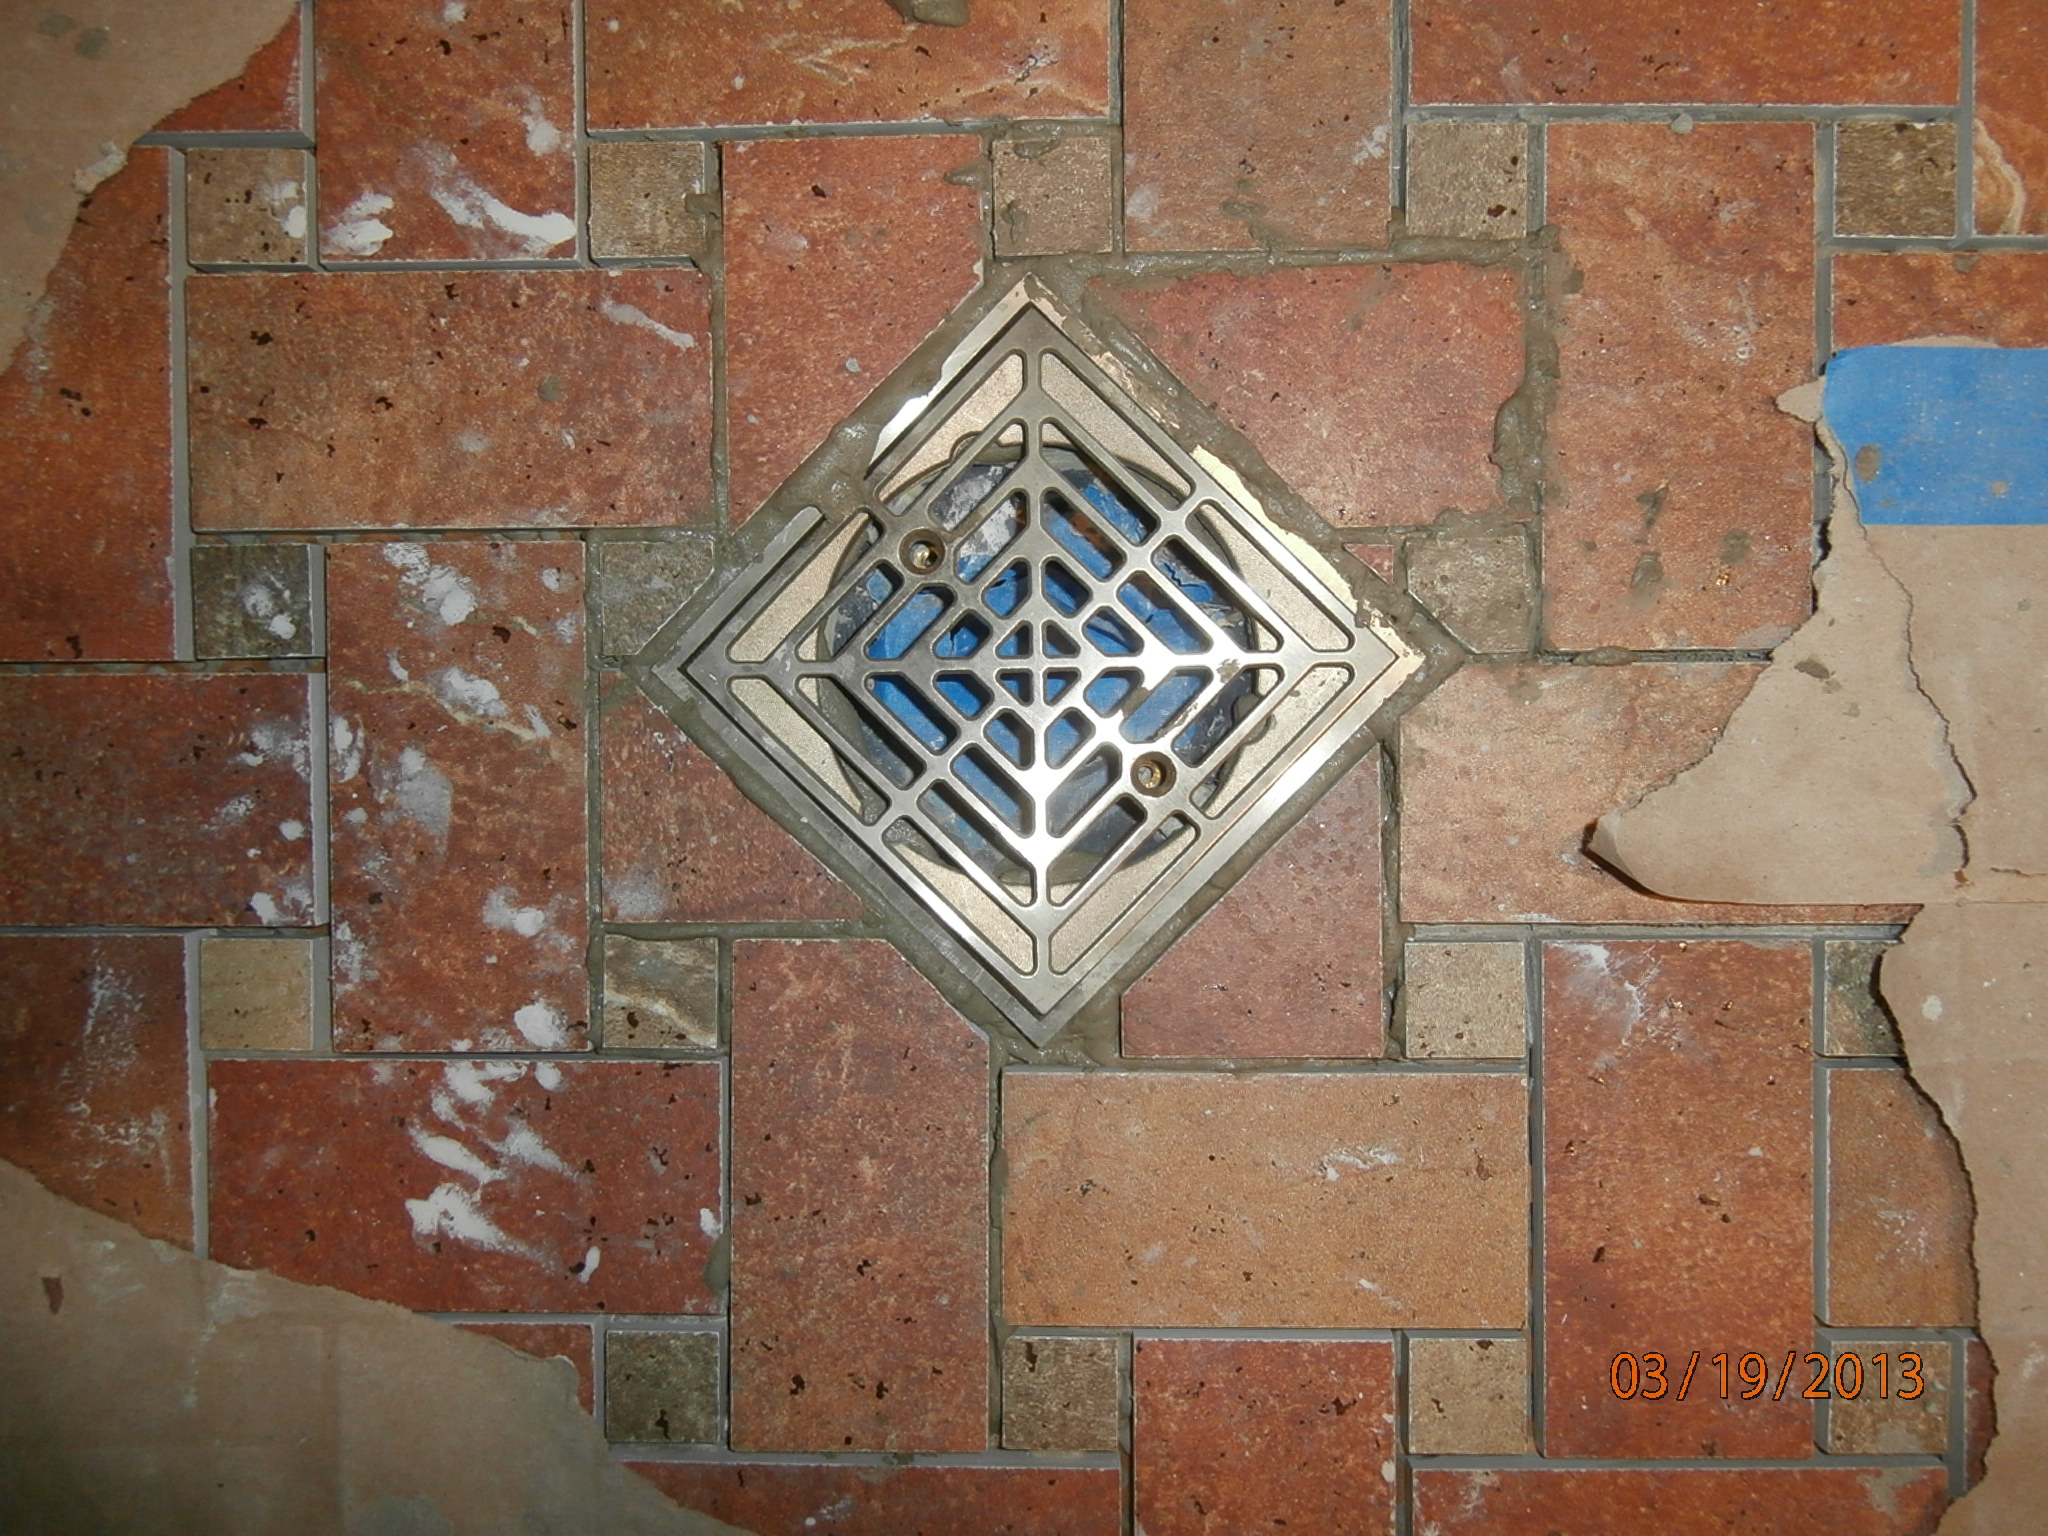
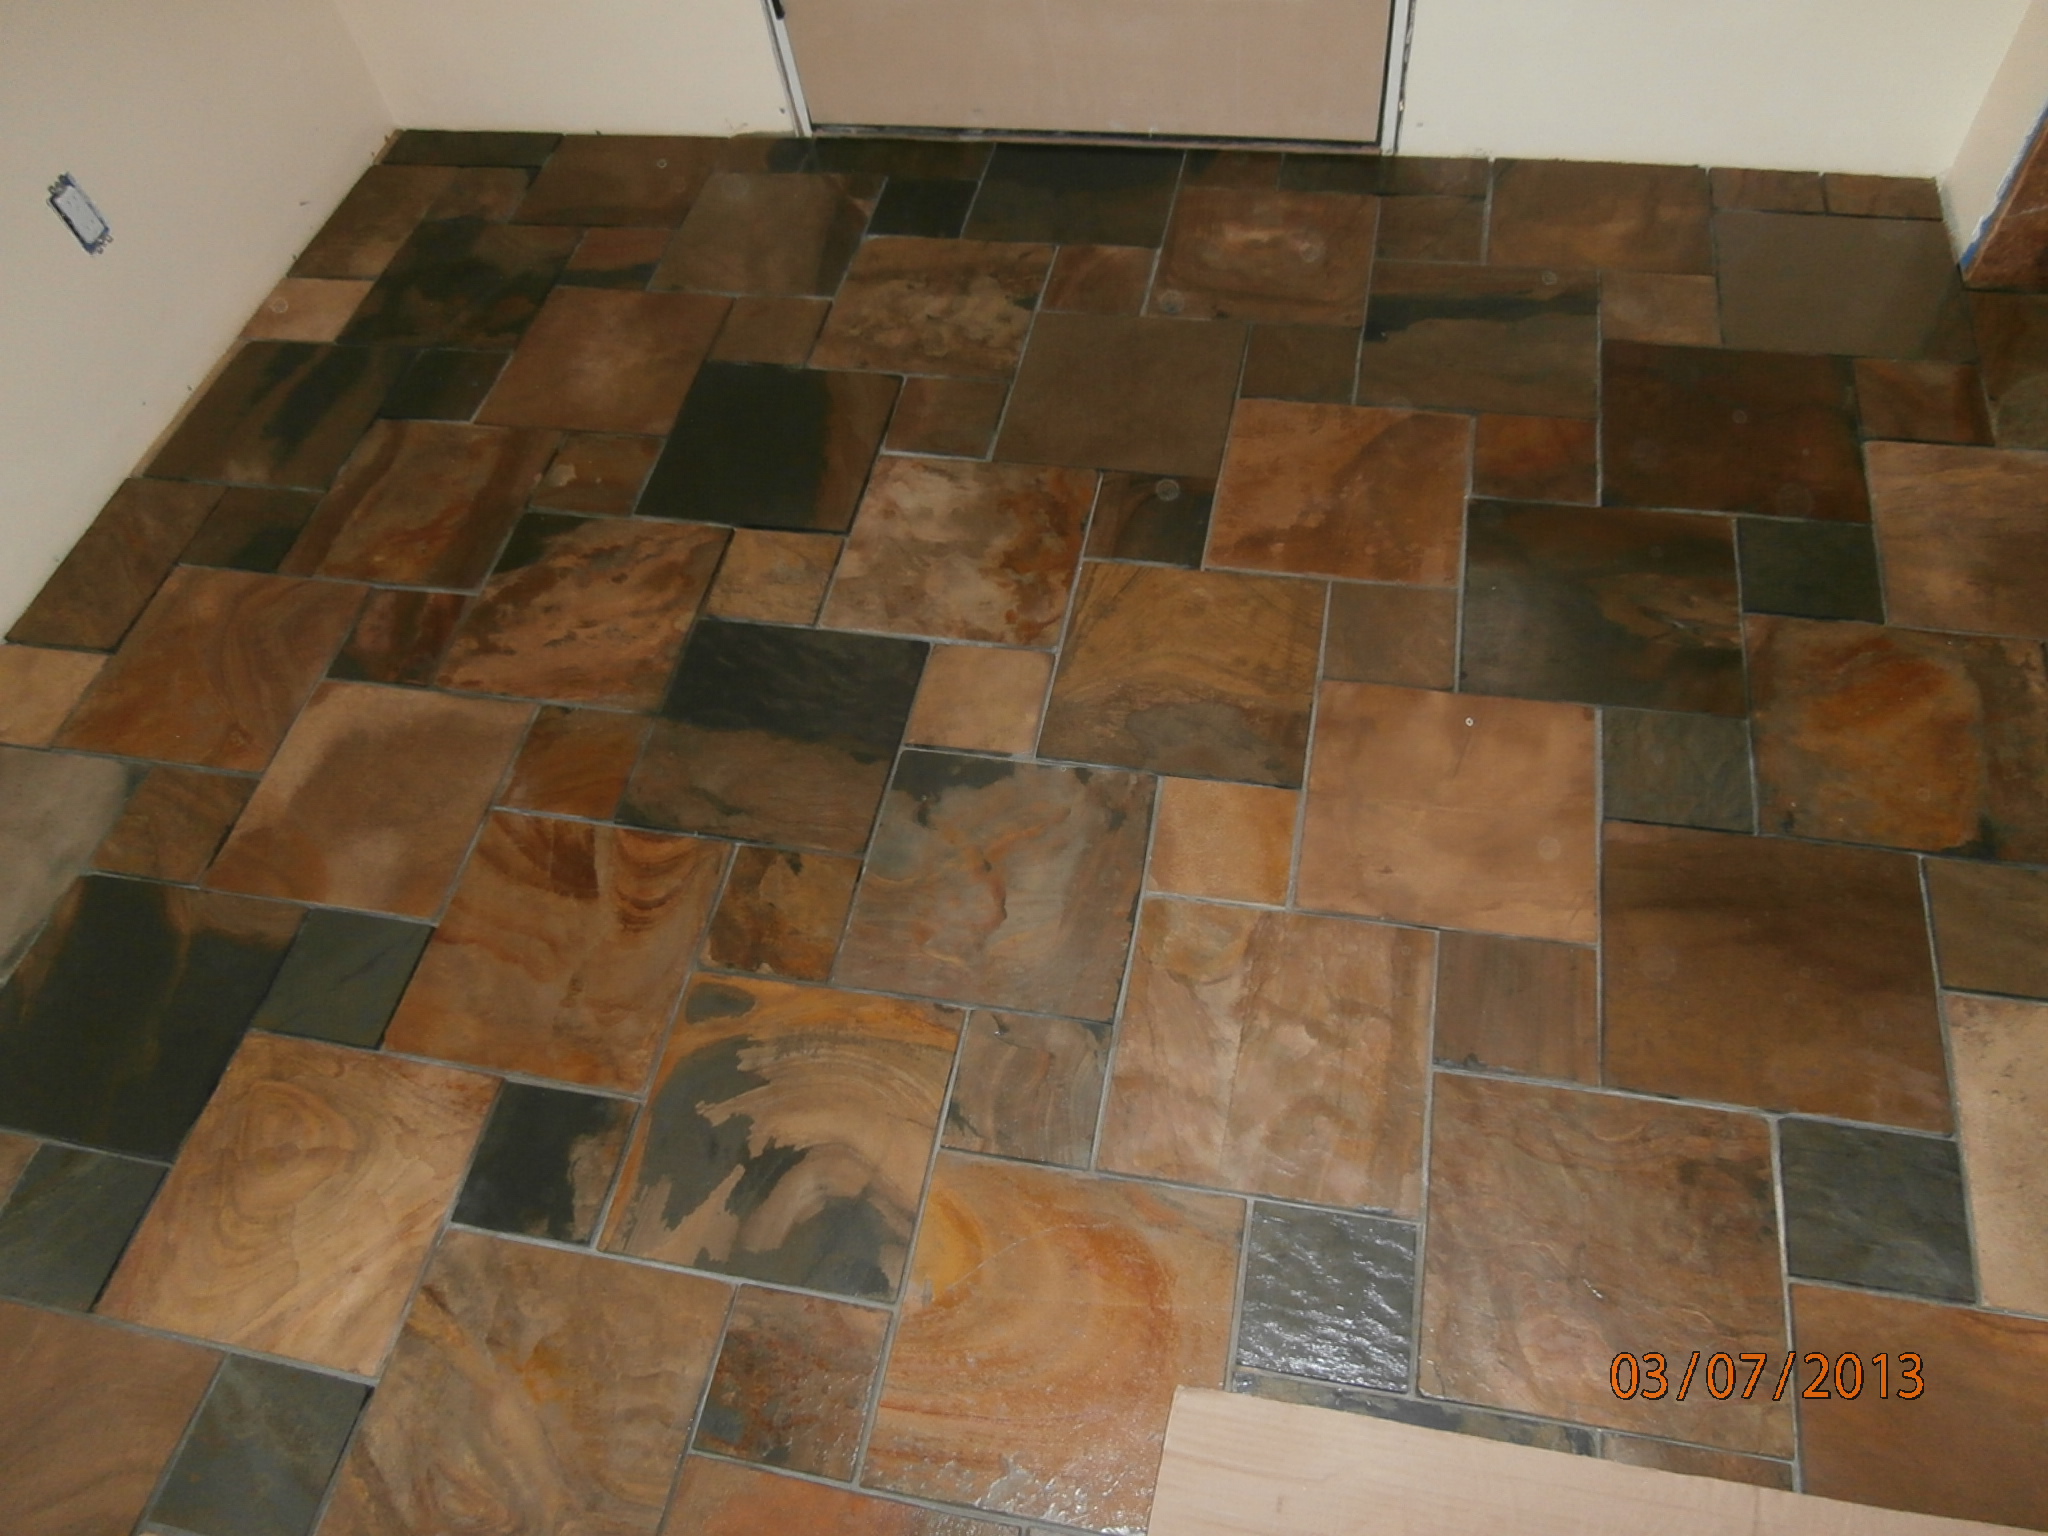
started laying floor. Got most of CO done, 25% of LL
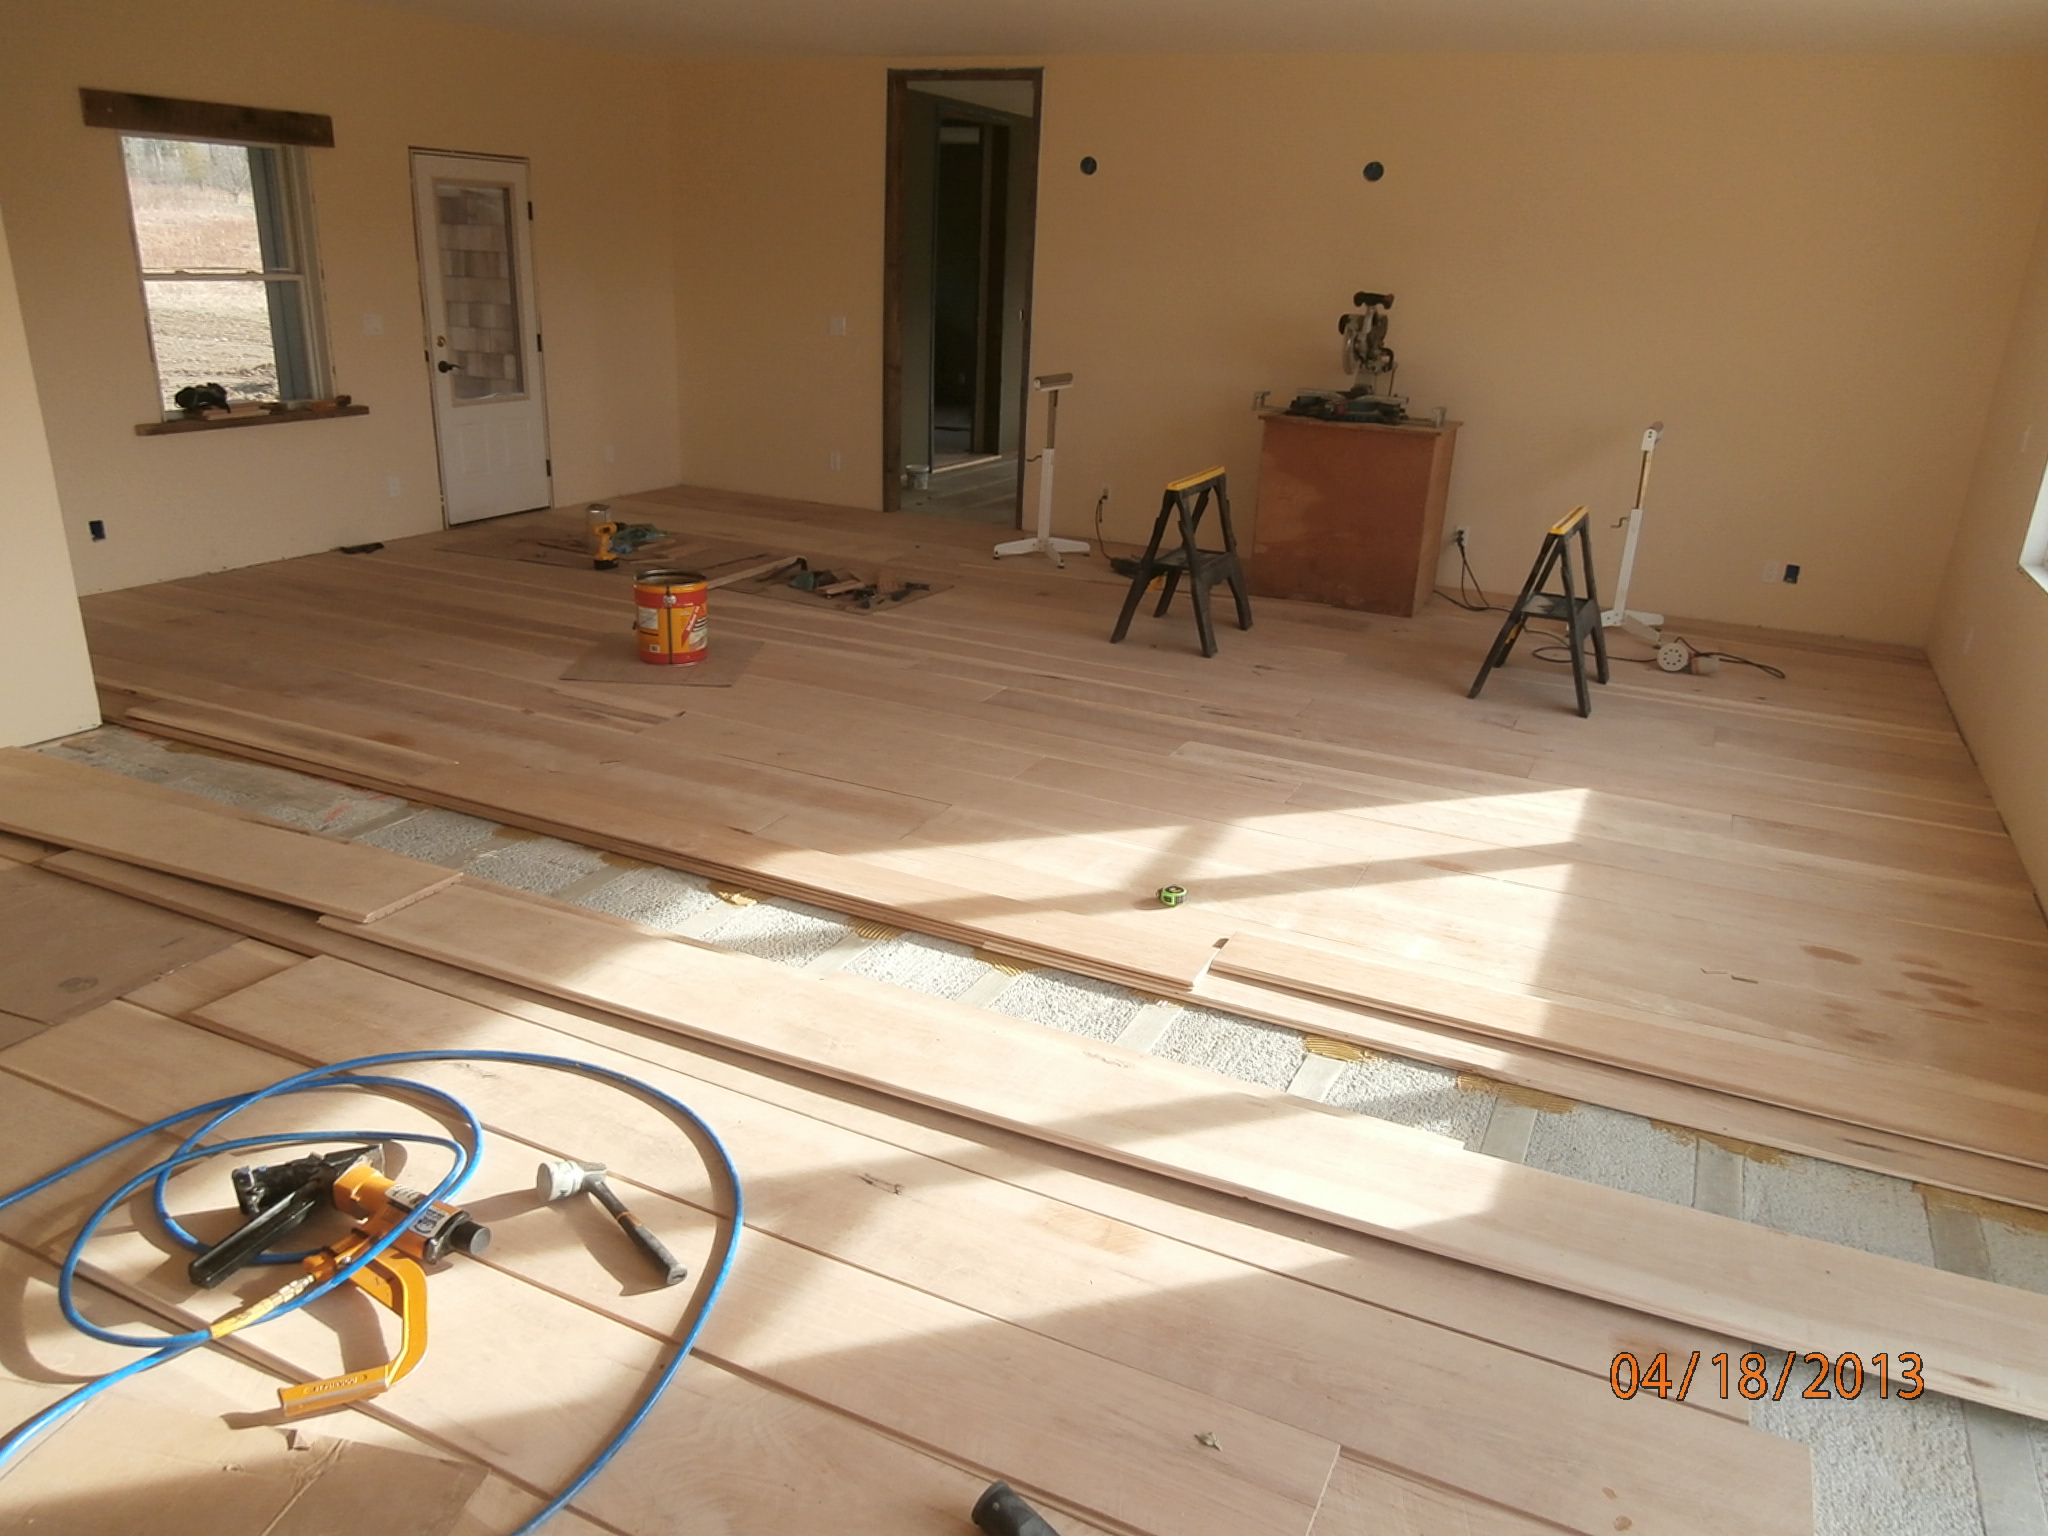
Thu 4/18
worked with Ashton on LR floor. Did 17′ to the beam.
Fri 4/19
worked with Ashton on LR floor. Did up to pantry.
Sat 4/20
Finished out kitchen, prepped for flooring re-start in CO and LL
Sun 4/21
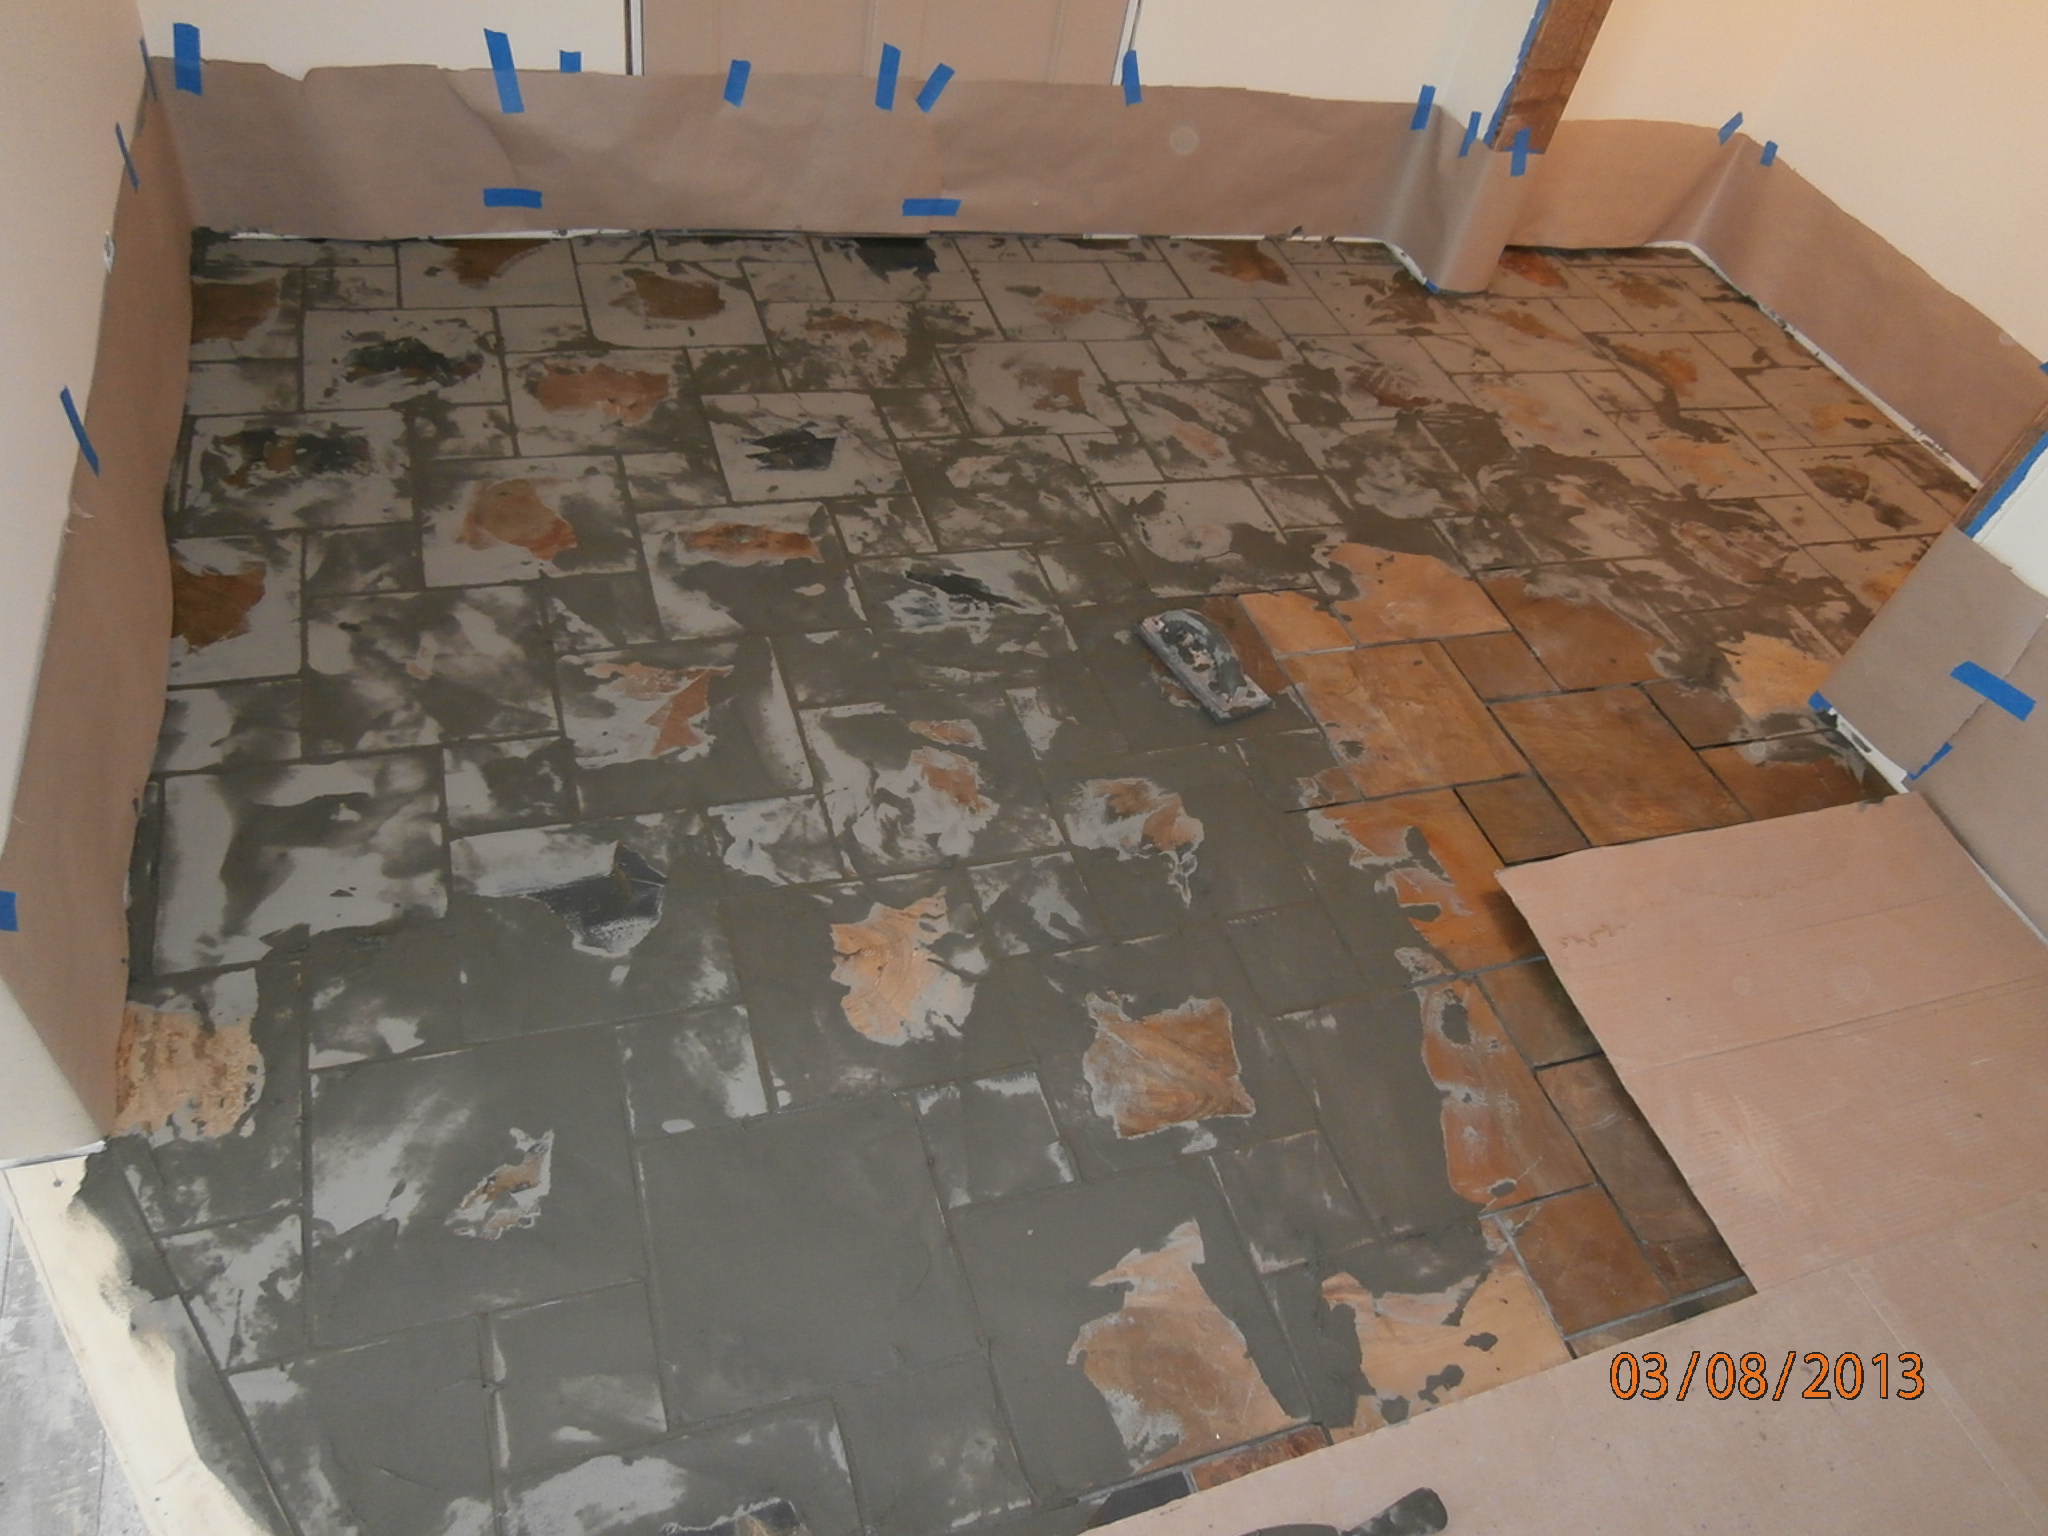
Finished CO flooring, worked LL until I ran out of glue. Prepped for dump run tomorrow
Mon 4/22
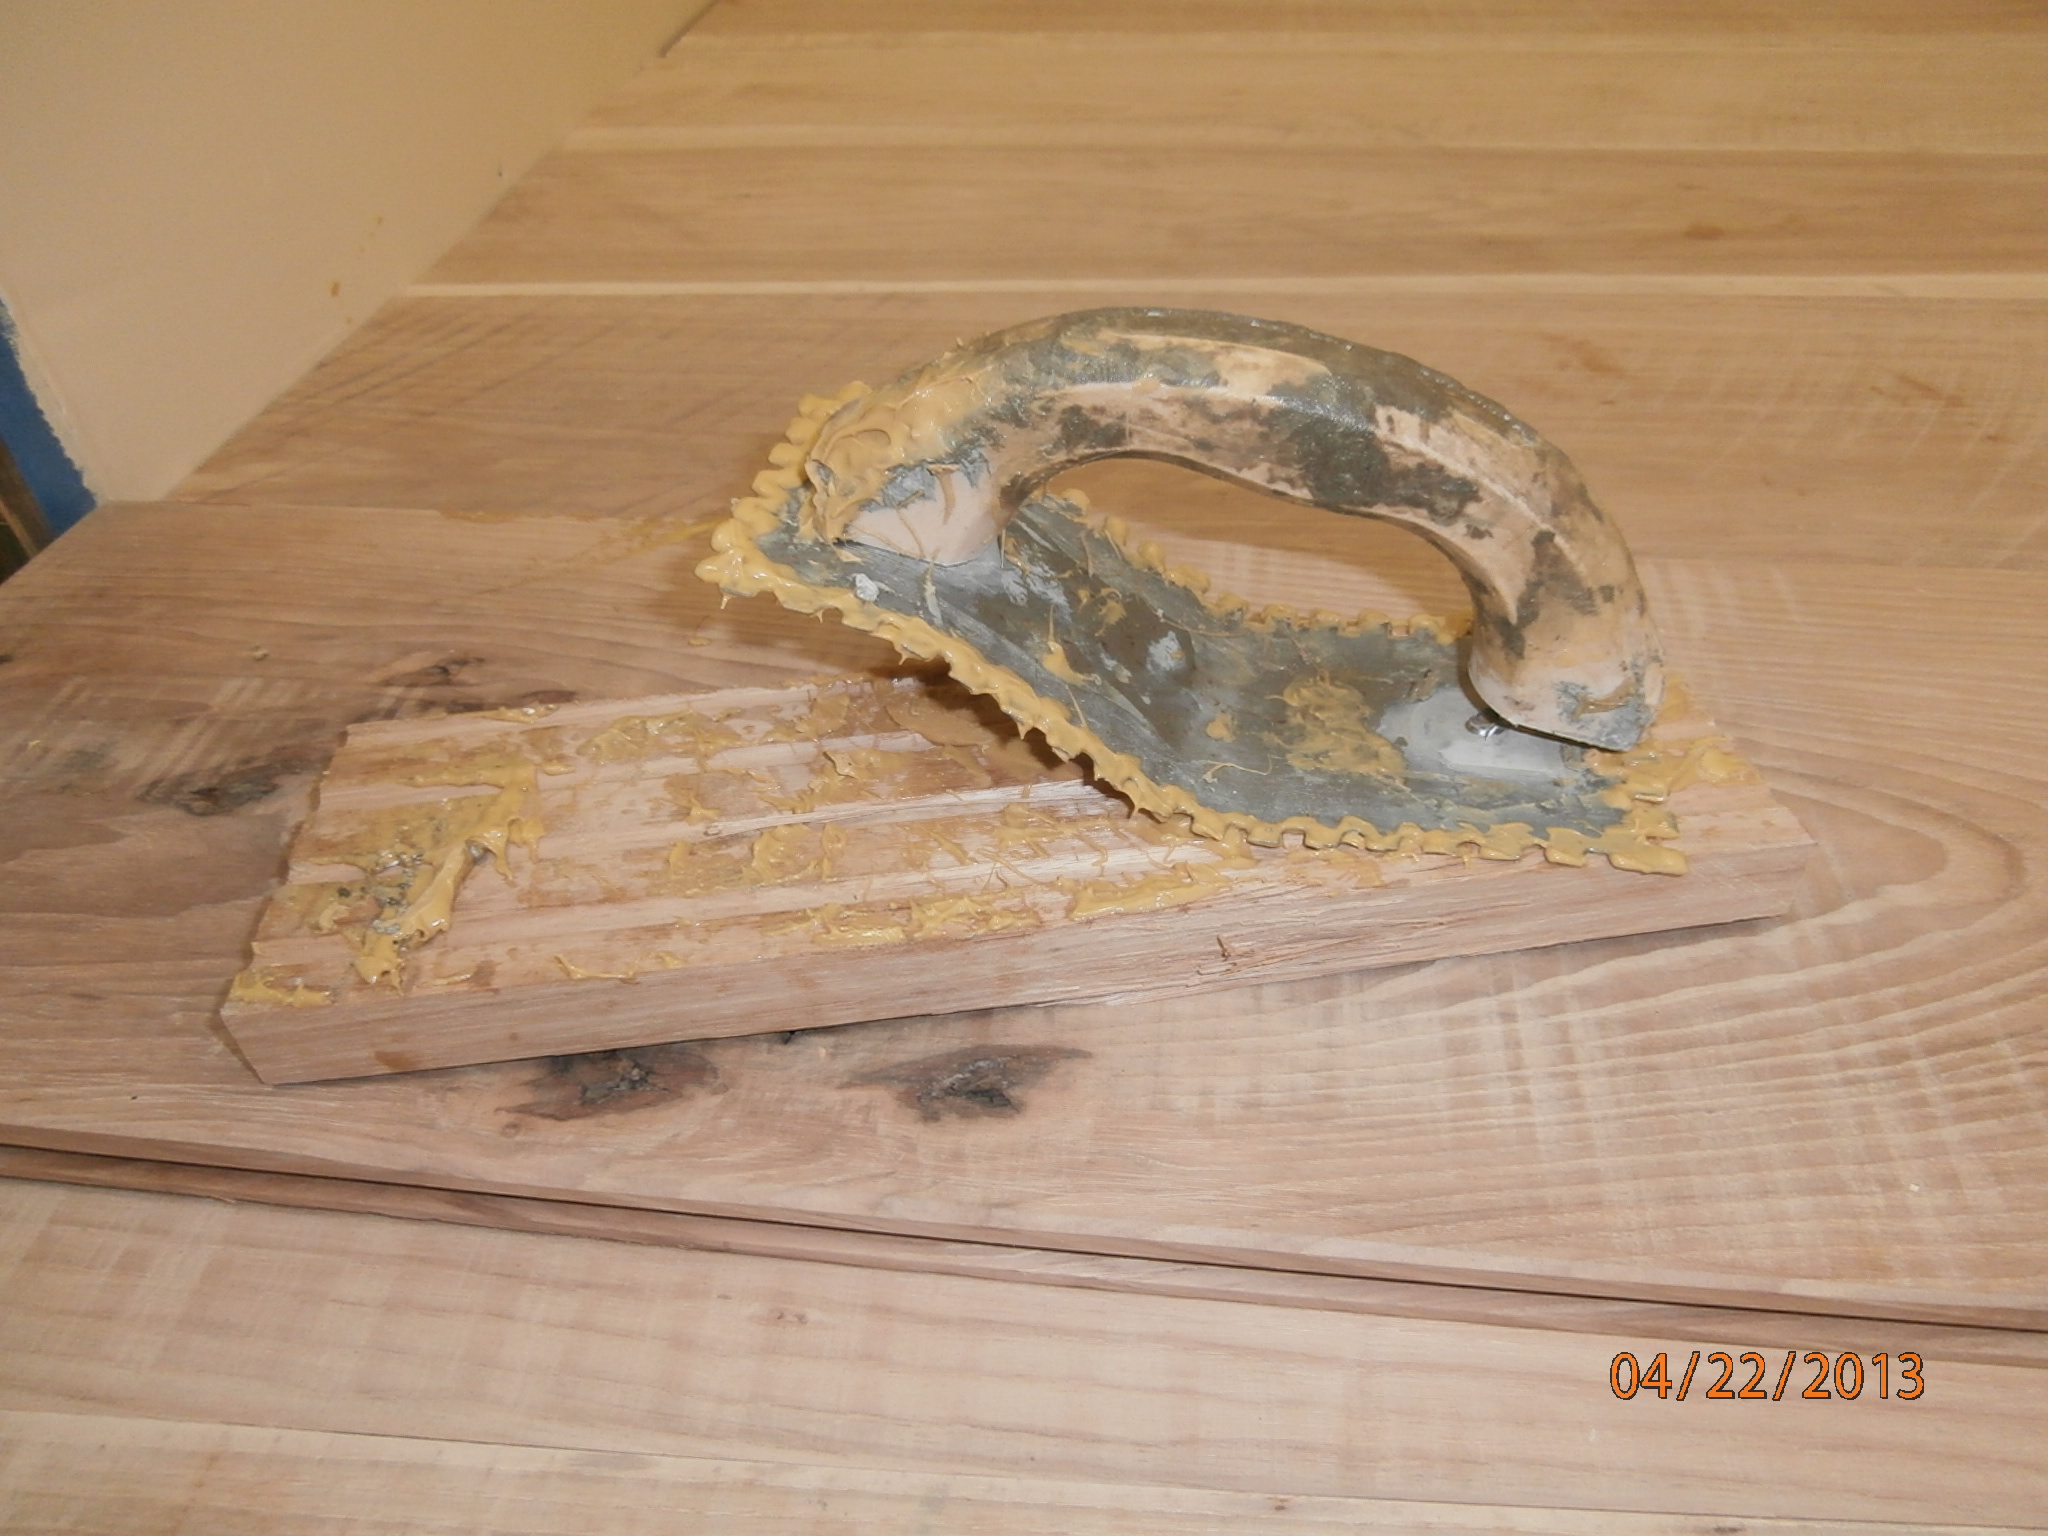
trip to burlington for more glue &c. finished LL and dead ends except for CO closet
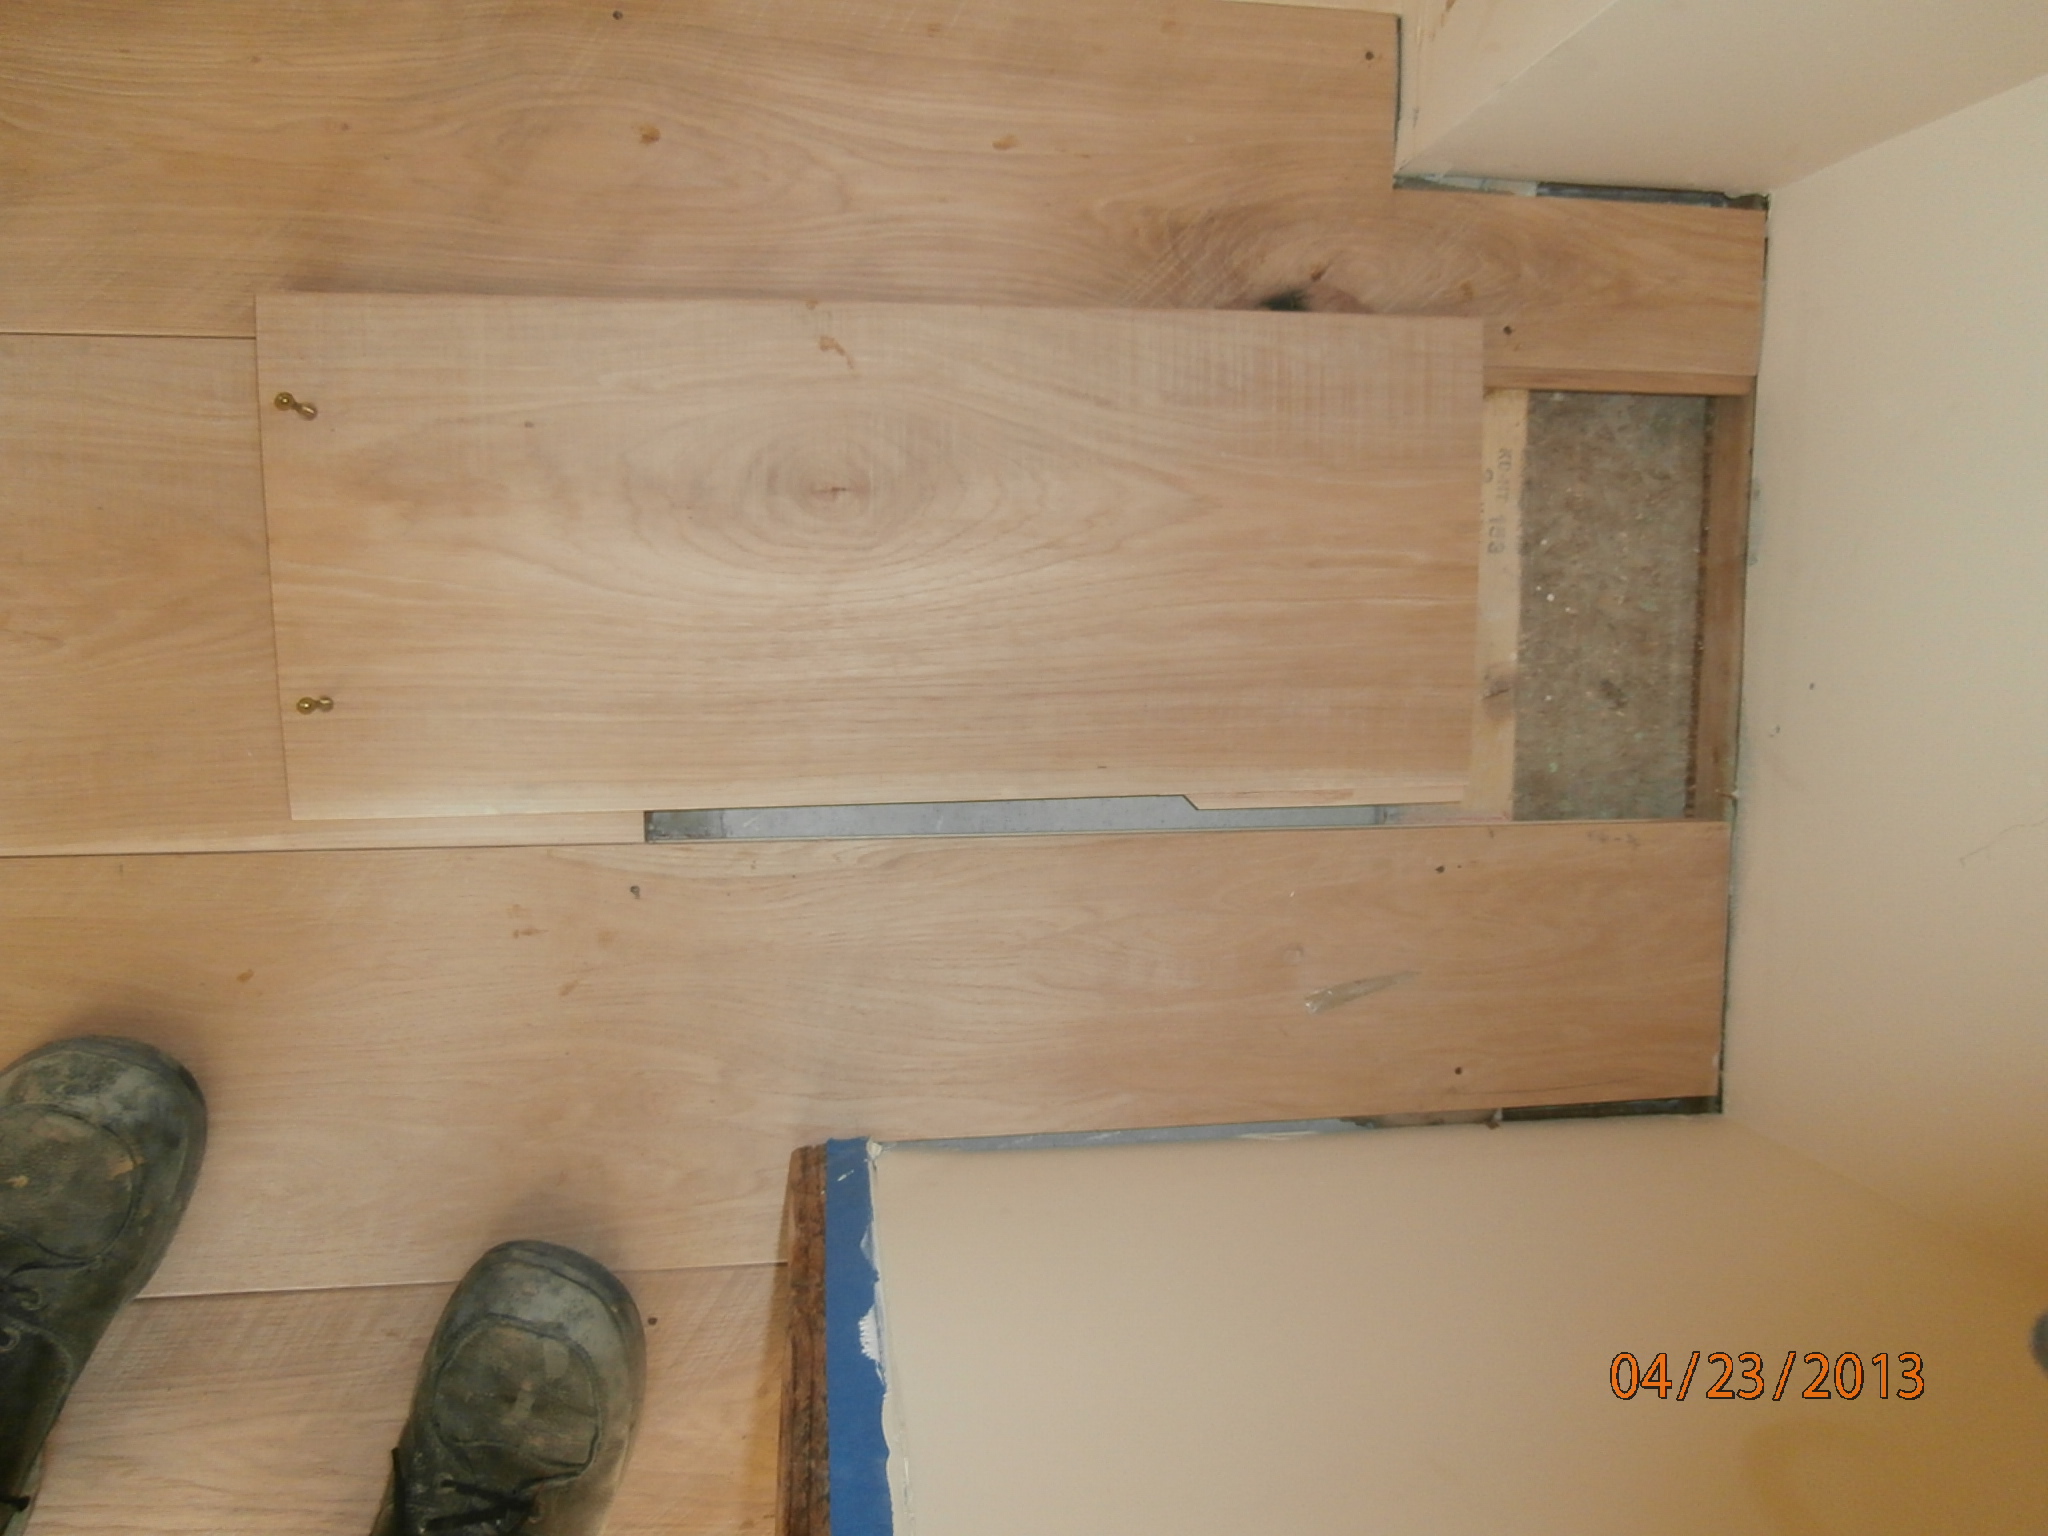
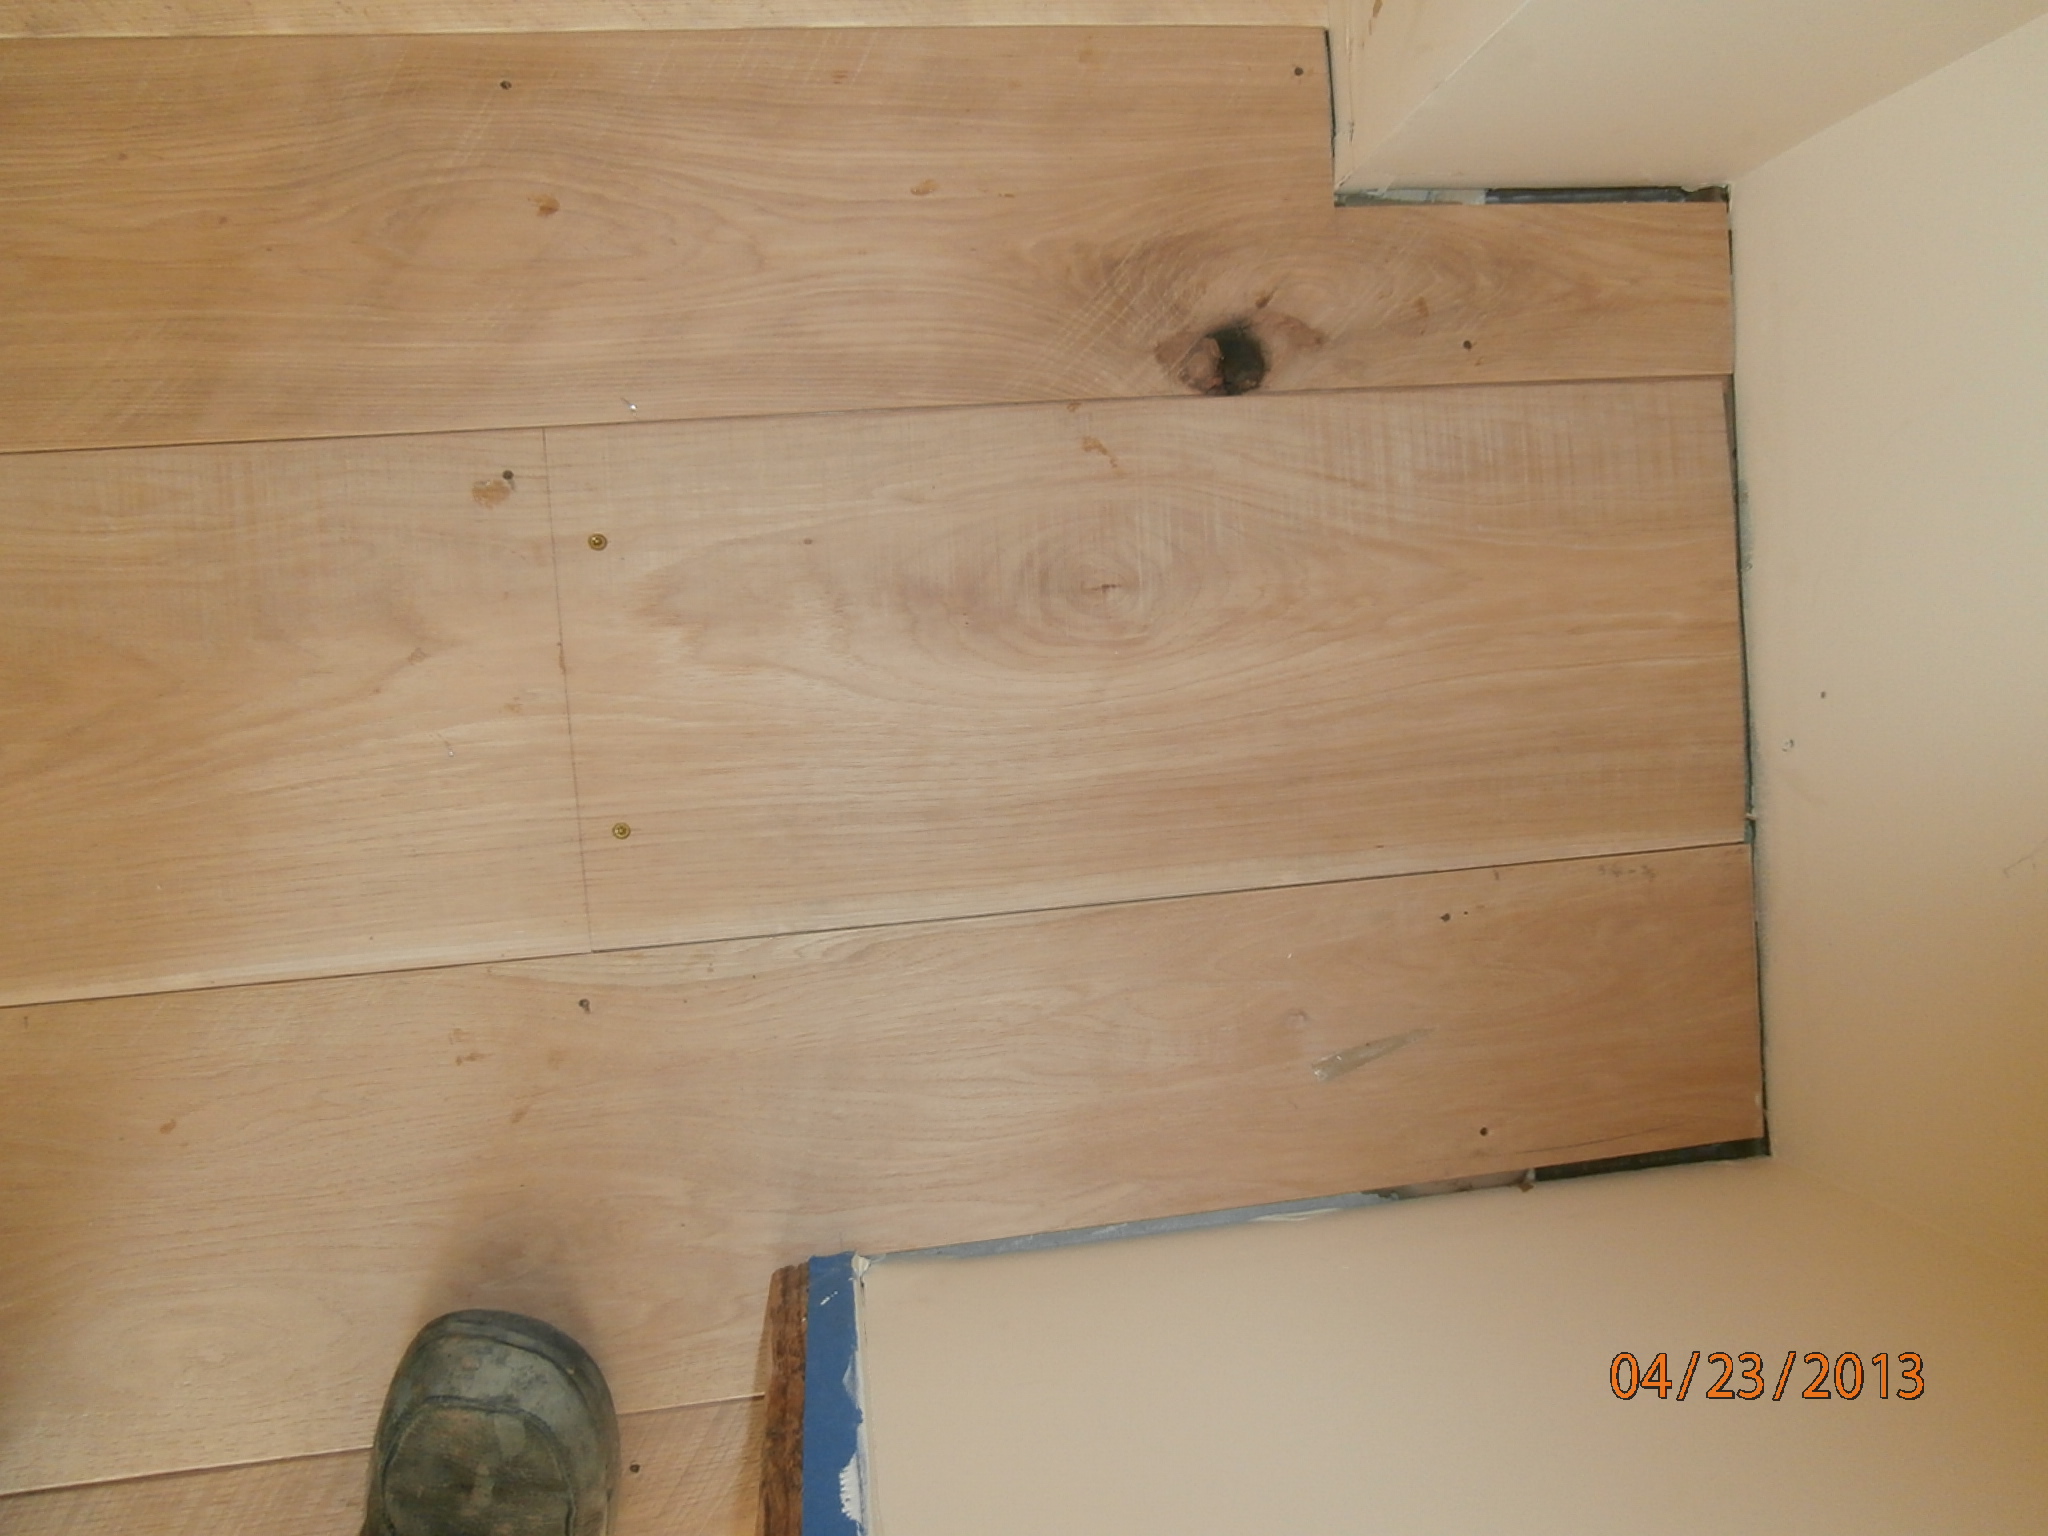
Tue 4/23
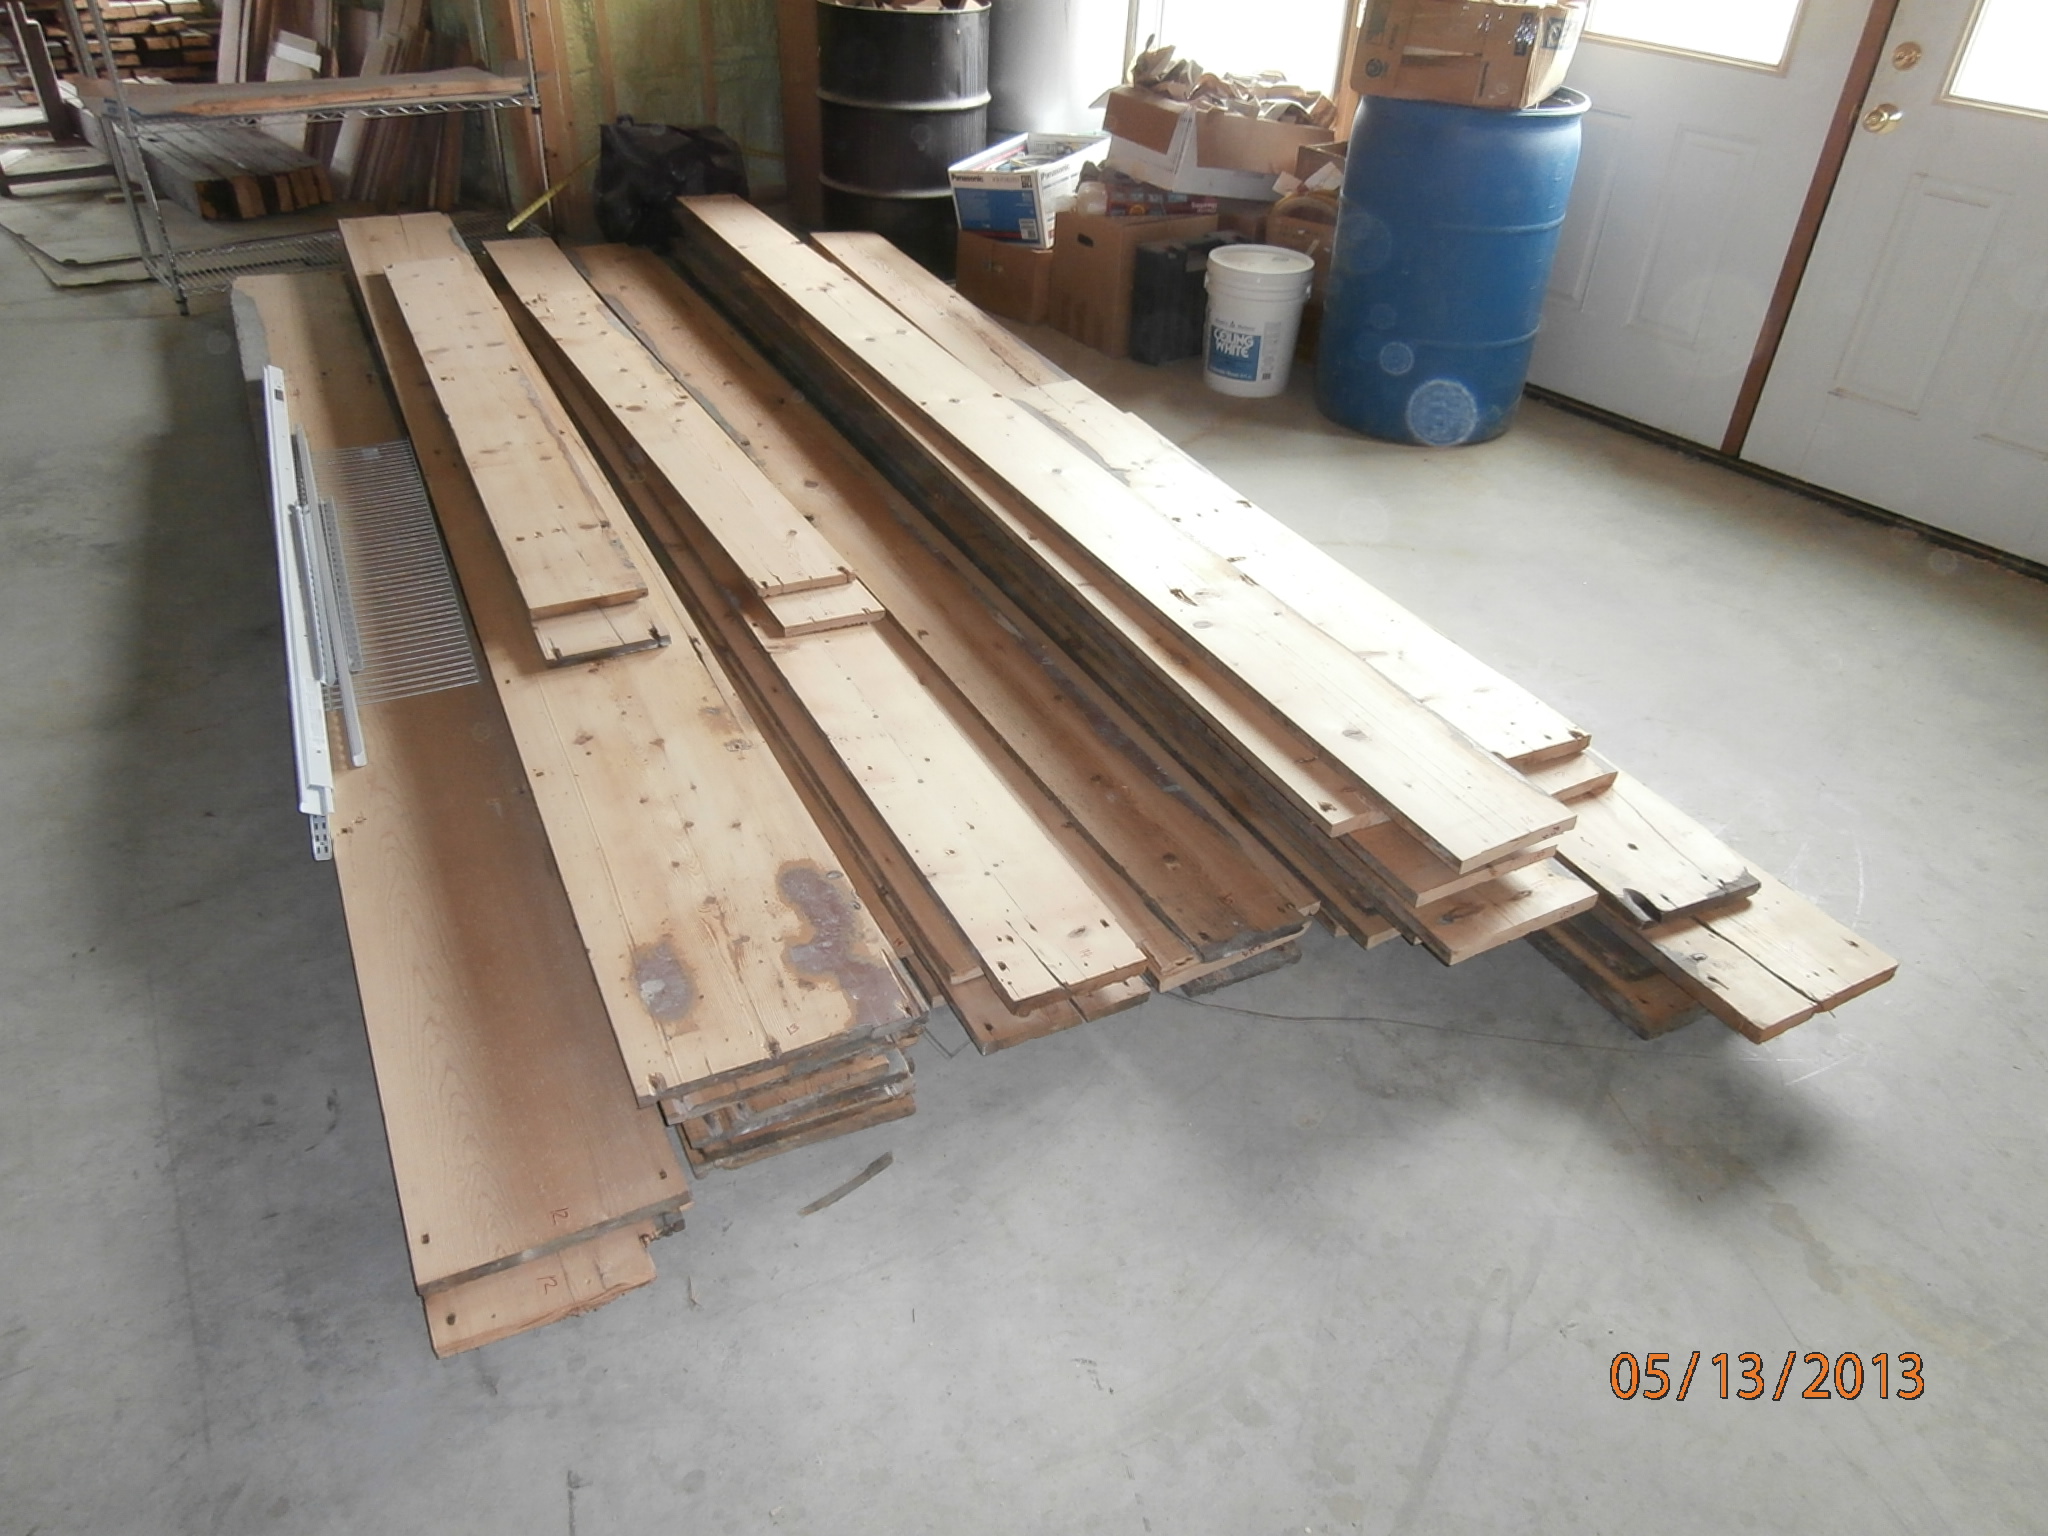
finished CO closet floor, incl secret compartment. moved leftover wood downstairs, cleared out for finishing, lathe plug, scraped all but half of LR.
Wed 4/24
finished scraping floor while Mary & Ashton oxidized and sealed. Worked on Stair hinges.
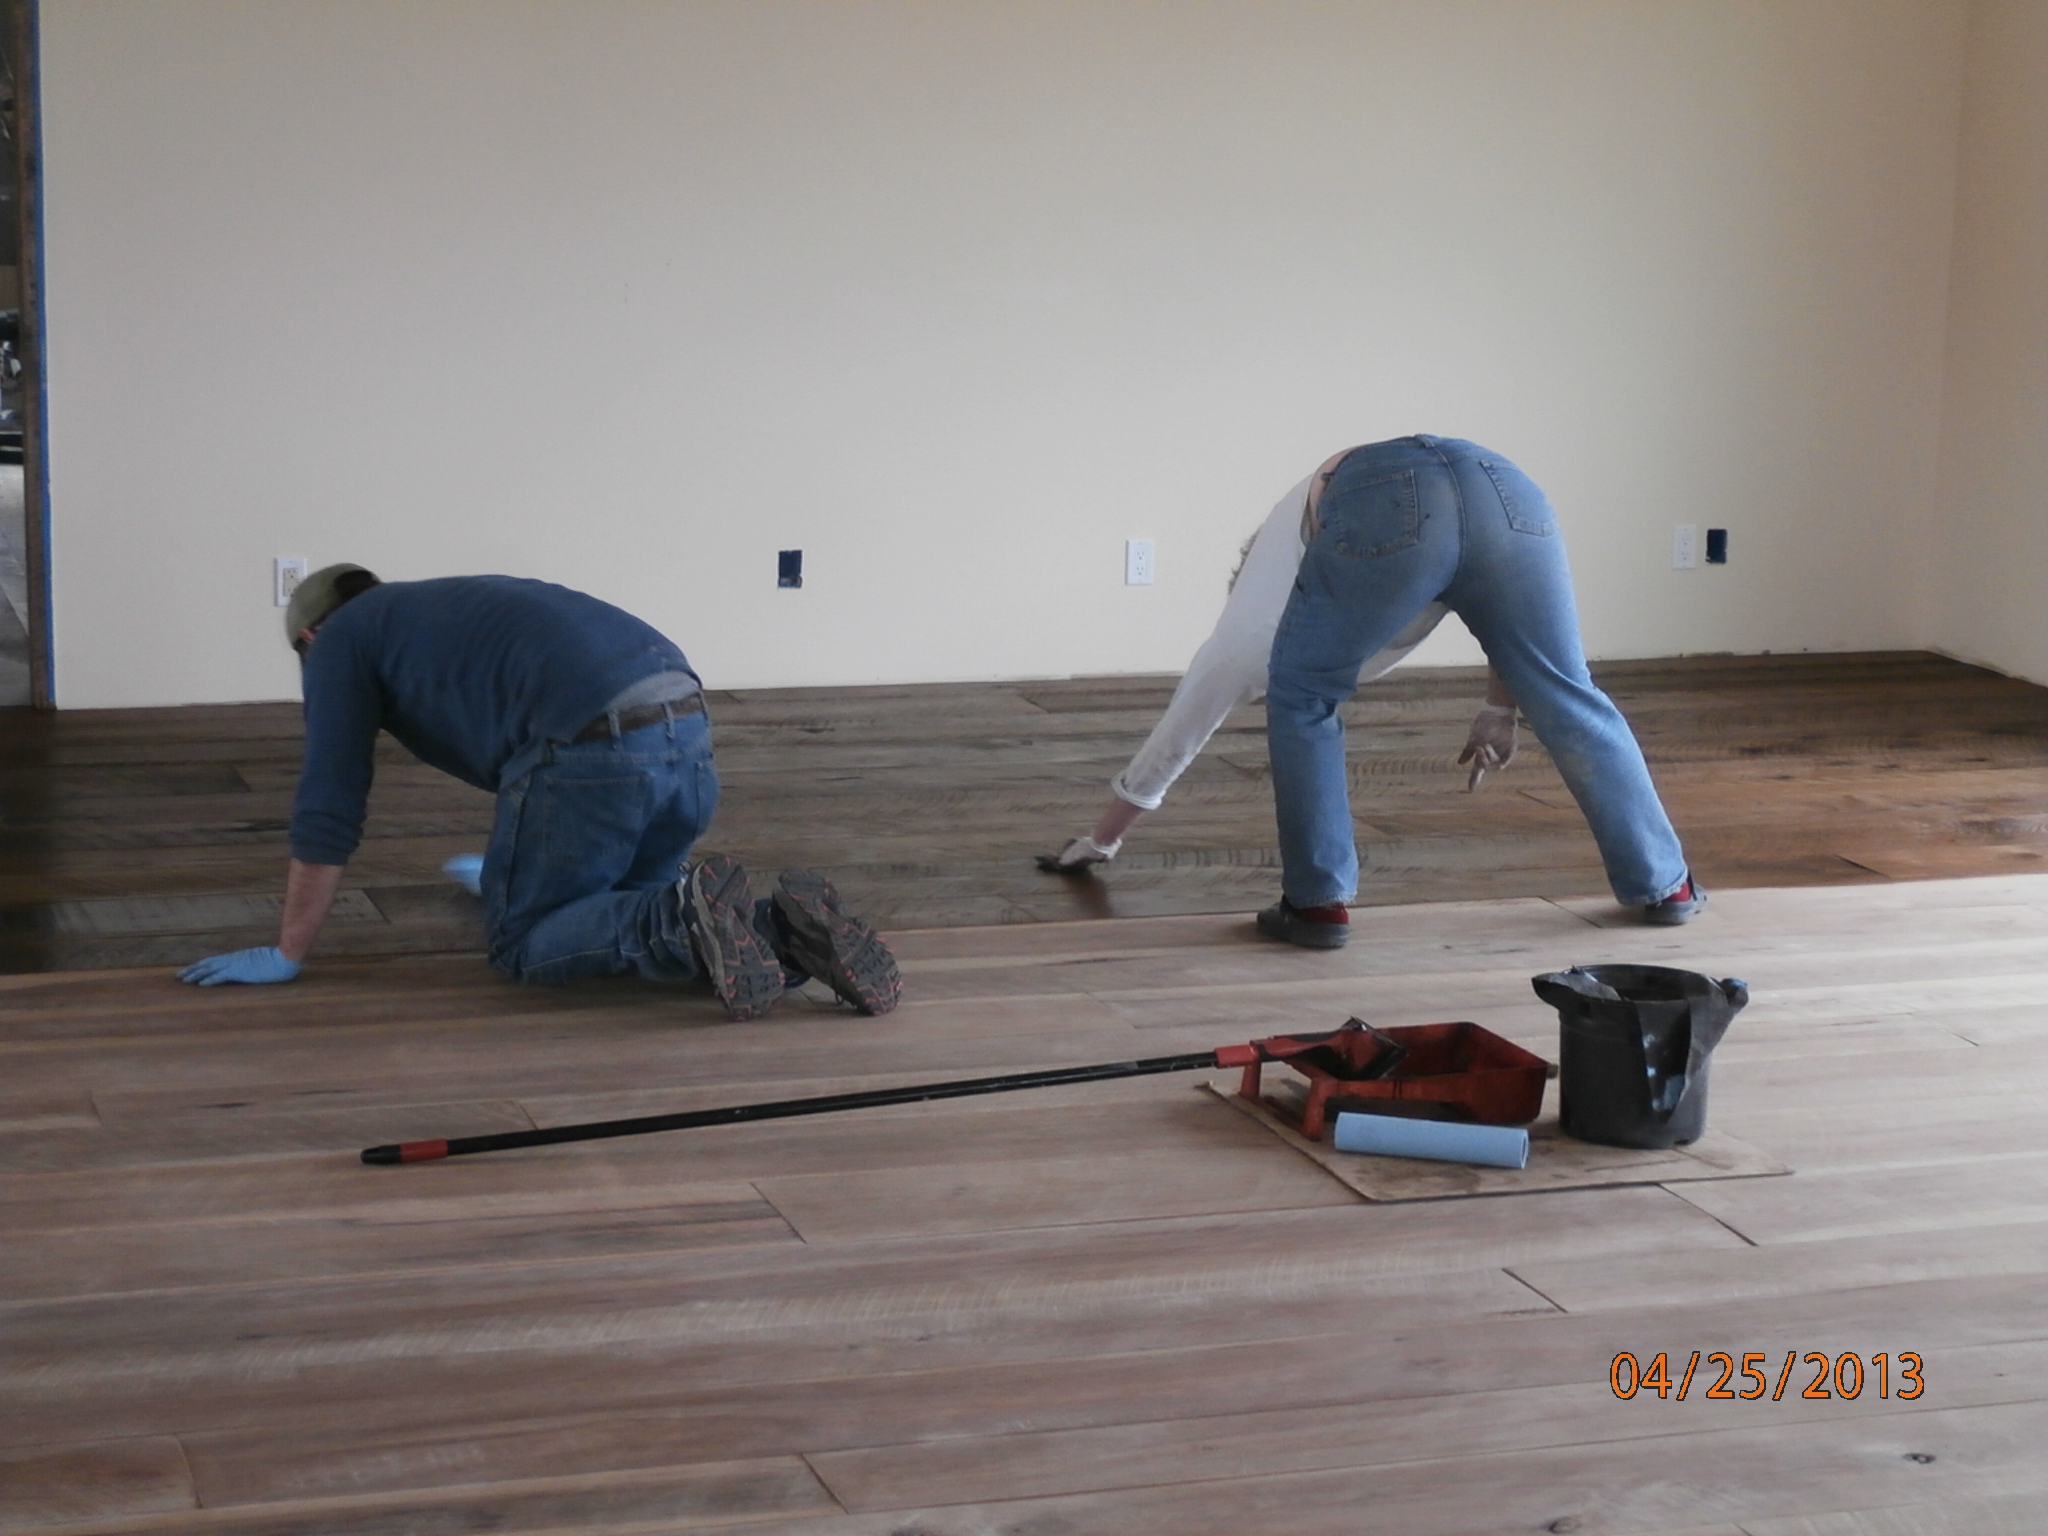
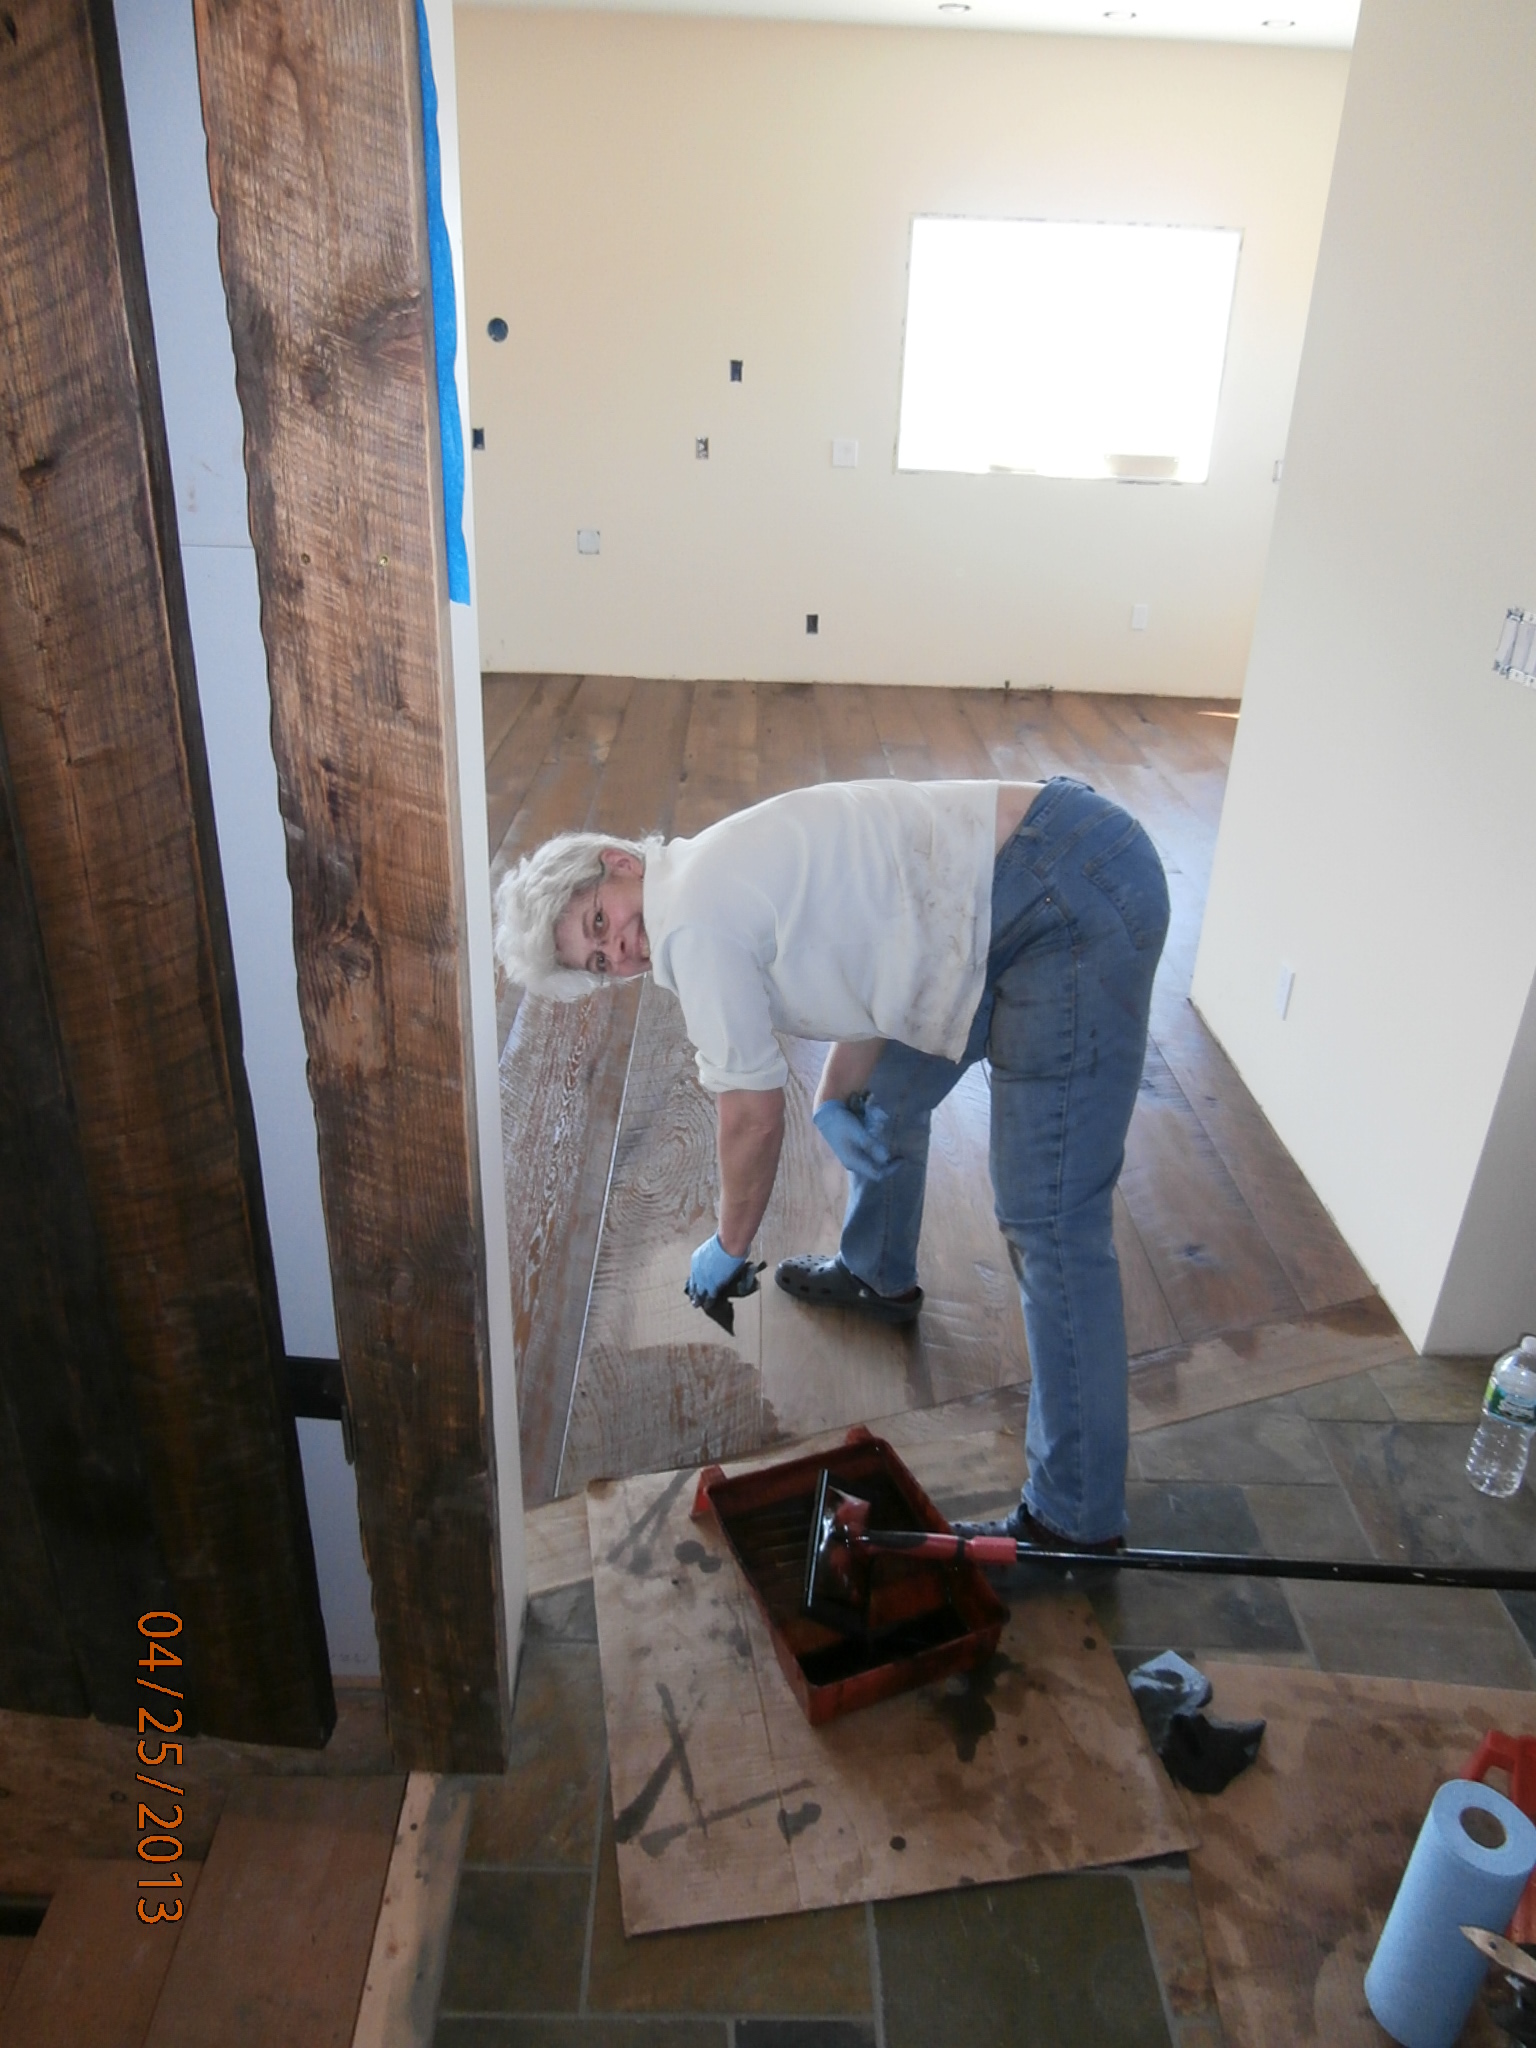
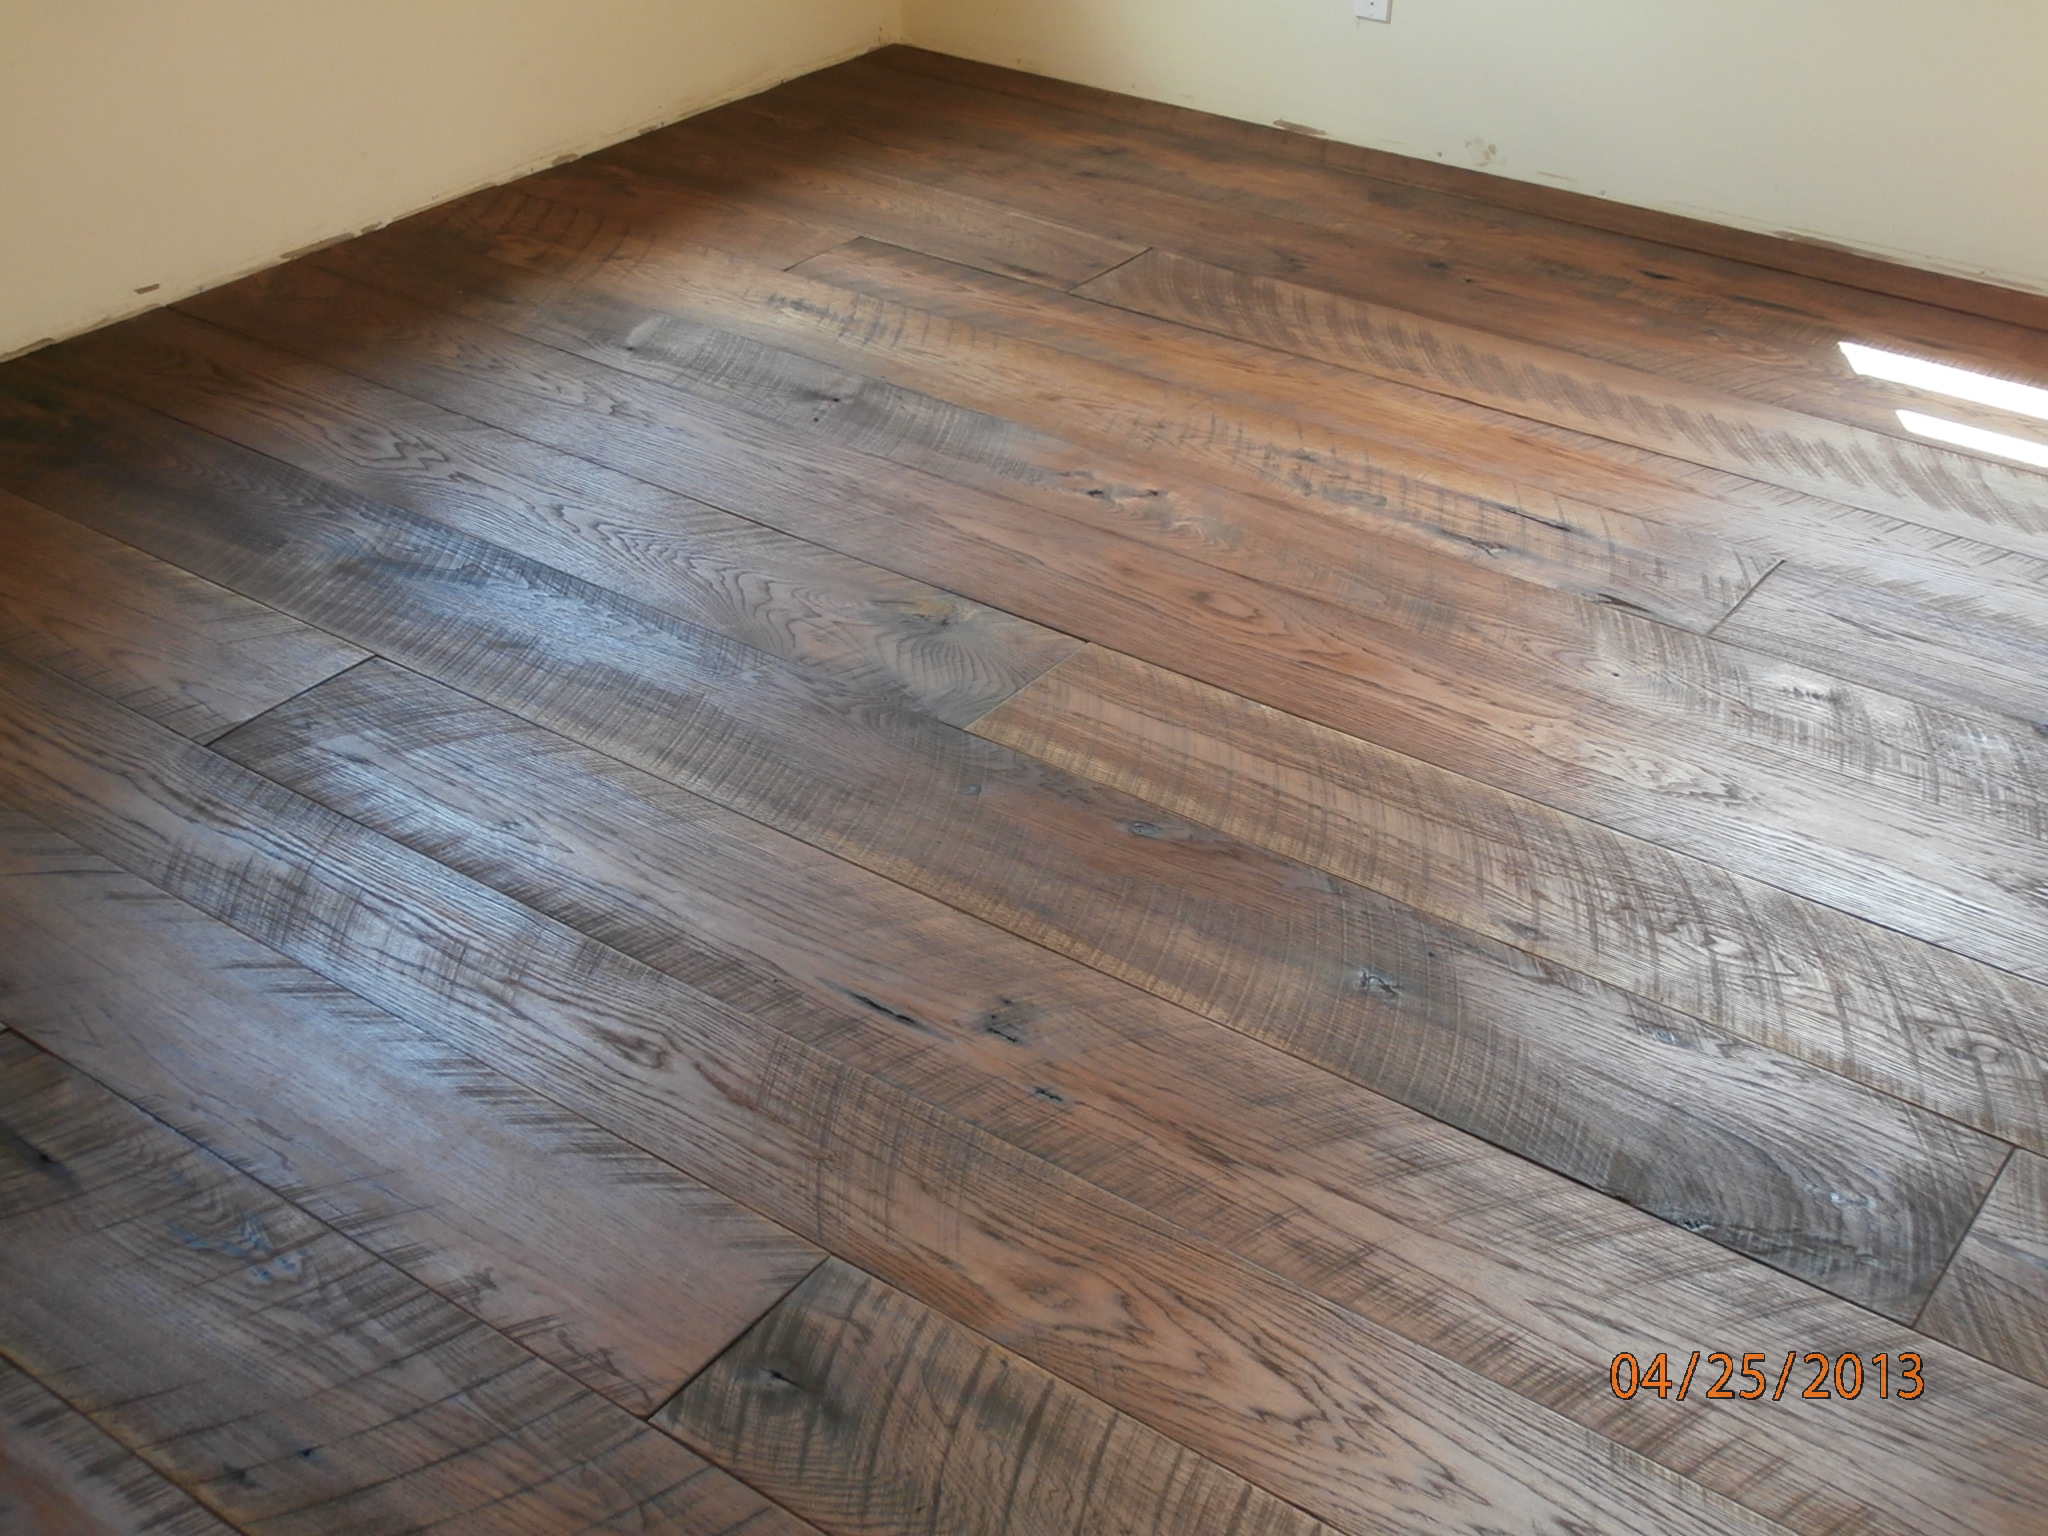
Thu 4/25
Installed hinges and stairway door. Mary & Ashton stained floor
Fri 4/26
Sealed all 9 kitchen cabinets. Adjusted stairway door, added transom & handles. mary & Ashton did 1st top coat.
Sat 4/27
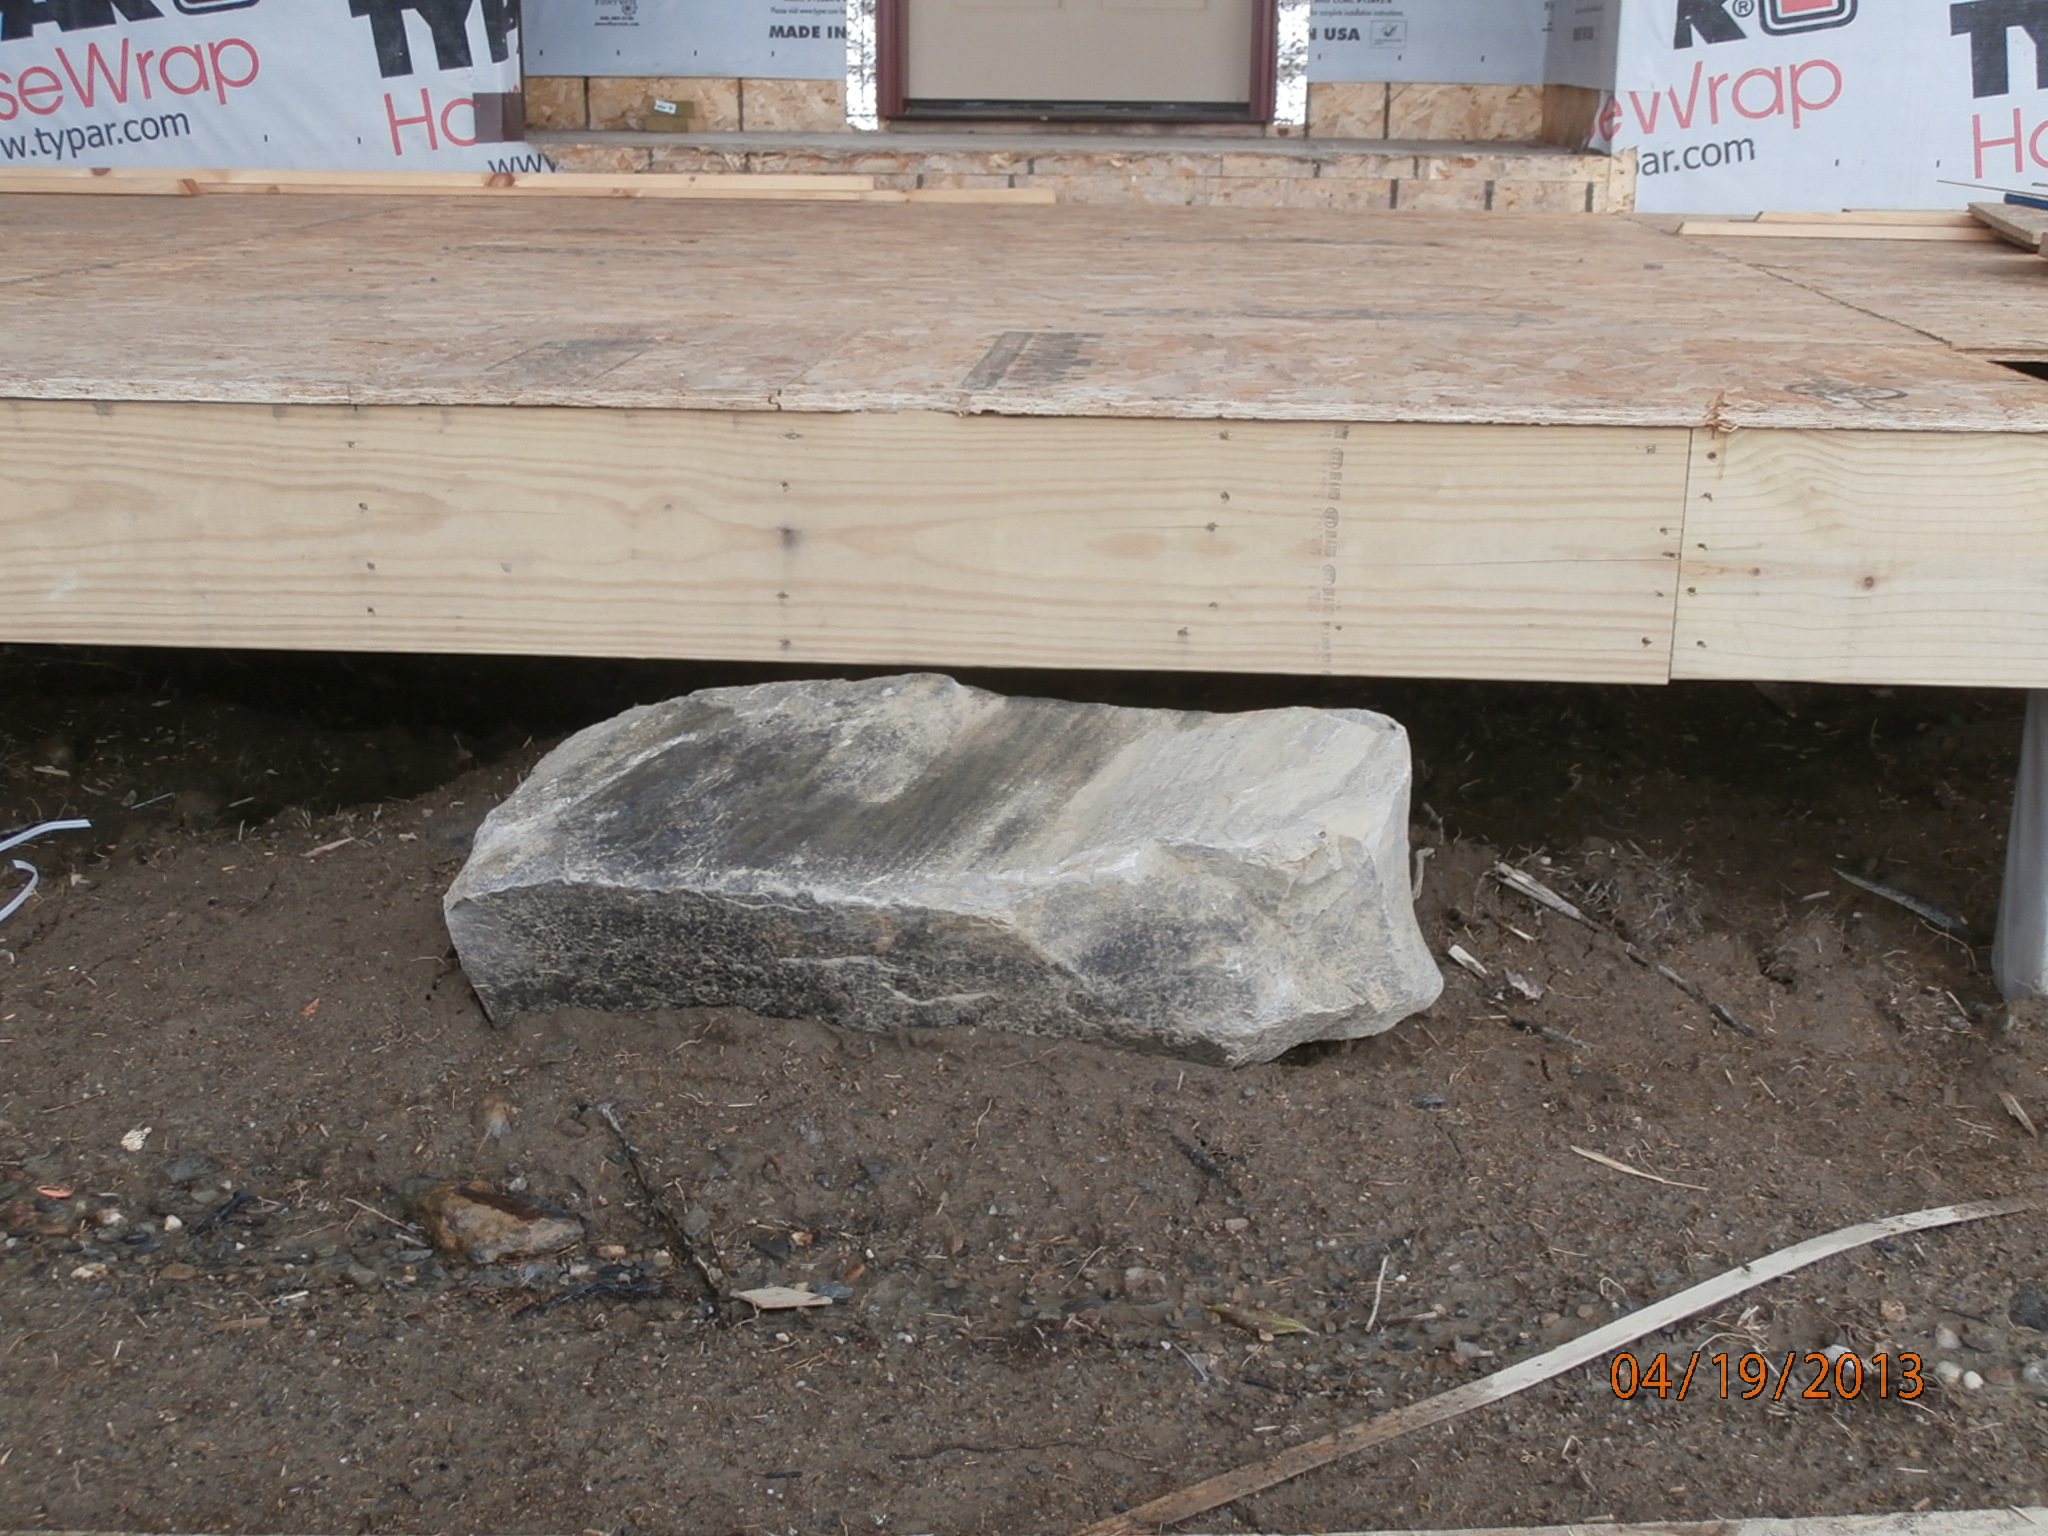
Moved rock and changed faucet for Charon & Marshall. Sealed insides of kitchen cabinets. Mary did 2nd top coat
Sun 4/28
Started building bi-fold door for Marshall. went to burlington for Celia’s birthday
Mon 4/29
lumber run. began installing kitchen cabinets in cooktop corner. Found that sink unit will need re-build.
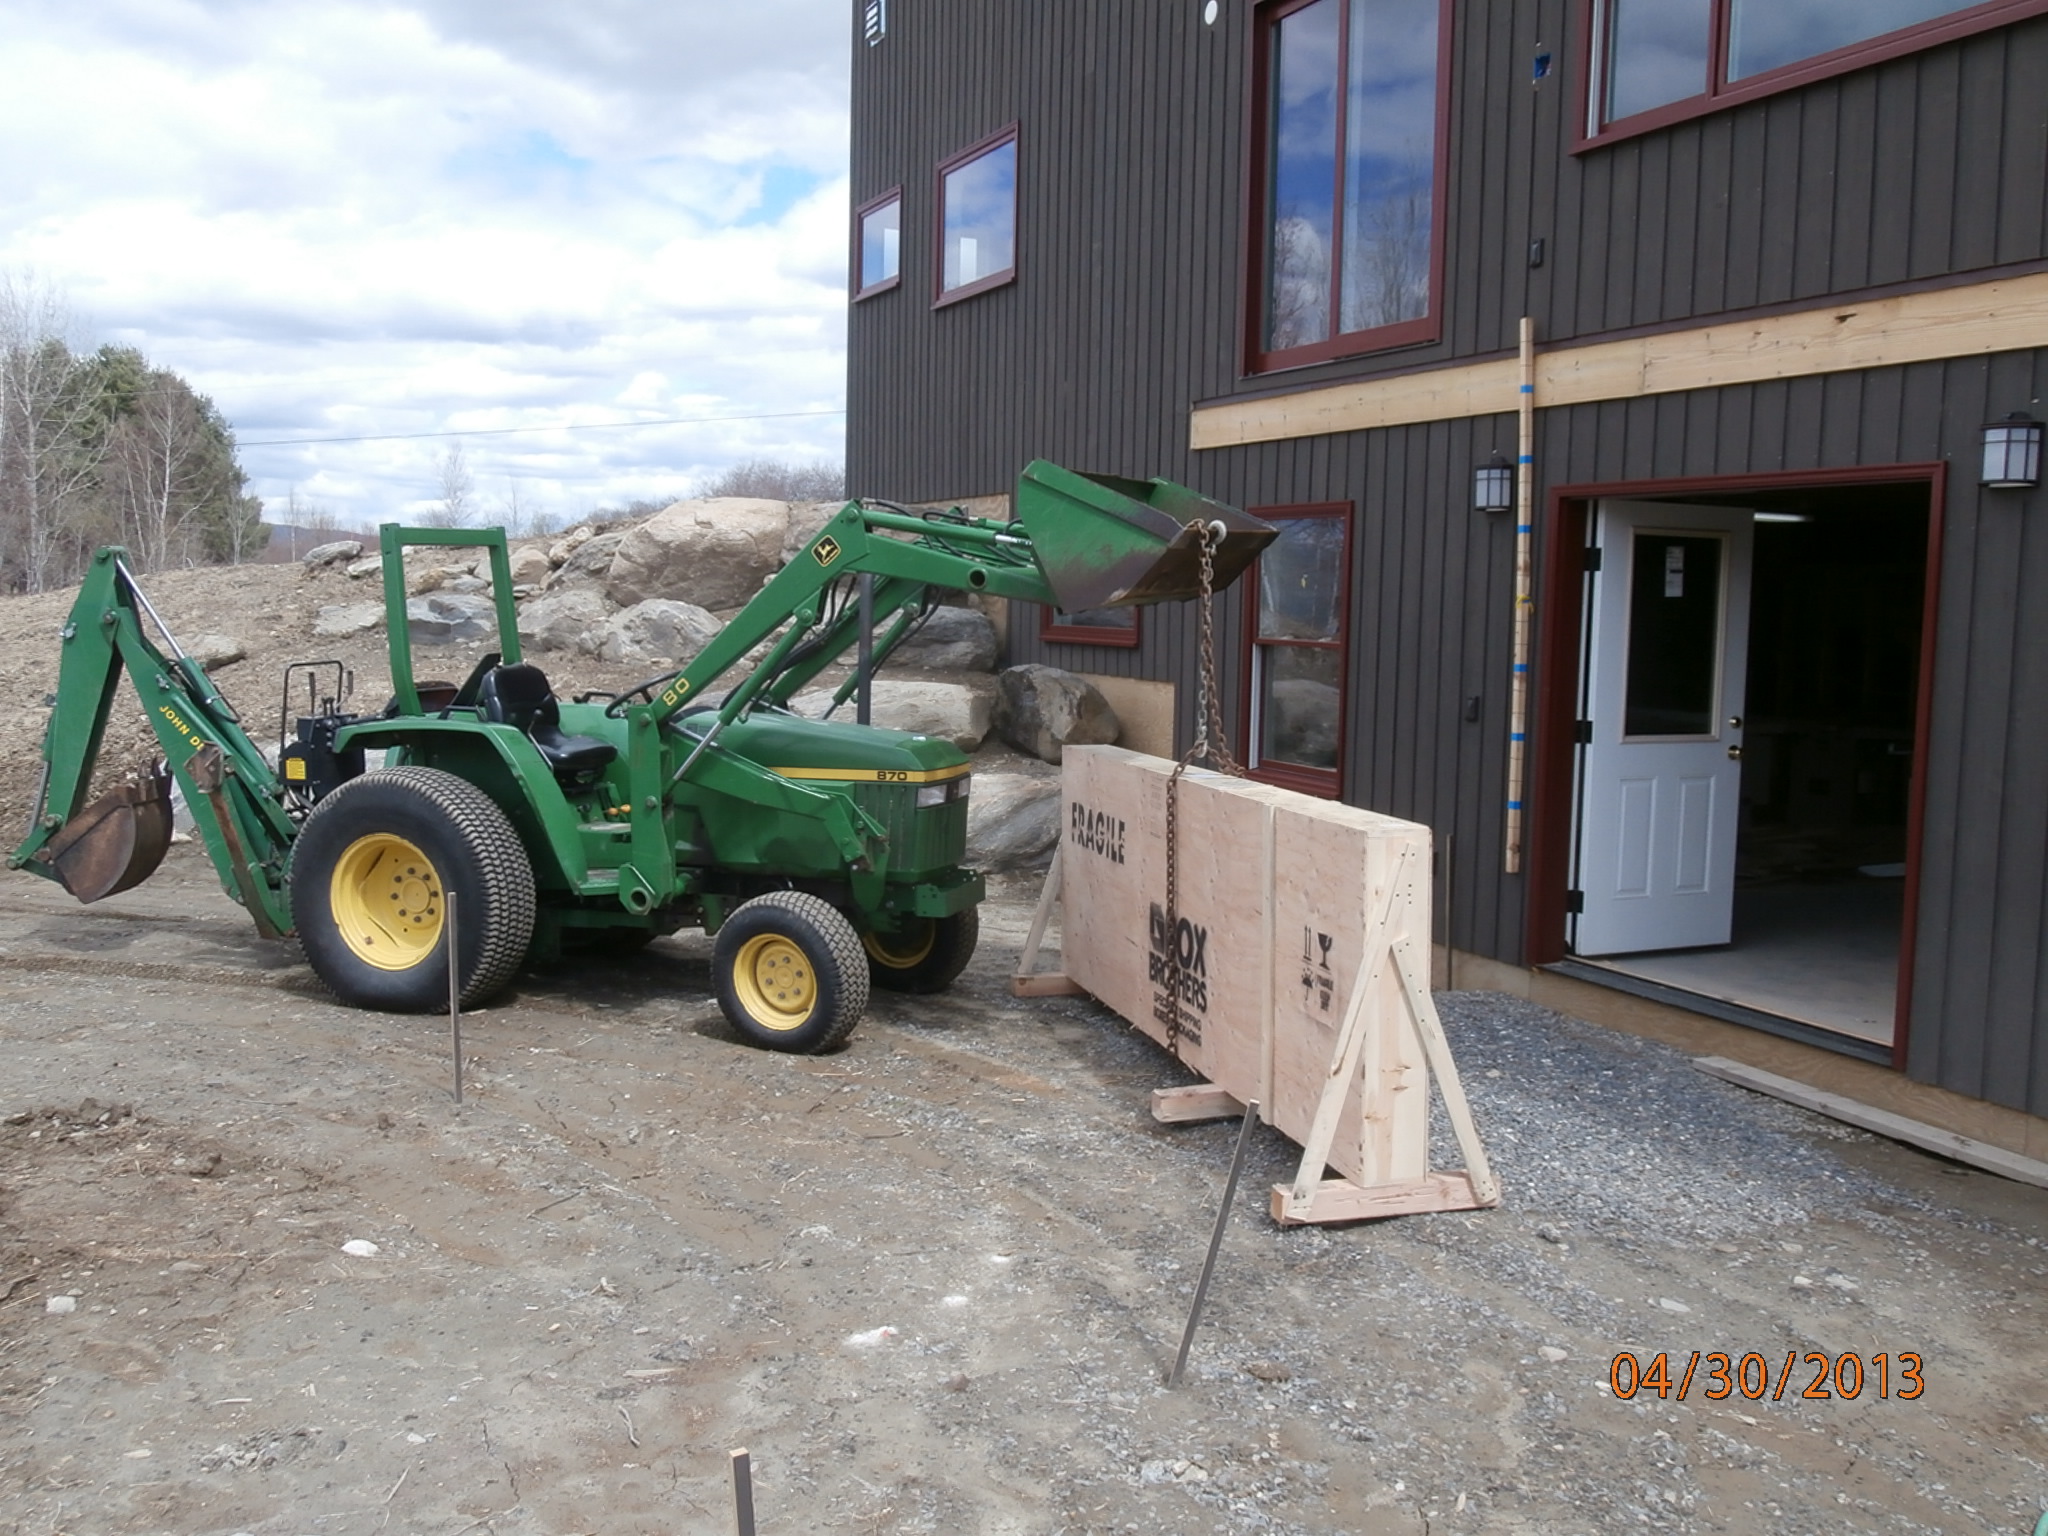
Tue 4/30
install kitchen cabinets: appliance bay. Received Dad’s workbench
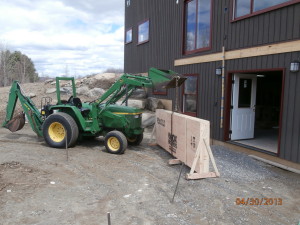
Dad’s big bench arrives
May 2013
Wed 5/1
modified sink base, mounted fan housing, overRefrigerator, bought plywood. made rough counters

fan and refrigerator housings, and some trial trim pieces
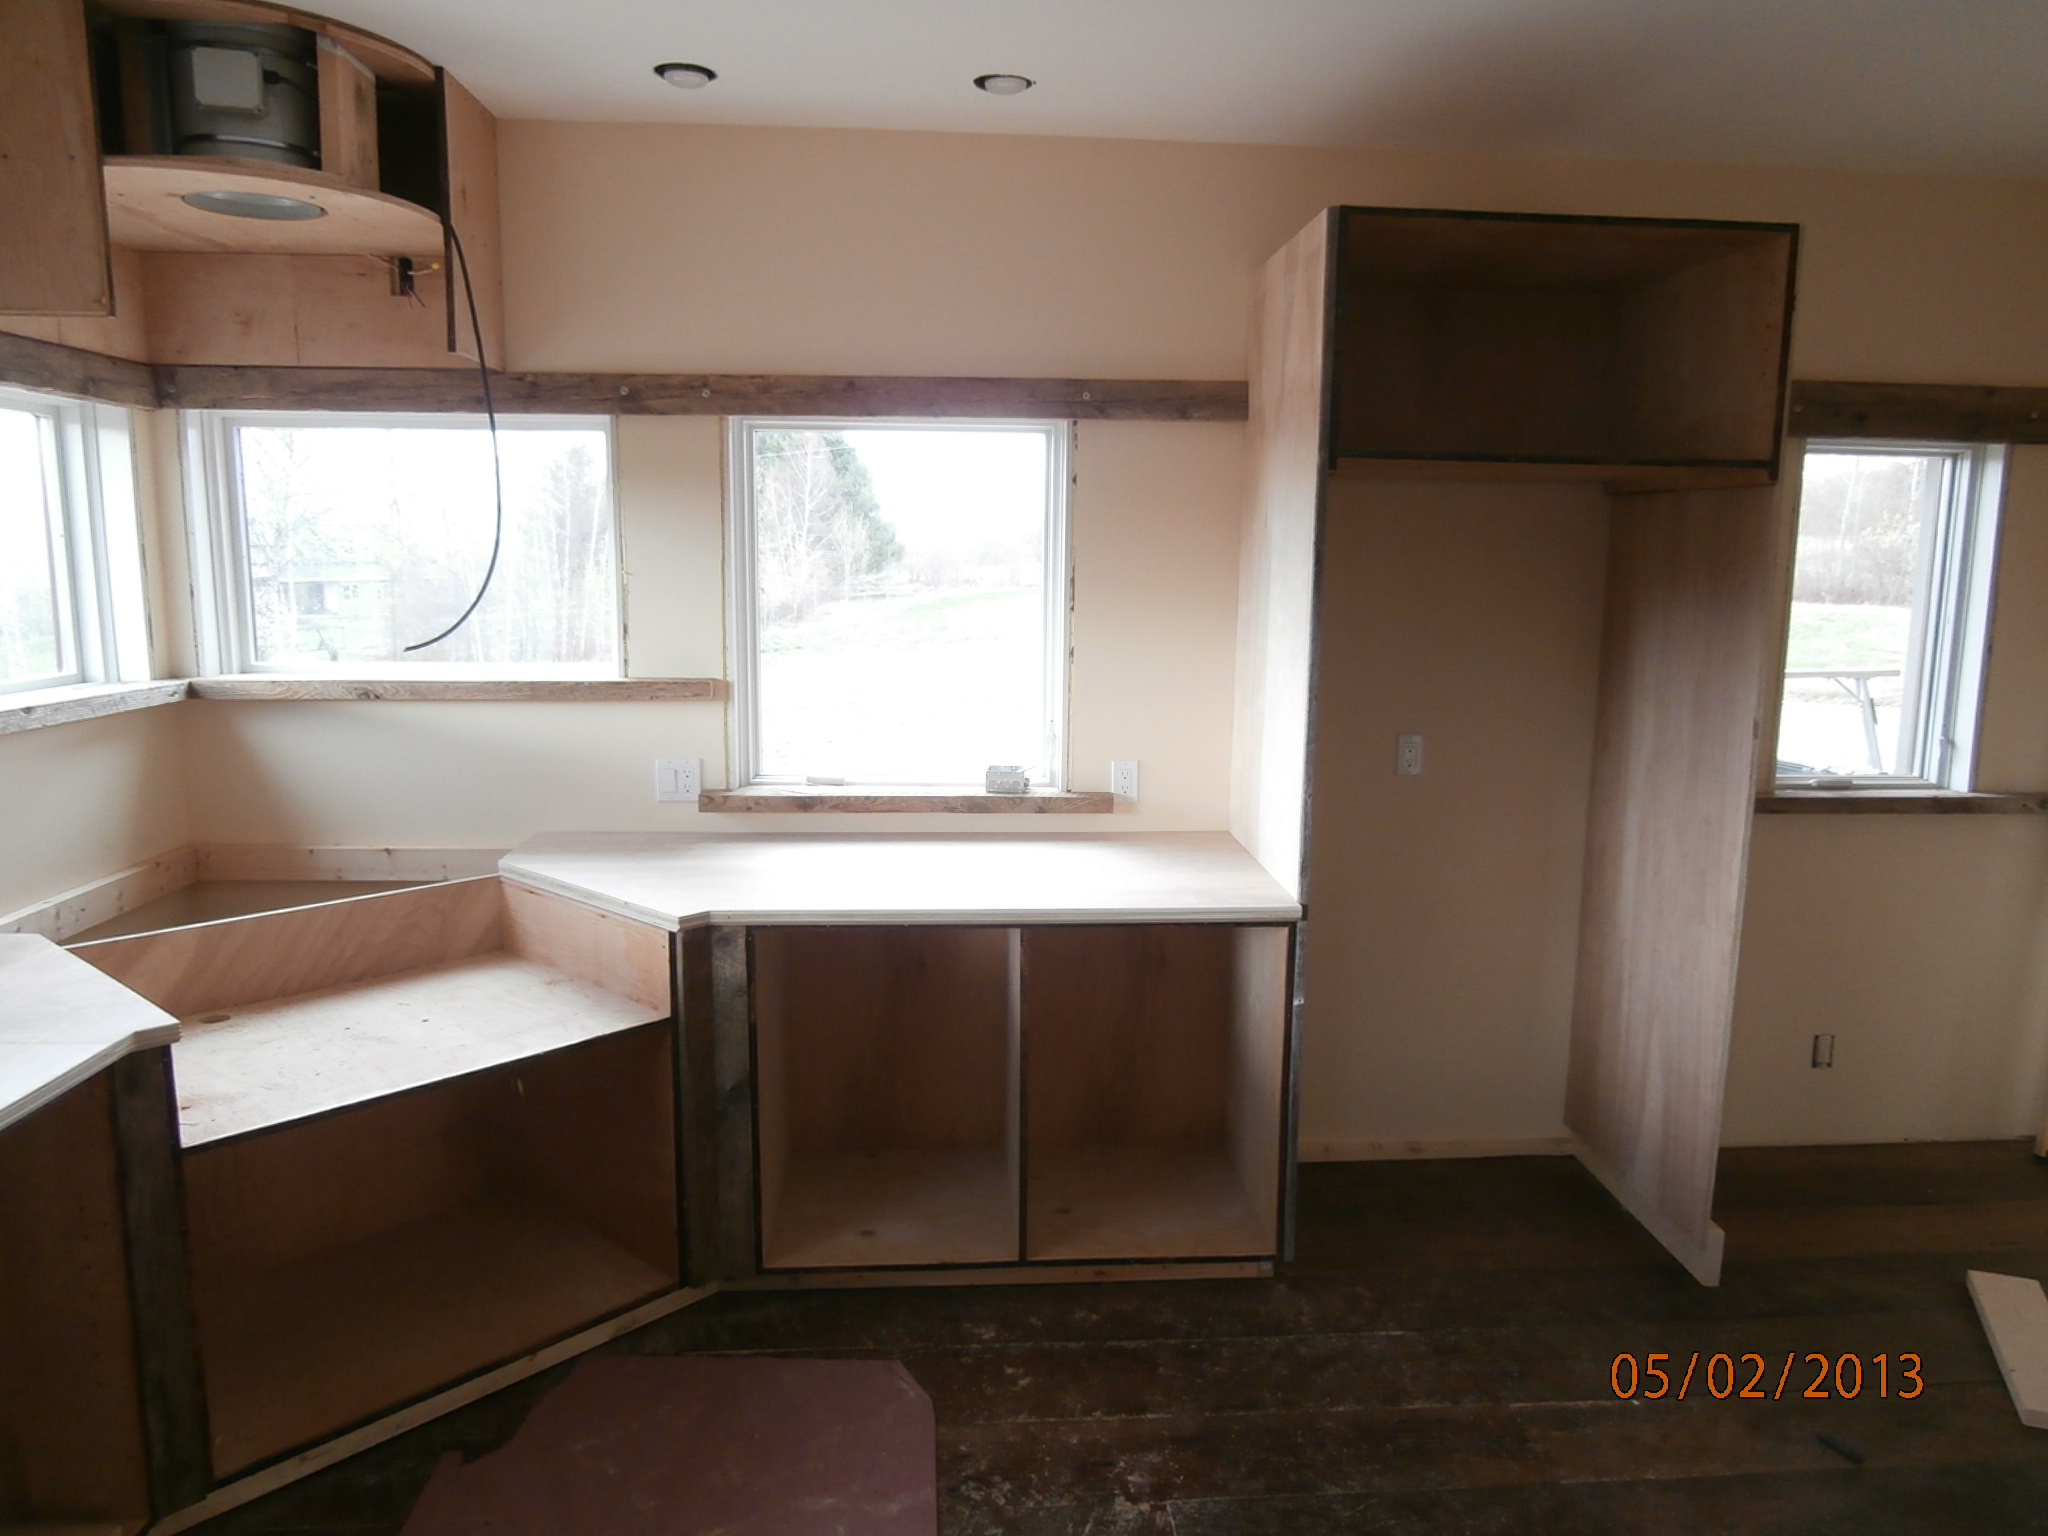
Thu 5/2
finished 3 counters, put up kitN & kitE trim. hardware run. talked about industrial park at dinner.
Fri 5/3
Moved stovetop & DW upstairs (failed to move oven), started working on install
Sat 5/4
Moved Dad’s bench to west, drilled propane hole, mostly installed DW, cabinet wiring, AB wiring
Sun 5/5
milled elec hole in trim piece, hardware run, collected rocks, discussed excavation plans slider handle, router collet
Mon 5/6
milled for switches in kit cabinet trim, drilled joists for hose bib main, trimmed counter flush at stovetop, put in A,B trim at front door, removed blue tape from E jambs.
Tue 5/7
Installed toilet, started processing type-A trim pieces, prep for tomorrow’s Trombley walk
Wed 5/8
set up to dado trim. sent laptop fedex. got new tires and inspection. Trombley walk w/ 4. Johnson rental for bib project. Great store! groceries.
Thu 5/9
dadoed trim. put in bib main. put in bib branches. fixed mower idling. fixed mower clutch. Johnson rental. put in bibs.
Fri 5/10
cut V-trim to length. moved piles of wood. sink cutouts for both bathrooms.
Sat 5/11
visit from Cheryl. got to dump too late. finished hose bibs. made planer pal. sealed kitchen trim pcs
Sun 5/12
removed iron popane pipe. sharpened planer blades. edge-jointed V-trim. moved oven upstairs. home depot to buy kit faucet. went to Maggie’s for mothers day

I built a ramp to get the oven upstairs.
Didn’t work.
Mon 5/13
went to dump. groceries, installed shelving. prep to install kitchen sinks using hickory counter.
Tues 5/14
prepped oven for inserting into cabinet. kirsten visited
Wed 5/15
shaped and profiled hickory sink counter, mounted sinks in it.

router jig for recessing under-mount kitchen sink
Thu 5/16
flush-trimmed sinks. hardware store tours. dry-assembled kitchen sink plumbing.
Fri 5/17
mounted + wired switches and fan knob. re-assembled kit trim pieces. moved refrigerator. wired up oven.
Sat 5/18
hardware run for fittings (refrigerator still leaks). moved big rock at north. lined up med rocks at south.
Sun 5/19
planed down some MBR flooring. attached shelf supports in bsmt. hooked up refrigerator with copper. made hinge jig for door for Marshall. brief appearance at Ashton party. dinner with Criscolos.

drilling the hinge pivot for a bifold door for Marshall’s bathroom
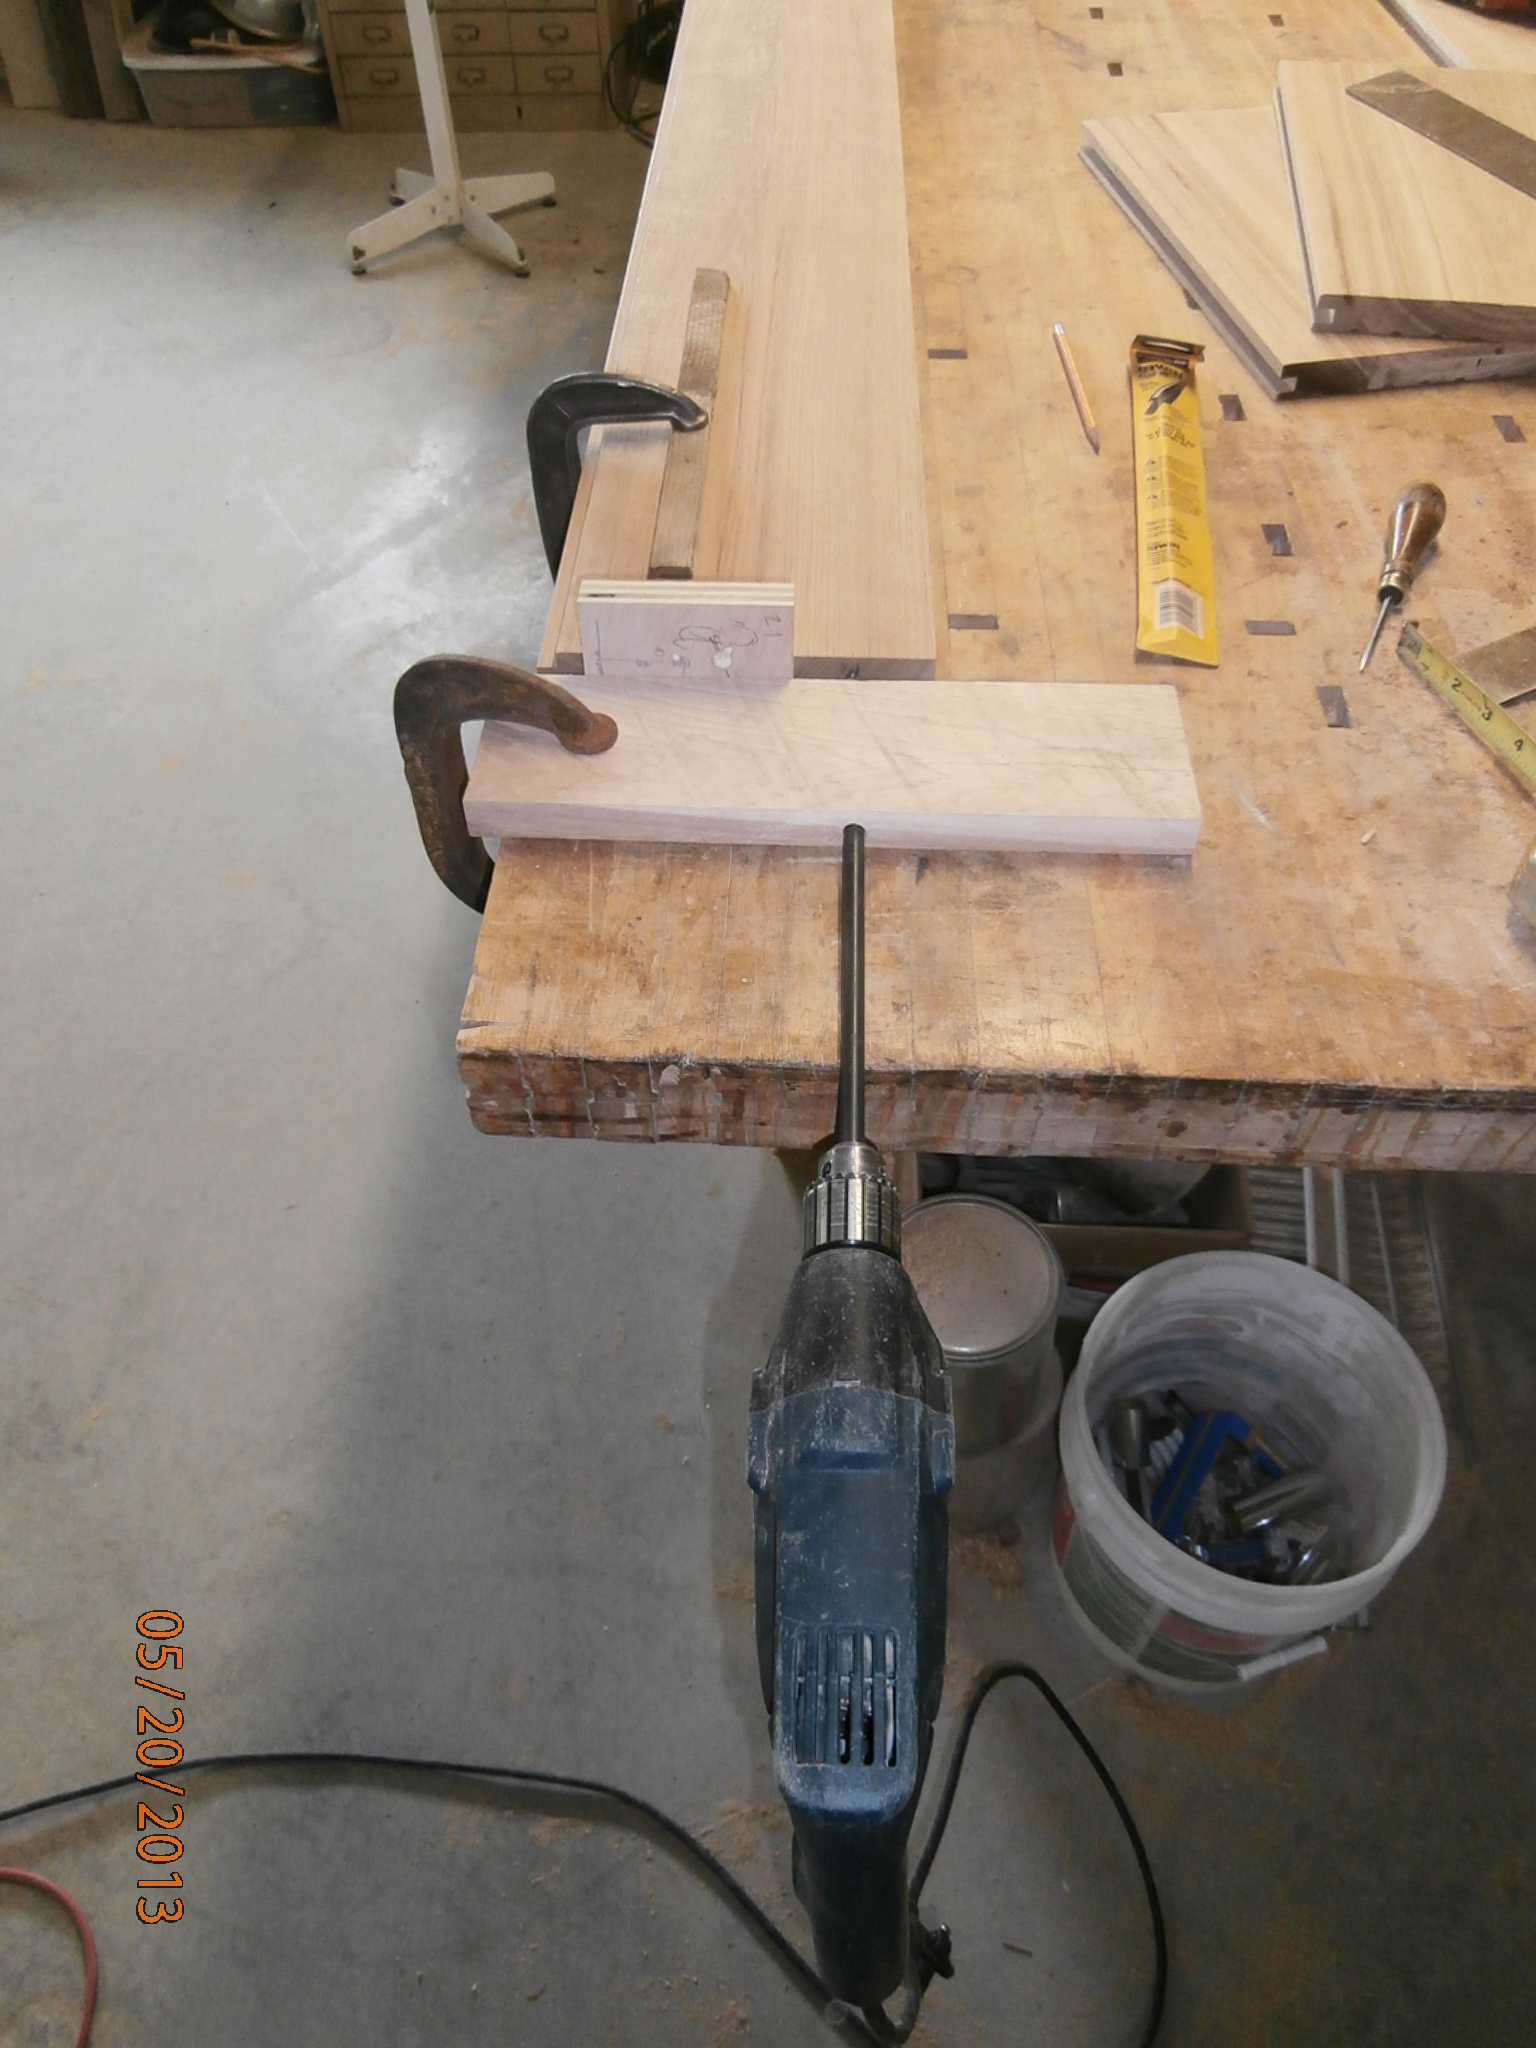
Mon 5/20
worked on planing MBR flooring. joinery on Marshall’s door. Realized that dad’s tool cabinets are not empty. collected some rocks

Some kind of gimbal-based scriber from Dad’s tool chest.
No idea when to use it.
Tue 5/21
sharpened planer blades. finished planing MBR boards. got diesel. talked to Bournes about propane to kitchen. hardware & groceries. installed dryer. began re-installing propane
Wed 5/22
johnson F&G. Worked on propane. glued marshall’s door. set up to rip 1st edge of MBR flooring.
Thu 5/23
Finished propane install: stove works! Shimmed stovetop. put in most windowV trim pieces. scraped marshall’s door. ripped 1st edge of 1/3 of MBR flooring.
Fri 5/24
1st day of Mary’s vacation. Rainy all day. Read on my new kindle all morning – Ender’s Game. Finished ripping 1st edge of MBR floor planks. Matched up planks to span room width. We’re probably going to be a little short: have 25 random width runs to cover 20′.
Sat 5/25
ripped 2nd edge on MBR flooring planks. gave tour to Laura & Dave. roughed out elliptical bannister for Marshall. dinner at Charon’s.
Sun 5/26
set up and cut shiplap profiles on MBR flooring edges. Mary taking care of little girls.
Mon 5/27
cleared out MBR, chiselled away some high spots. foamed periphery. moved flooring upstairs. set up cutoff saw. hooked up kitchen sink. attached Mbath counter. dinner at Maggie’s
Tue 5/28
ella showed up 1st thing in the morning. grand tour and chat. dry-laid entire MBR floor pile and am only 24″ short
Wed 5/29
installed shower fixtures: broke shower head, looks like trio roughs are wrong. started assembling boards for last few rows. dinner with ella & celia at frida’s
Thu 5/30
more floorboard assembly. pack. drive to woodstock. campfire w/ ella + celia
Fri 5/31
bike ride, grilled chicken & sophia birthday in woodstock. meet & greet
June 2013
Sat 6/1
bike ride in woodstock. Adriane’s wedding. Reception. very drunk
Sun 6/2
battilana brunch. drive home.
Mon 6/3
cut, drilled, hung horiz closet pieces. grocery run. re-milled MBR flooring pieces
Tue 6/4
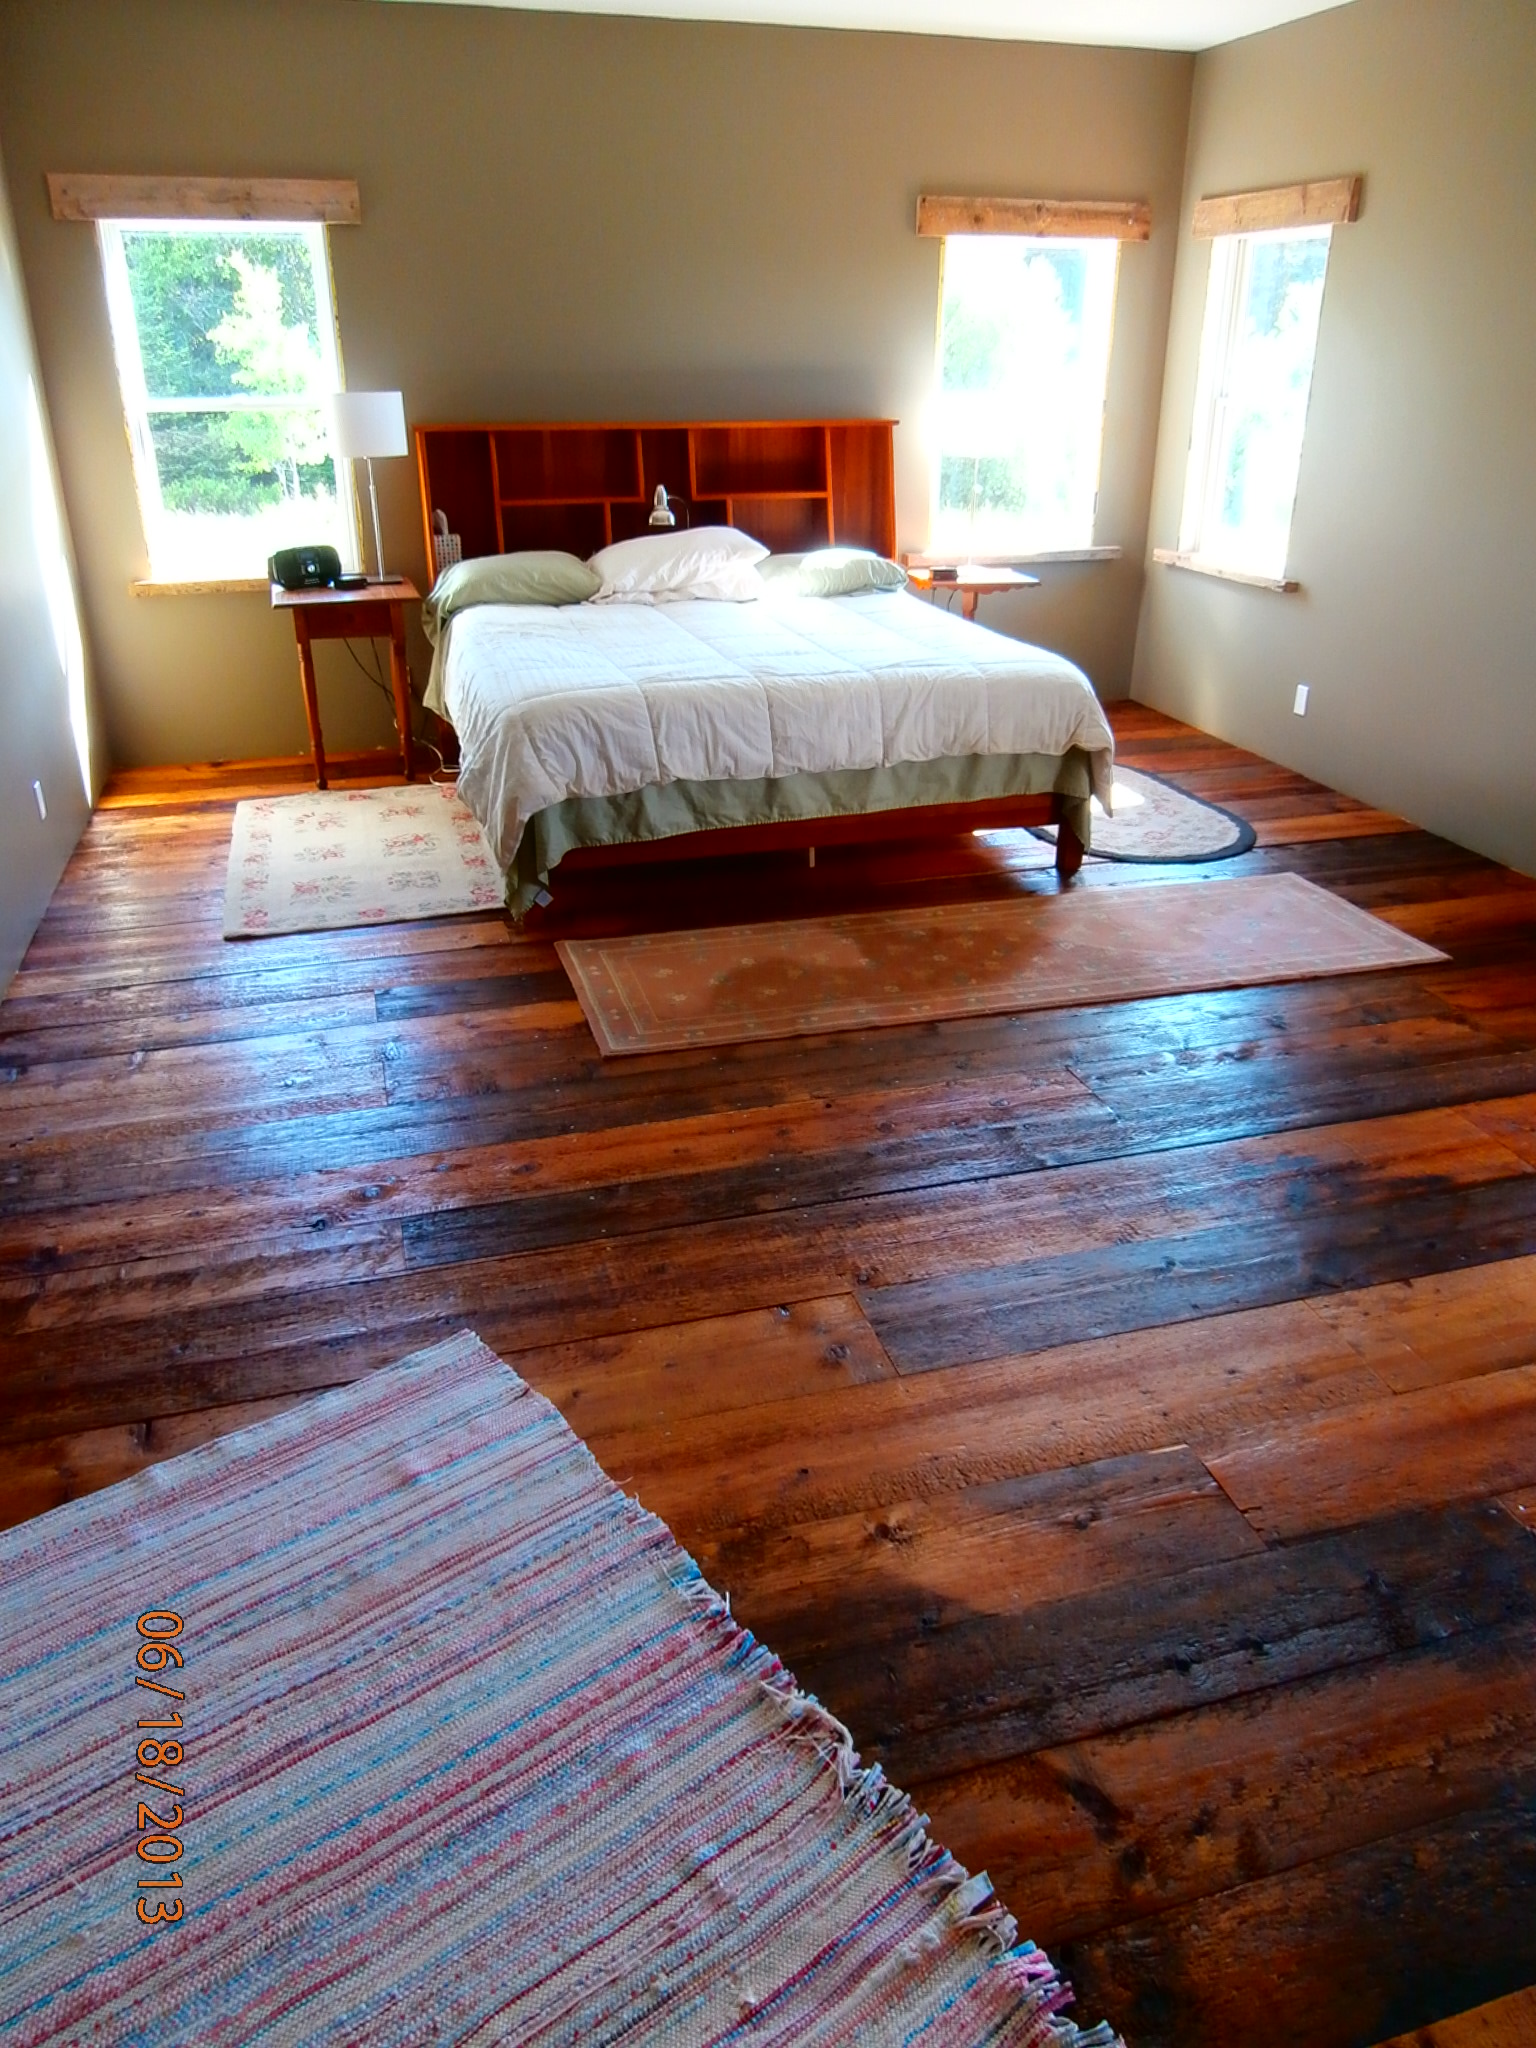
moved MBR floor to one last pile. glued + nailed 60% of flooring, using 5 gal glue and 1.8 box nails.
Wed 6/5
Finished laying MBR floor. grocery run. moved tools downstairs. machined marshall’s railing supports
Thu 6/6
worked on mount for Marshall’s door. Moved hickory for drawers downstairs.
Fri 6/7
planed drawer wood down to 5/8″. Sanded 1/3 of it. hardware+groceries. removed glue from MBR floor. Mary migraine.
Sat 6/8
finished belt sanding drawer wood. went to Charon’s to prep railing & bifold door. Mary sick to her stomach, but rallied to do some cleaning at new house.
Sun 6/9
finished railing and sanded it. glued threshold for bifold. stripped blue tape from MBR jambs. sorted thru door wood. Mary cleaned and coated slate.
Mon 6/10
messed with Marshall’s bifold door. replaced body bar nipples. put in shower heads. scraped 2 blobs from floor. began cutting up drawer wood. Mary coated MBR floor
Tue 6/11
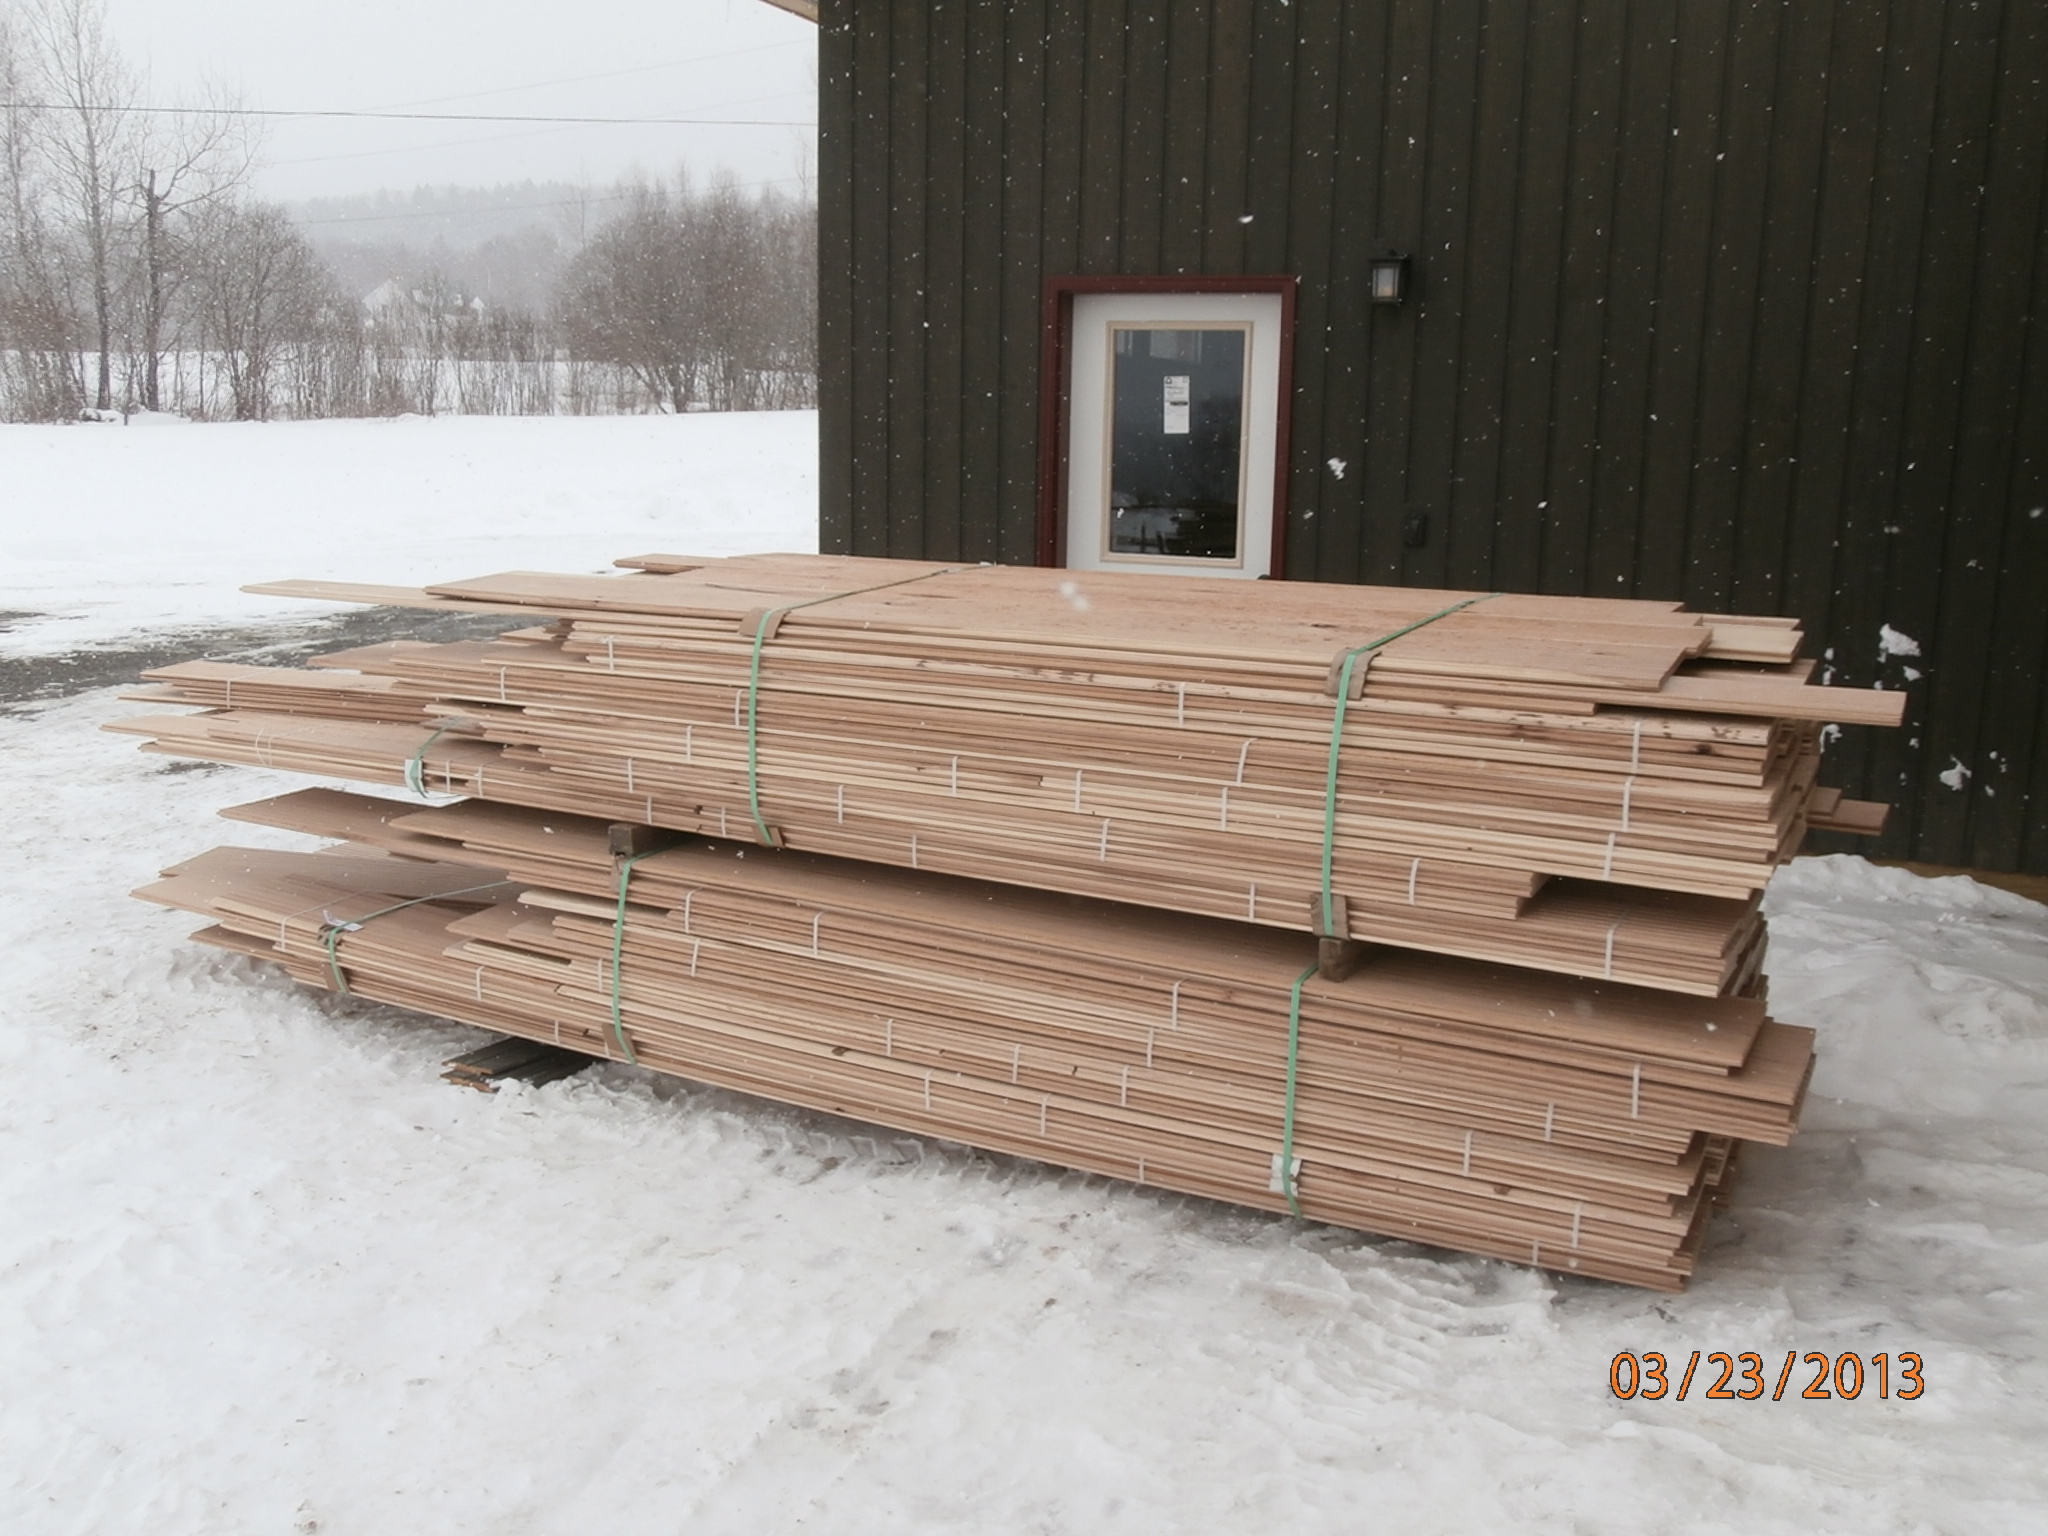
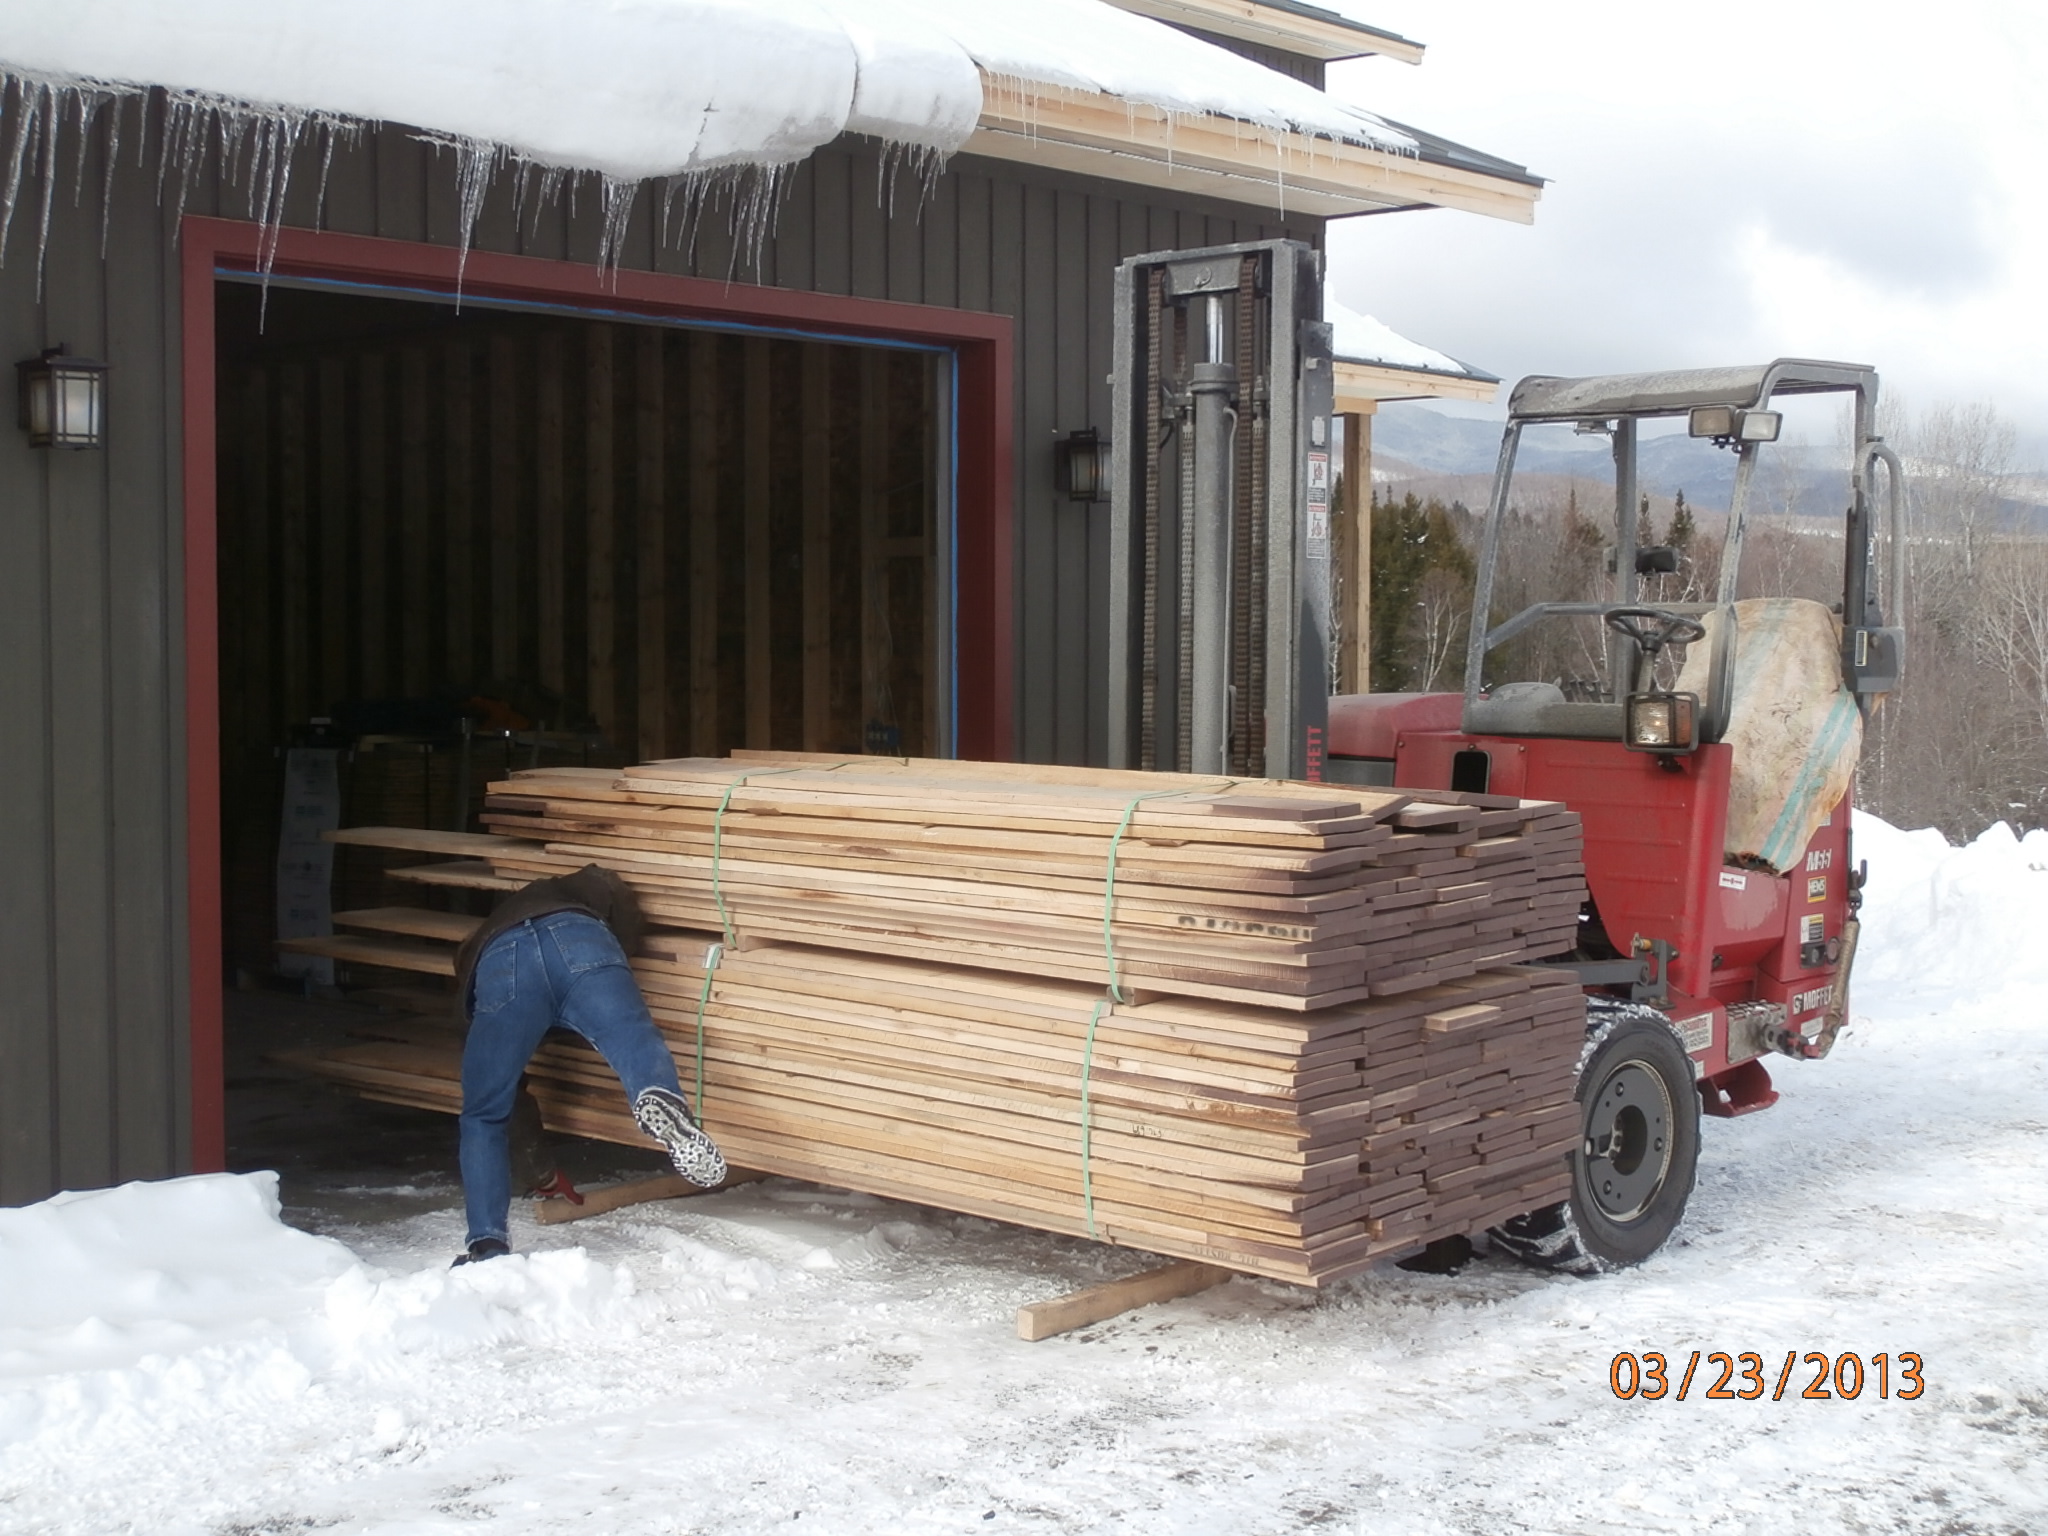
ripped all drawer wood to size. Hardware+grocery run. made cutting charts for shelving plywood. bought plywood. cut all drawer wood to length. made 3/8″ finger joint jig. glued down thresholds in FB & mud doorways.
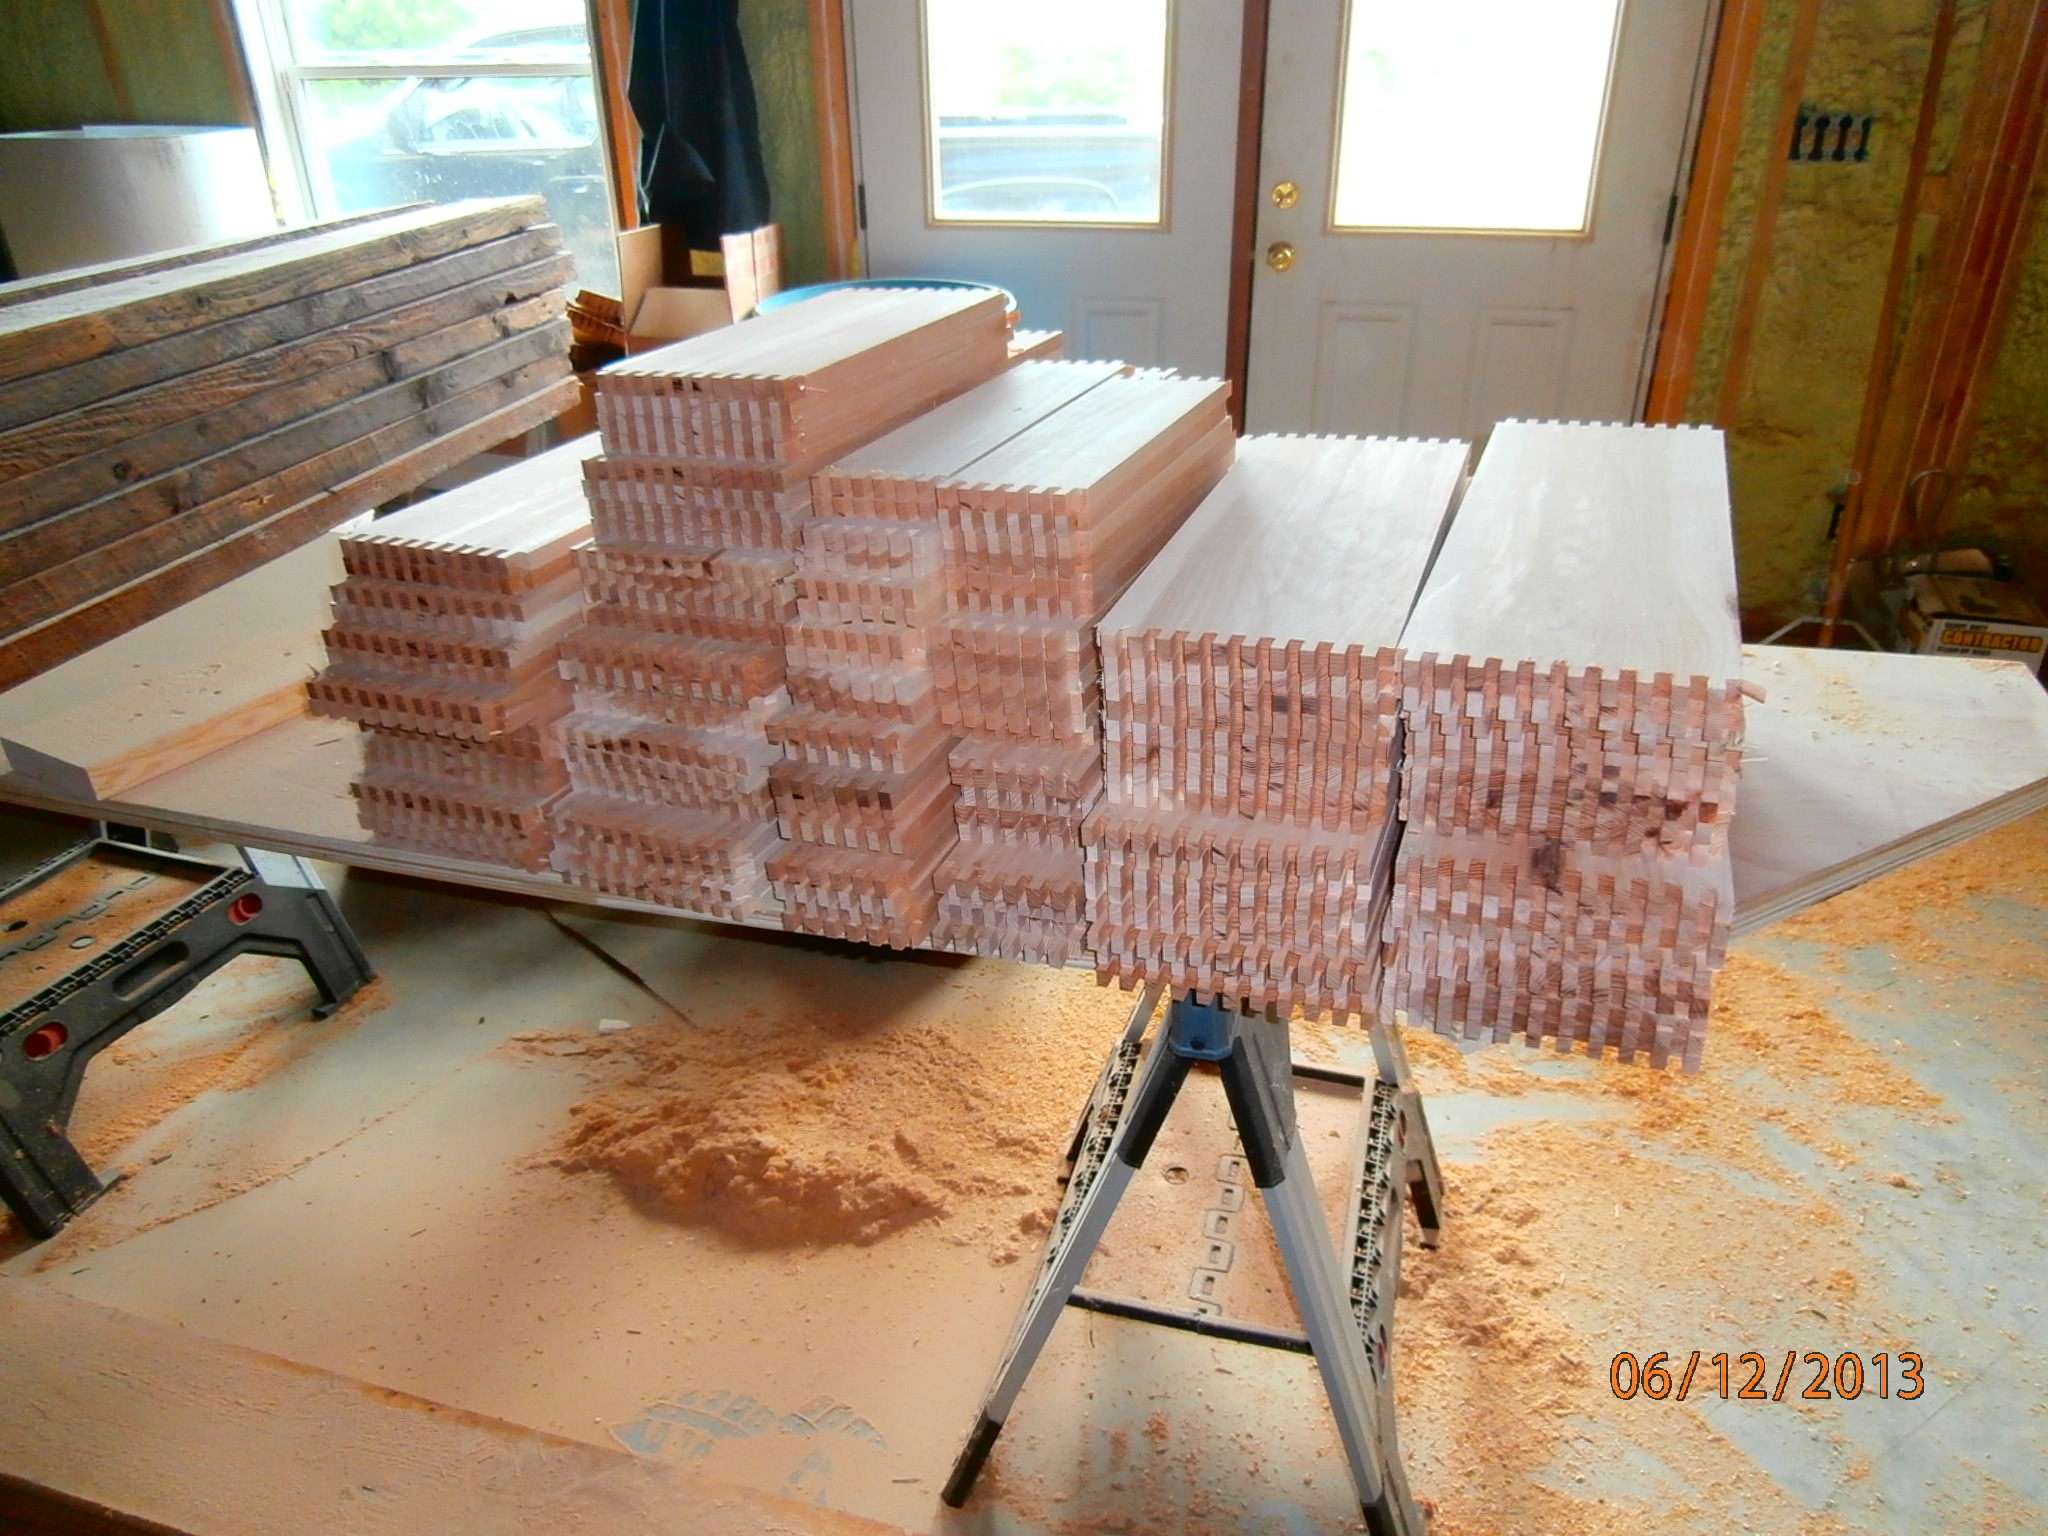
Wed 6/12
cut all finger joints – 1912 cuts. went to burlington for buffer, shelf stuff, errands.

That’s a lot of finger joints, and I made them just a hair too tight.
Thu 6/13
put up entry closet hardware, cut banded shelves to size. cut up 3.5 pcs plywood for shelving. milled banding, applied half. worked with dish guy for TV. started bifold mount.v2. Mary coated stuff and tried buffing MBR floor, but it was too aggressive. Ashton will return.
Fri 6/14
moved 2 trailer loads of boxes out of hellHole. removed tire from trailer for valve stem replacement. hardware run. Mary & ashton sanded & coated MBR floor. anchored some shelf hardware. finished gluing shelf banding.
Sat 6/15
moved 2 trailer loads of furniture-type stuff.
Sun 6/16
chris & co came to move big stuff
Mon 6/17
move furniture
Tue 6/18
trim and sand shelving. mock bifold mount in basement. glued banding on shelves
Wed 6/19
charon’s to trial-mount bifold and install handrail. mary finished floor there.
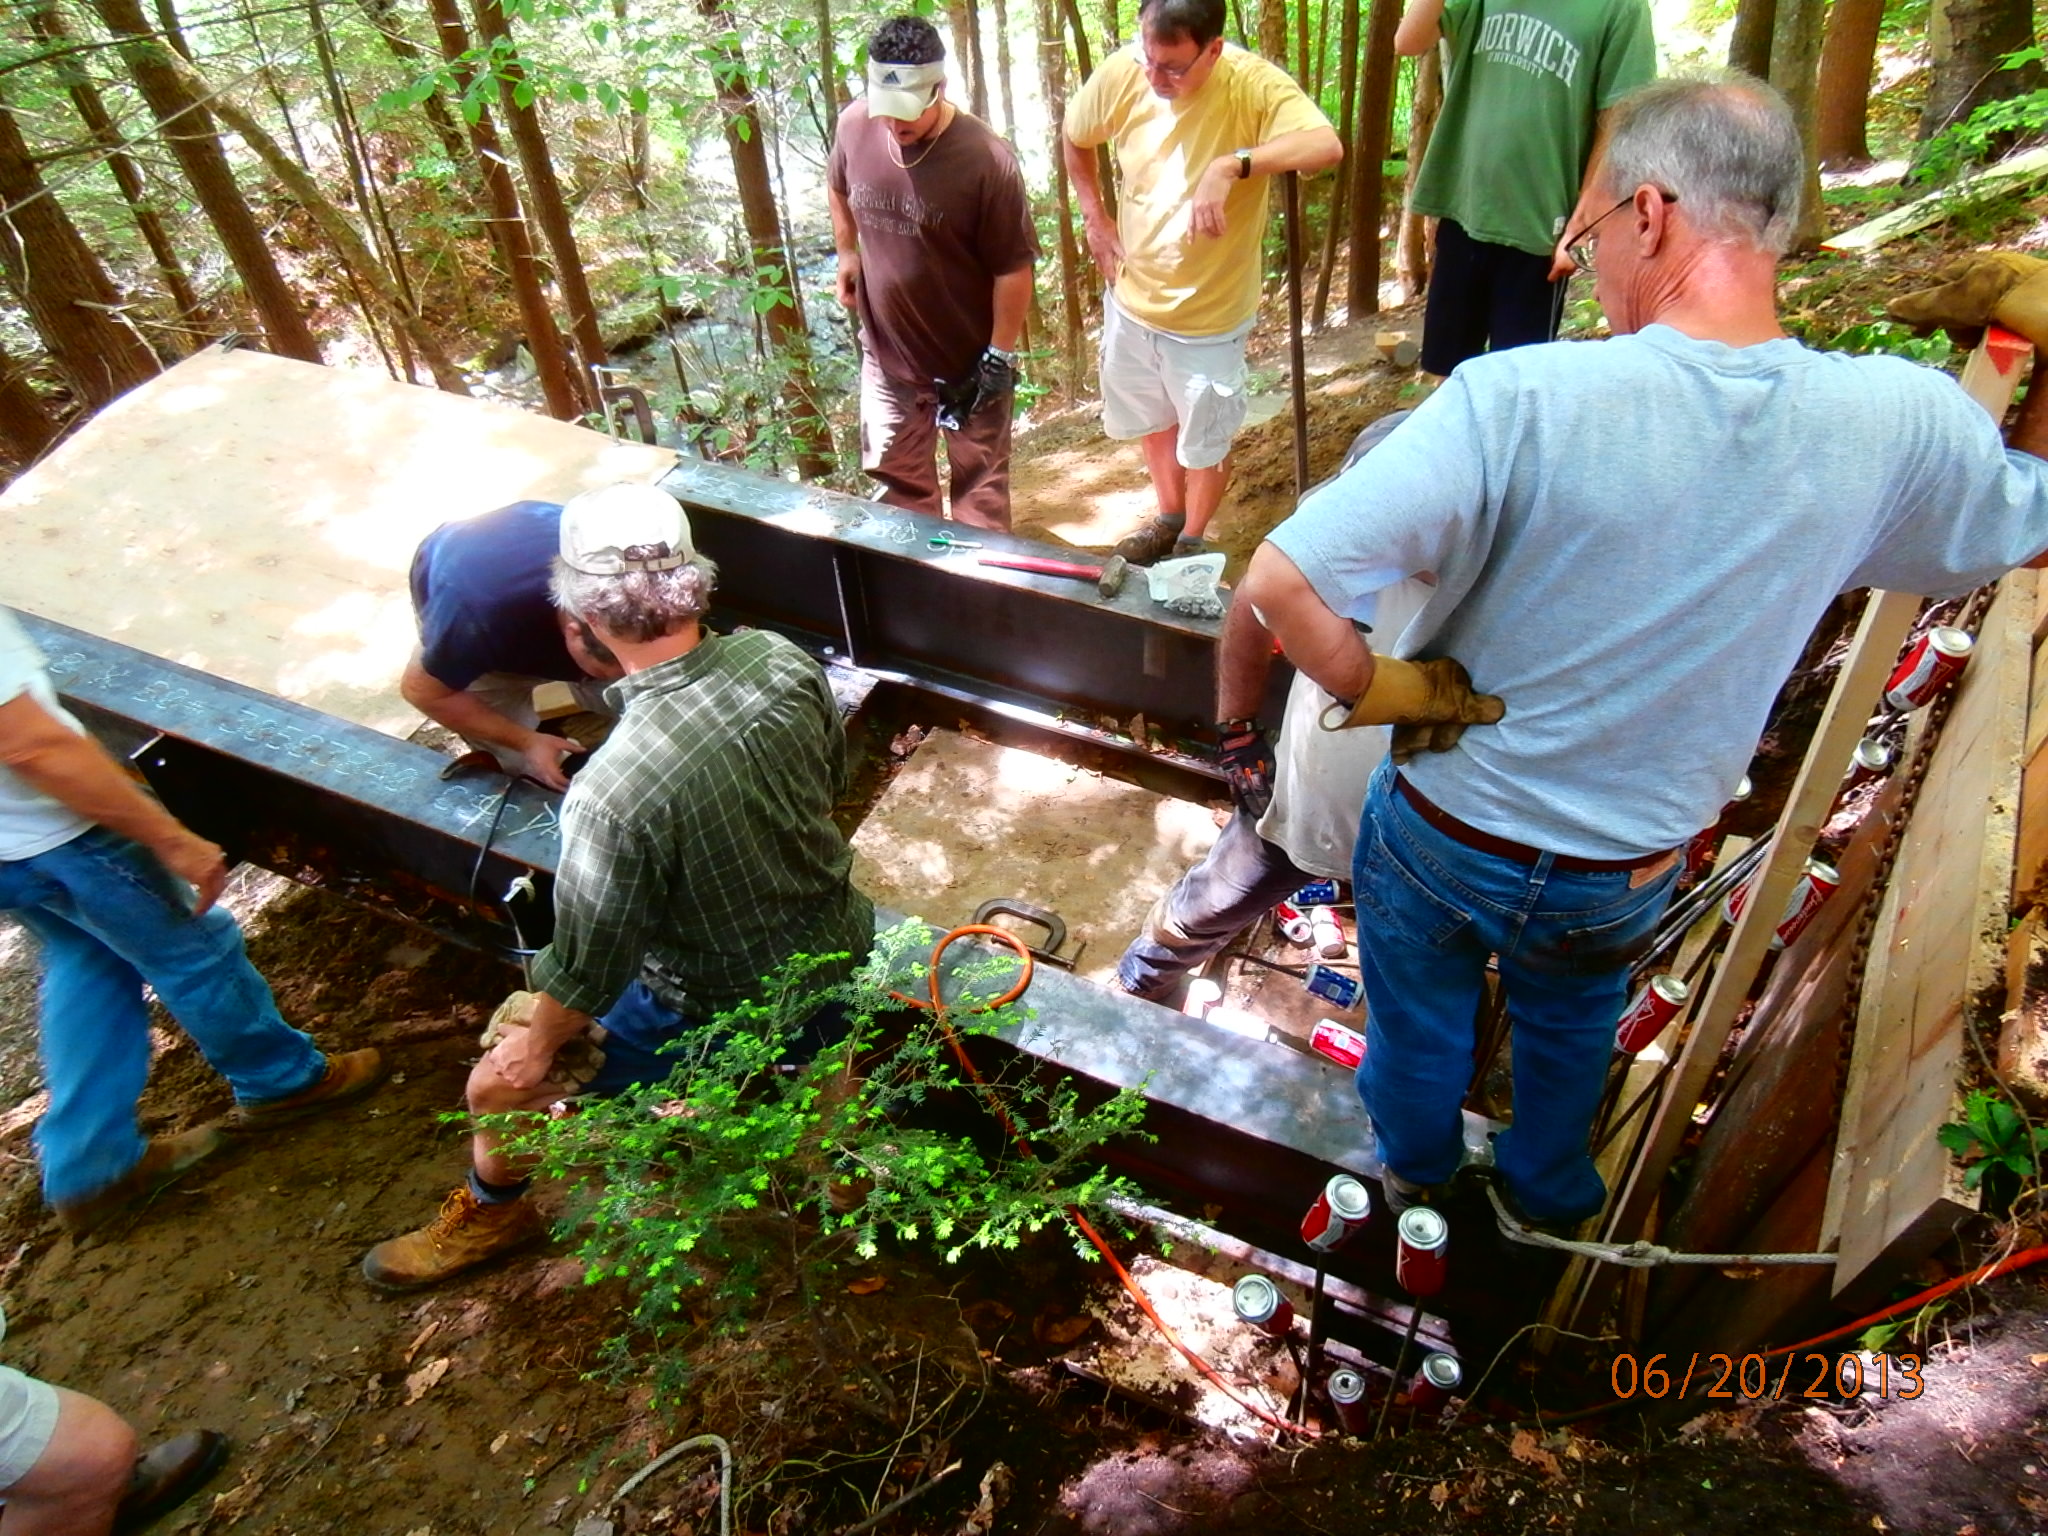
Thu 6/20
kitchen corner counter. specht party
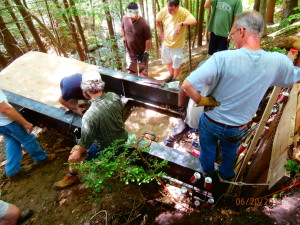
this year’s event at the party was moving 2 900# beams down a 30deg slope into place and bolting them in. The trick is that they are cantilevered so far over the dropoff as to be unstable
Fri 6/21
adjusted door jambs, installed doorknobs. replace furniture at charons, eat out
Sat 6/22
sanded drawer wood inner. ripped drawer grooves. dump run
Sun 6/23
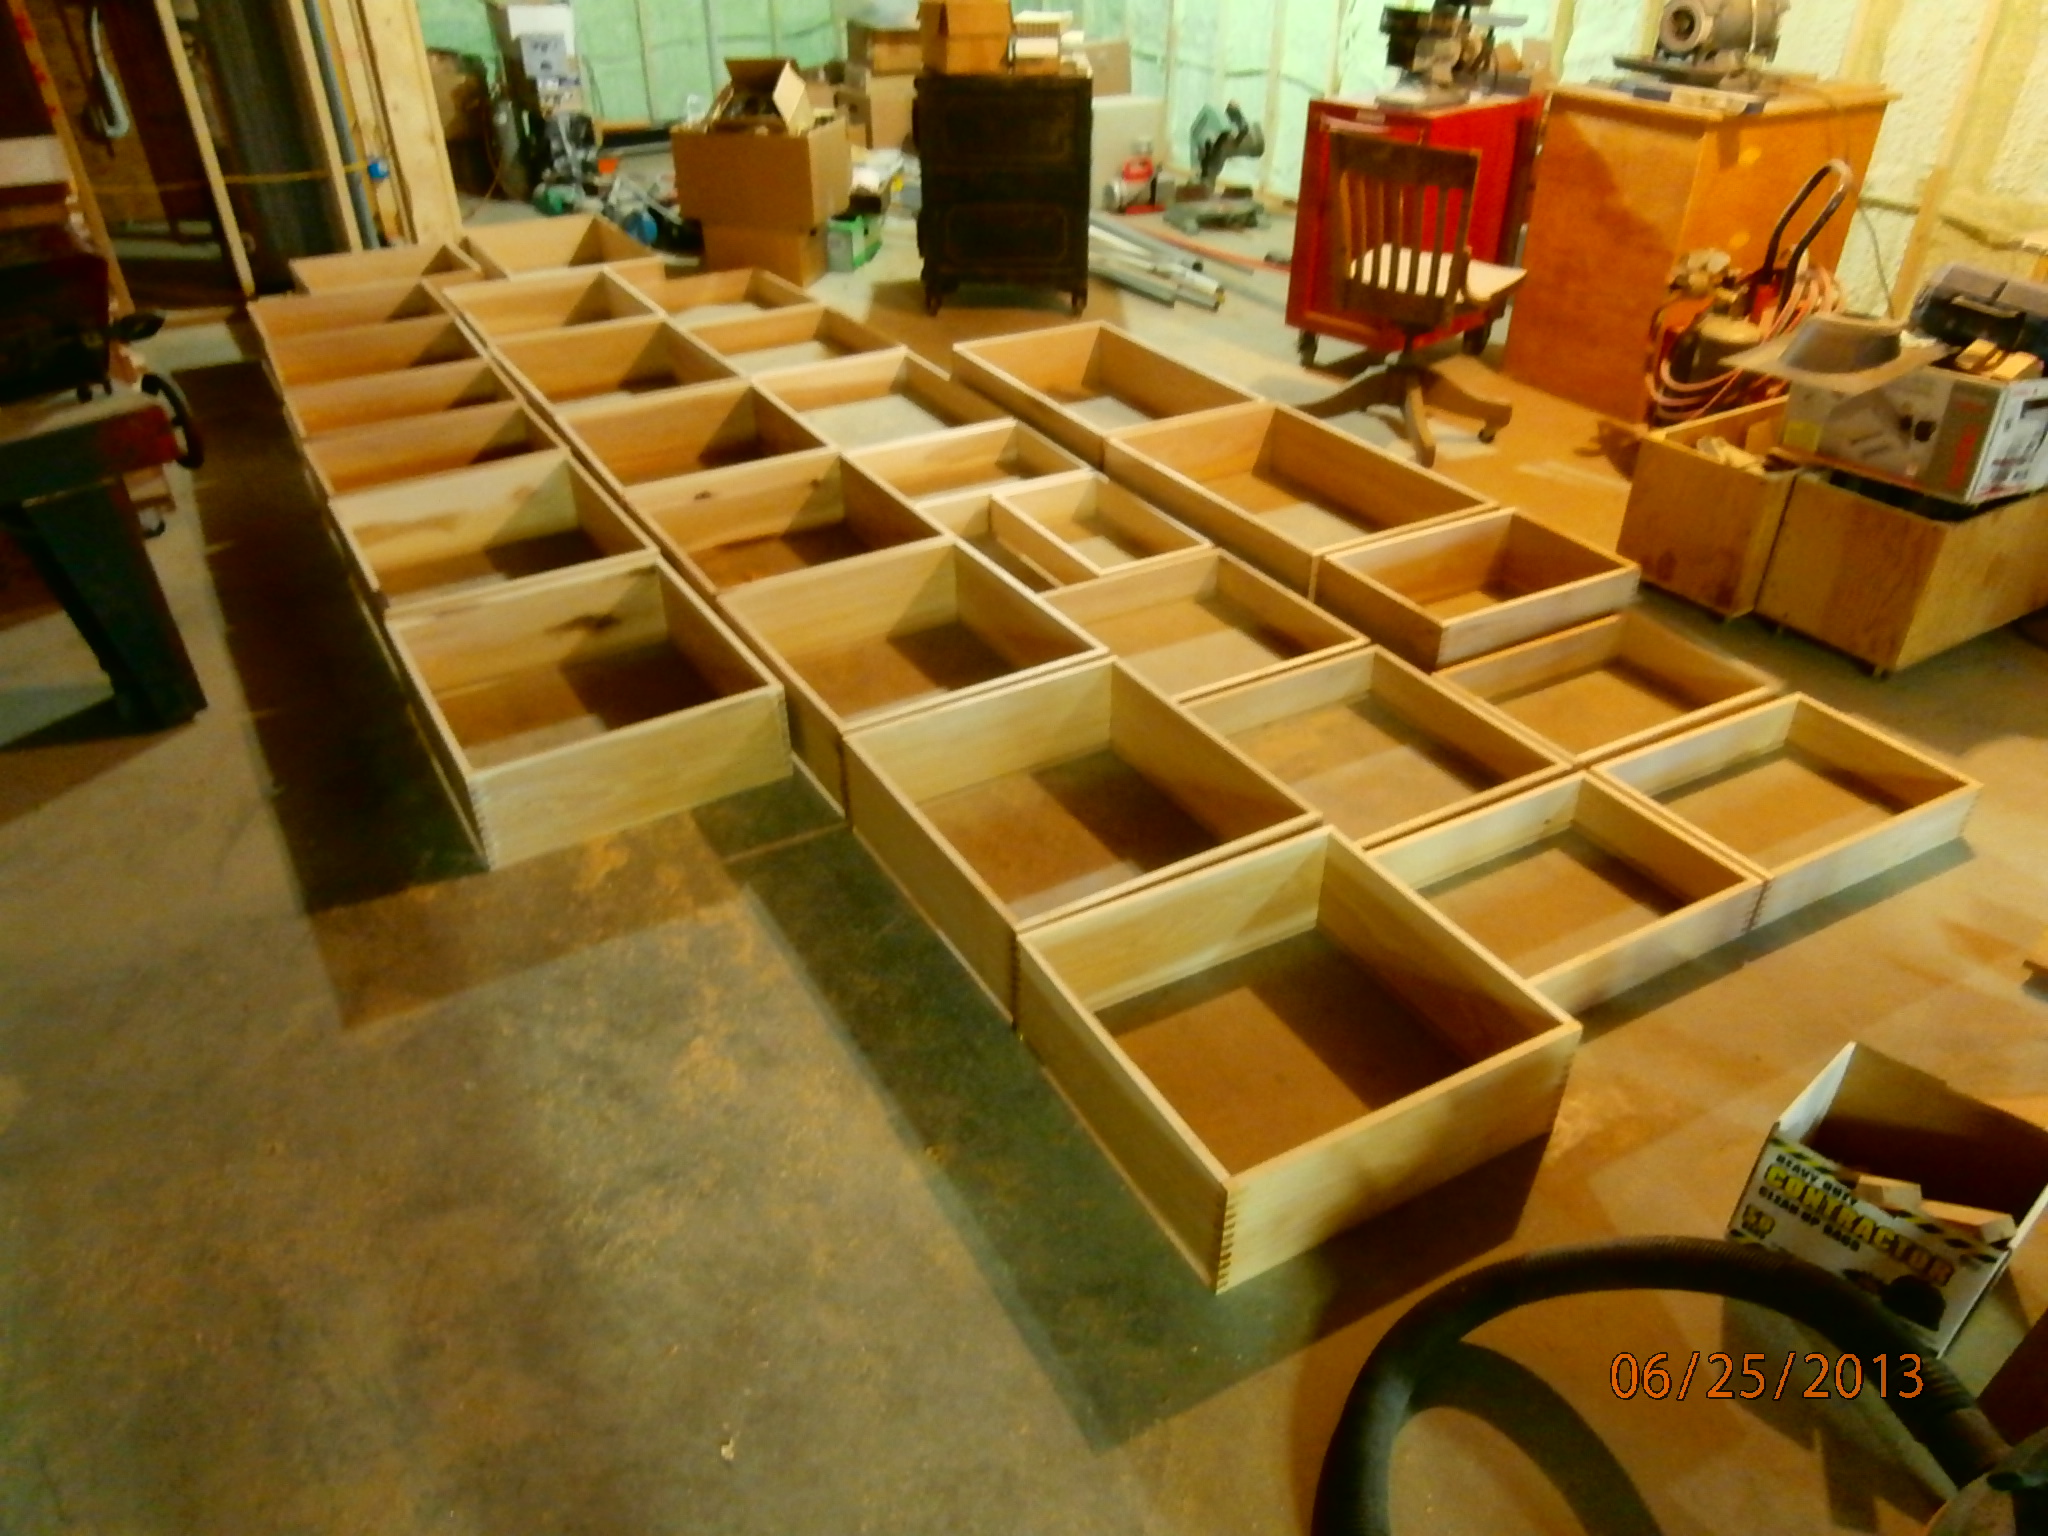
glued up 11 drawers
Mon 6/24
hooked up septic alarm, glued 5 drawers, cleared out front porch,got clothes from green house closets. installed screens, organized office
Tue 6/25
chainsawed to improve the view. glued last 11 drawers, drilled holes for DSL, waited for fairpoint guy

production run of 28 drawers
Wed 6/26
scraped glue from drawers. trek to hotspot. order drawer slides. made brownies & fruit salad, party at Adam’s.
Thu 6/27
scraped the rest of the drawers. rough-sanded short drawers. trimmed drawer bottom groove notches. sketched plan for front yard
Fri 6/28
put in chandelier. sanded drawers, cut some trees for view.

Mary’s been lugging this thing around for 17 years and finally found the perfect spot for it.
Sat 6/29
finished sanding drawers. entertained little girls with butternuts and frogs. Marshall’s party.
Sun 6/30
Installed shelving. visits from Dave & Laura, Celia, Bill & Lisa. Hauled logs and managed to ‘break’ tractor.